Envision Work Centers
Work centers are the place on the Portal to store, manage, and share Envision documents. What you can see and do in the work center depends on your membership type. Having workspace Admin privileges, you can create work centers and name them as you need.
Work center privacy
Work centers can be private or public. Both types can exist in the workspace. Work centers are private by default. Admins can change the privacy on creation or any time later.
Only members of private work centers can access their contents. Private work centers have no UI clues or indicators that they are private.
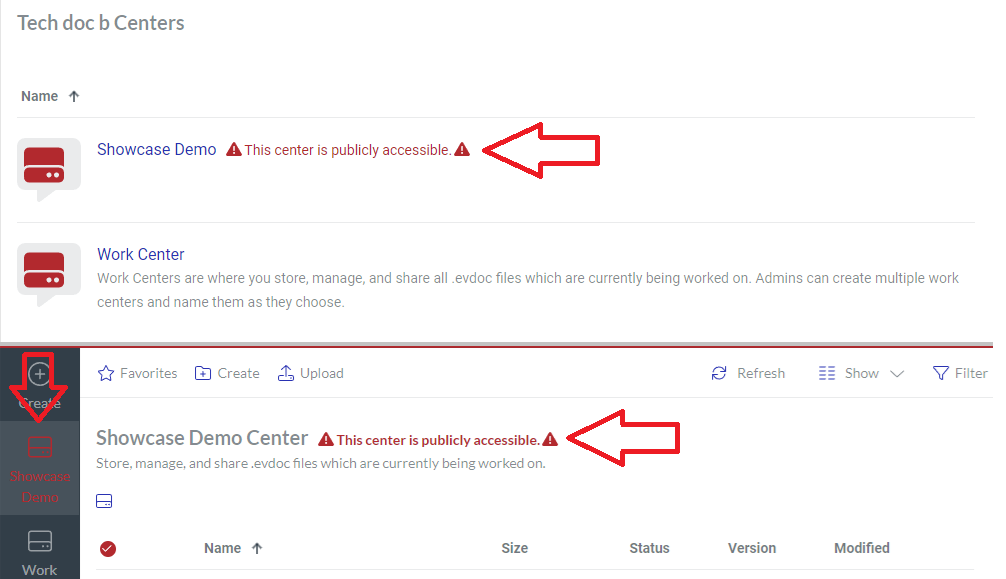
Anyone can access the files from public work centers shared with permanent links. A warning follows the names of public work centers in the content table. Such names are also red in the sidebar. The contents in public work centers are not visible to anyone without an Envision account and without logging into the Portal. Only a file shared with a permanent link is visible to someone who has this link. That person can access and view only that file, not any other files in that work center, without the account and login.
Work center access rights
Which work centers you see depends on your team membership. By default, work centers are invisible to the workspace members. Admins configure who can view and access each work center with teams, i.e., access to a work center is granted to one or more teams. When managing teams, Admins specify which work center a given team can access and who are the members of this team.
Work center content
Having the Creator membership type, you can create and upload files to the work center and organize them in folders. The work center content table displays the files and folders, which you can manage with the content toolbar and item action menu. The management features are hidden for workspace Consumers, who can only explore and view the workspace content.
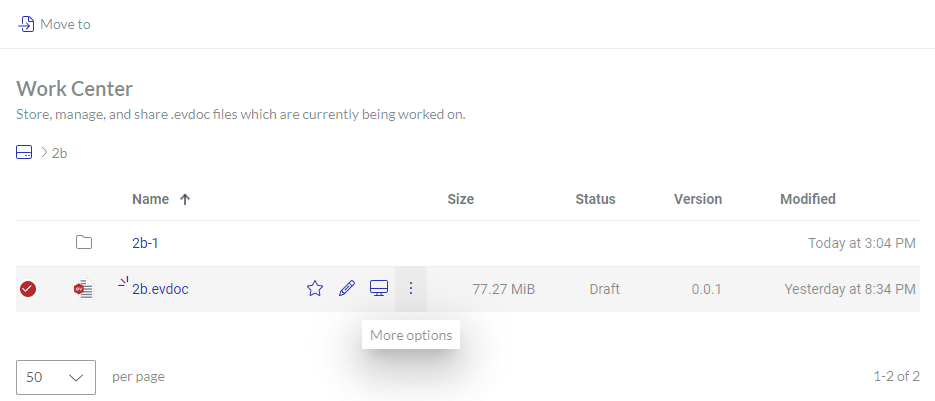
Portal content toolbar for work centers

For a work center, the Portal content toolbar provides the following:
The Favorites button to view and manage favorite files and folders.
The Create button to create folders.
The Upload button to upload files to the work center.
The Refresh button to refresh the files and folders in the content table.
The Sort drop-down list to sort the files and folders in the content table by a given column in ascending or descending order.
The Show drop-down list to show and hide table columns.
The Filter button to filter the files and folders in the content table against your criteria.
Table columns
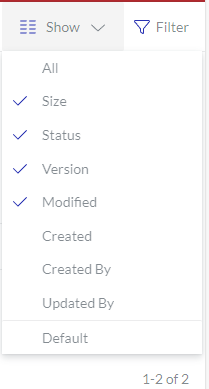 | For working with folders and files in the work center, the columns are the following:
|
|---|
With the Show drop-down list, you can hide and show columns as you wish. However, the Select and Name columns cannot be hidden.
The Select and Name columns empower you with file and folder management features.
Selecting folders and files
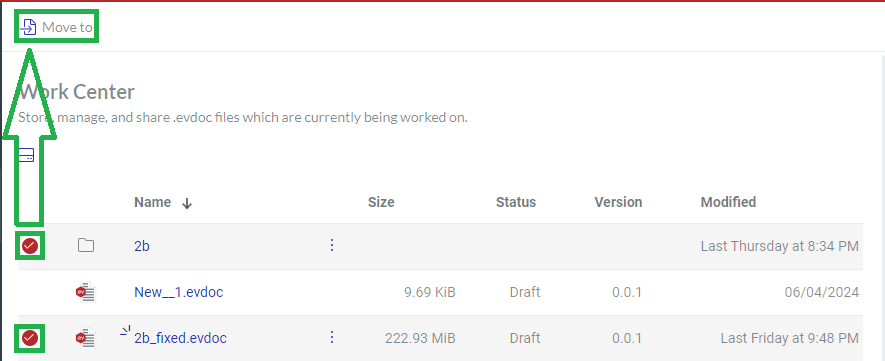
The Select column has checkboxes to select one or more files and folders. Clicking the checkbox in the header row selects or deselects all items in the table.
The content toolbar displays the Move to button to move the selected folders and files to another work center.
Item action menu
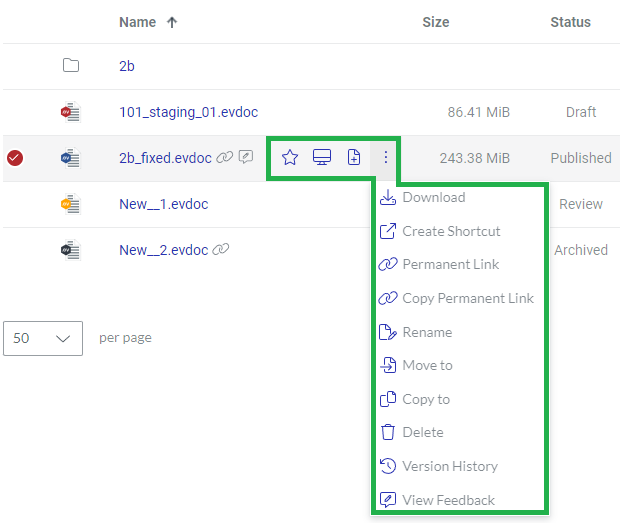
Hovering over a file or folder row in the content table displays the action menu for that file or folder on the right side of the Name column. On wide screens, there are three menu options and the More options button.

Clicking the More options button discloses the menu with the other available options.
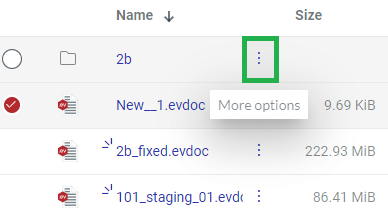
On narrow screens, the action menu is collapsed to the More options button.
The action menu provides you with different options for: