Managing Teams
- Team
A specific group of members in the workspace.
Being an Admin, you can organize members in teams and delimit access to the work centers across these teams as necessary. A member is always in the system teams and can be in none, one, or multiple custom teams. A team can have access to none, one, or multiple work centers.
System teams
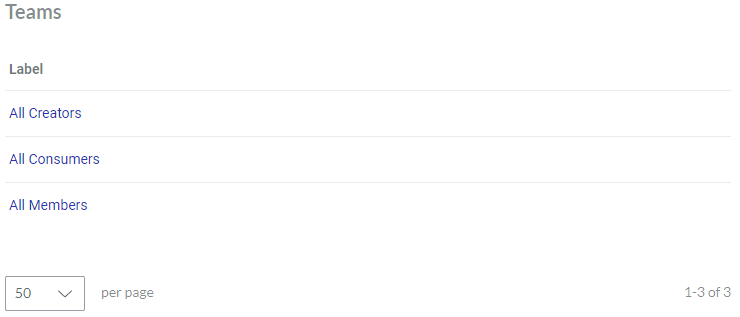
The workspace includes the following system teams:
All Members
All Creators
All Consumers
As the system uses these teams to manage the members and member types, they cannot be deleted, and their members cannot be manually updated. However, you can define which work centers a system team can access.
Teams page
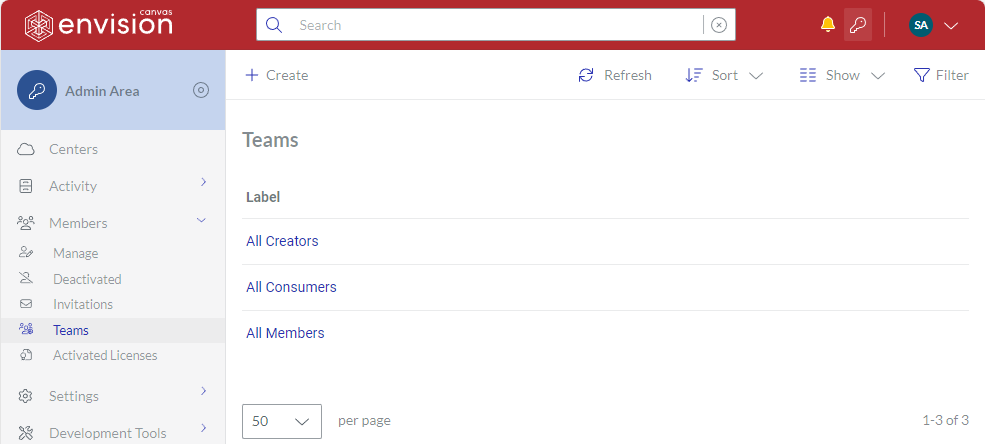
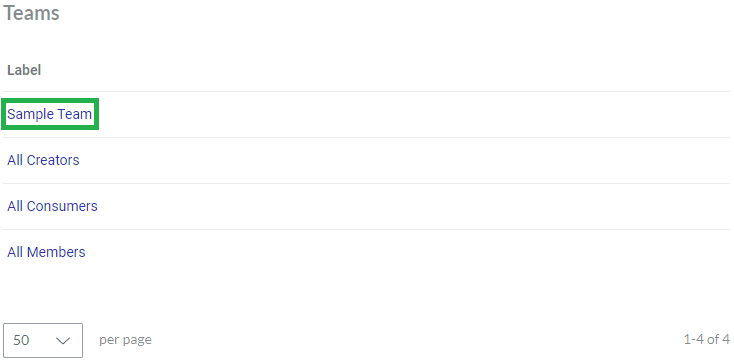
The Teams page is a place in the Admin Area where you navigate and access the workspace teams for administering them. The page displays the teams in the content table, where they are rows and their properties are columns. To view and manage the teams, you can use the content table toolbar and action menu.
Accessing the Teams page
To go to the workspace teams:
Click the Admin area button on the Portal top bar.
In the Admin Area sidebar, click Members > Teams.
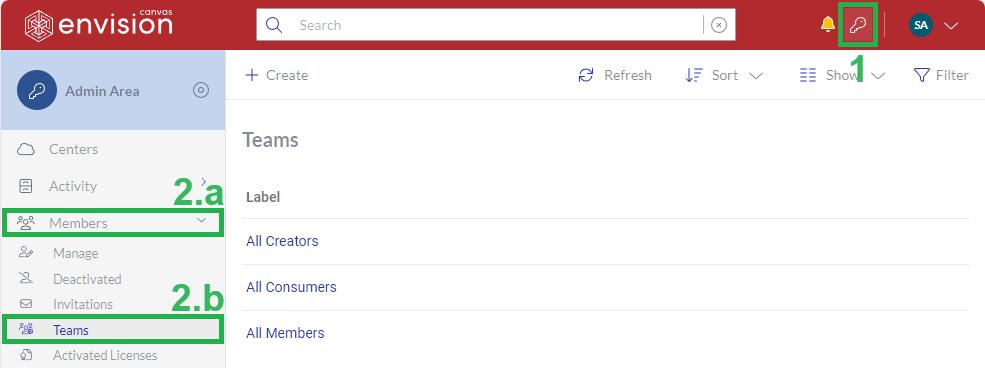
The system leads you to the Teams page.
Teams content table toolbar

The Teams content table toolbar provides the following:
The Create button to create teams.
The Refresh button to refresh the teams in the content table.
The Sort drop-down list to sort the teams in the content table by a given column in ascending or descending order.
The Show drop-down list to show and hide table columns.
The Filter button to filter the teams in the content table against your criteria.
Teams content table columns
By default, the Teams table displays the Label column.
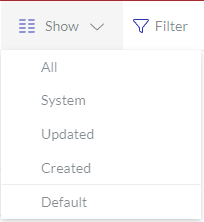 | With the Show drop-down list, you can hide and show the following columns as you wish:
|
|---|
The Label column cannot be hidden. It empowers you with the management features for the teams.
Team action menu
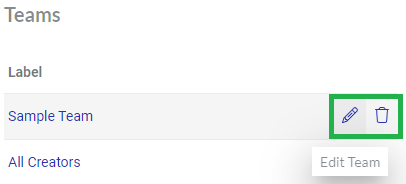
The Label column features the action menu with the following options for a given team:
Edit Team to update the team's properties on the Team page.
Delete Team to remove the team permanently from the workspace.
Team page
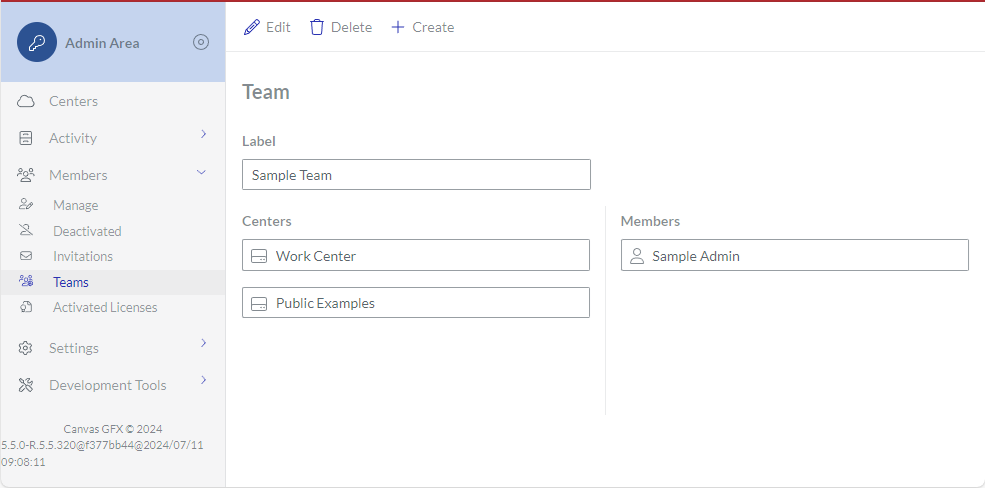
The Team page is a place in the Admin Area where you administer a given team. It provides the toolbar to manage the team and displays its properties in the corresponding fields. You can open the team in view or edit mode on this page.
Accessing the Team page
To go to the properties of a workspace team:
Open the team from the Teams page content table for viewing or editing, as discussed in the corresponding sections below.
Team page toolbar
The Team page toolbar has the following buttons:
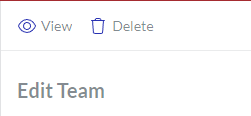
View: to switch the page with a given team to view mode. This button is visible only in edit mode.
Edit: to switch the page with a given team to edit mode. This button is visible only in view mode.
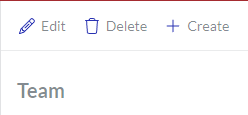
Delete: to delete a given team.
Create: to create a new team. This button is visible only in view mode.
Team page fields and buttons
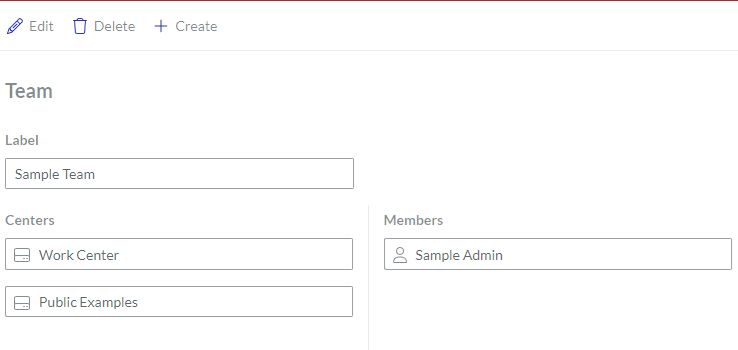
The Team page provides the properties of a displayed team in the following fields:
Label: the name of the team.
Centers: the work centers visible and accessible to the members of the team.
Members: the members of the team.
Creating teams
To create a new team:
Go to the Teams page.
On the content table toolbar, click the Create button.
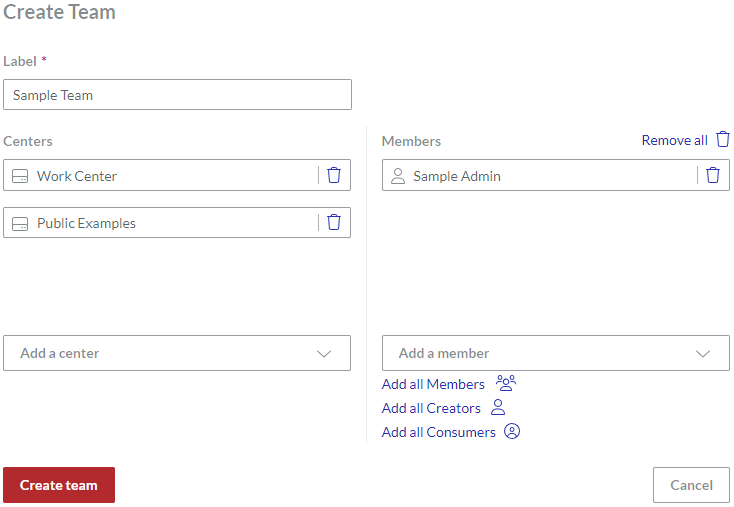
The Create Team page with empty fields appears.
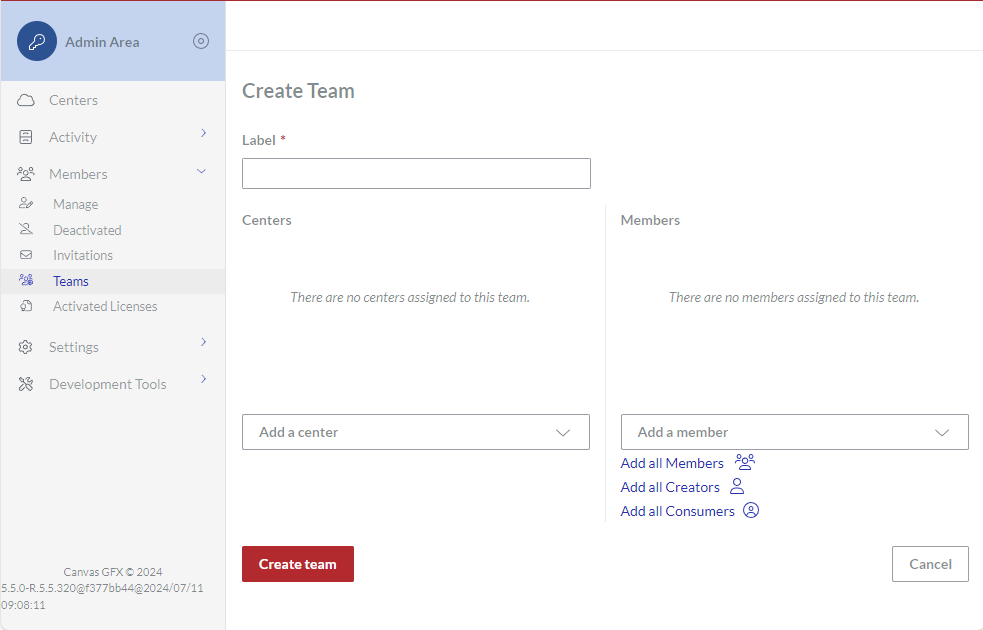
In the Label field, enter the name of the team.
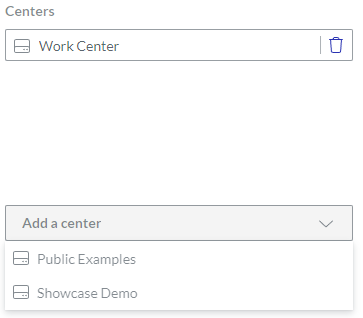
From the Add a center drop-down list, select one or more work centers to which the team members will have access. You can select multiple work centers from the list incrementally. The selected work centers appear under Centers.
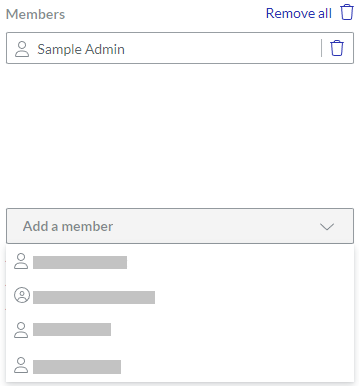
From the Add a member drop-down list, select one or more members of the team. You can select multiple members from the list incrementally. The selected members appear under Members.
Click the Create team button.
The system creates the new team and redirects you to the Teams page.
Viewing teams
To view the properties of a team:
In the Teams page content table, go to the team you want to view.
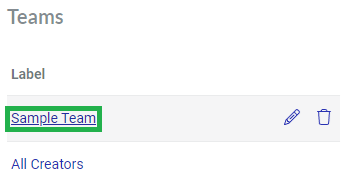
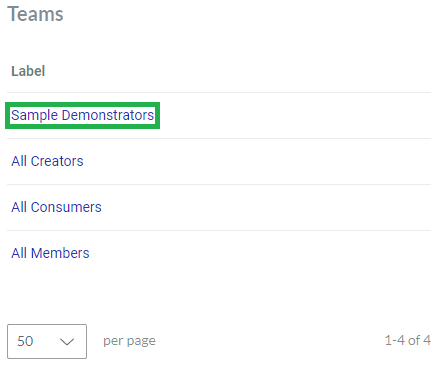
In the Label column, click the name of the team. The system displays the properties of the team on the Team page.

Updating teams
To update a team:
In the Teams page content table, go to the team you want to update.
Click the Edit Team button from the team action menu.
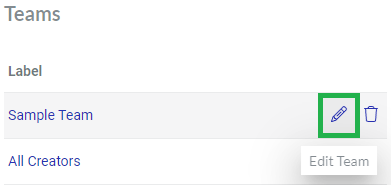
The system opens the team for editing on the Edit Team page.
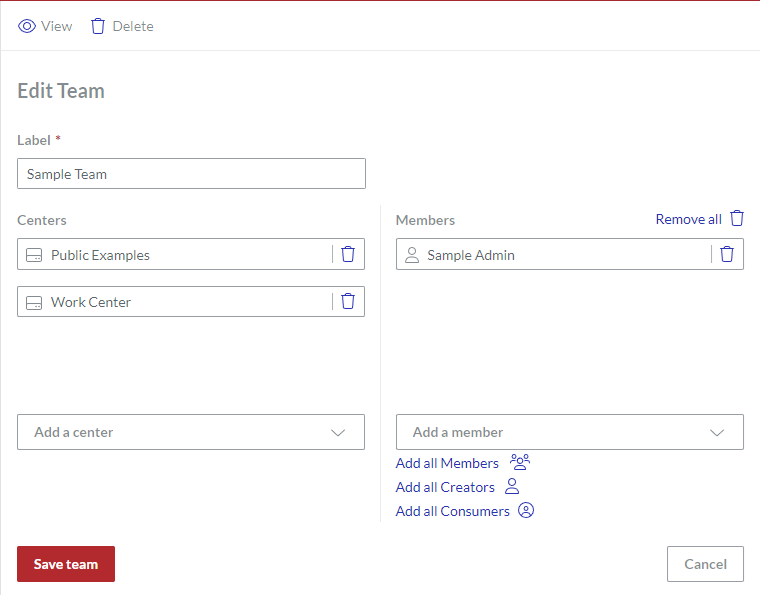
If it is necessary to suspend the team from accessing a work center, click the bin button on the right side of the field of this work center. The removed work center disappears from Centers.

If it is necessary to let the team access a work center, select this work center from the Add a center drop-down list. You can select multiple work centers from the list incrementally. The selected work centers appear under Centers.

If it is necessary to remove a member from the team, click the bin button on the right side of this member's field. The removed member disappears from Members.

If it is necessary to add a member to the team, select this member from the Add a member drop-down list. You can select multiple members from the list incrementally. The selected members appear under Members.

Click the Save team button.
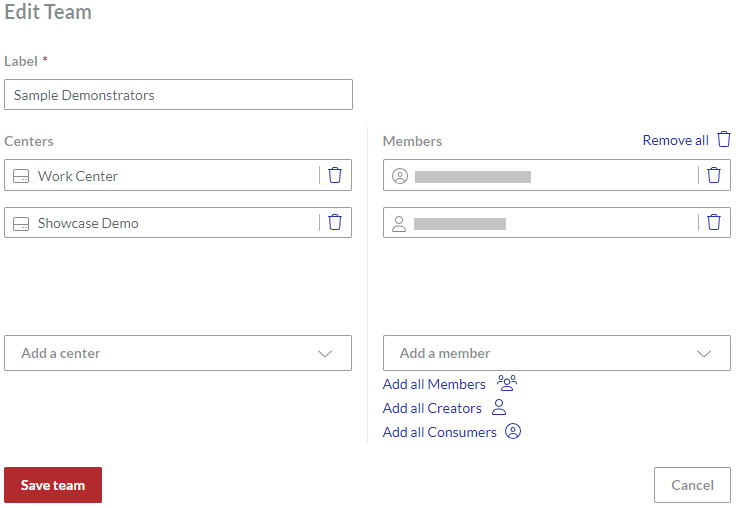
The system saves your changes to the team and redirects you to the Teams page.
Deleting teams
To delete a team from the workspace permanently:
In the Teams page content table, go to the team you want to remove from the Portal.
Click the Delete button from the file team menu.

The Delete dialog pops up.

In the Delete dialog, click the Delete button. The team is permanently deleted from the workspace.
