Managing Invitations
Canvas Envision Portal workspace accounts are associated with email addresses. The system automatically creates and activates a member account for the workspace when a user accepts the invitation.
Being an Admin, you can invite members to your workspace as necessary.
Invitations page
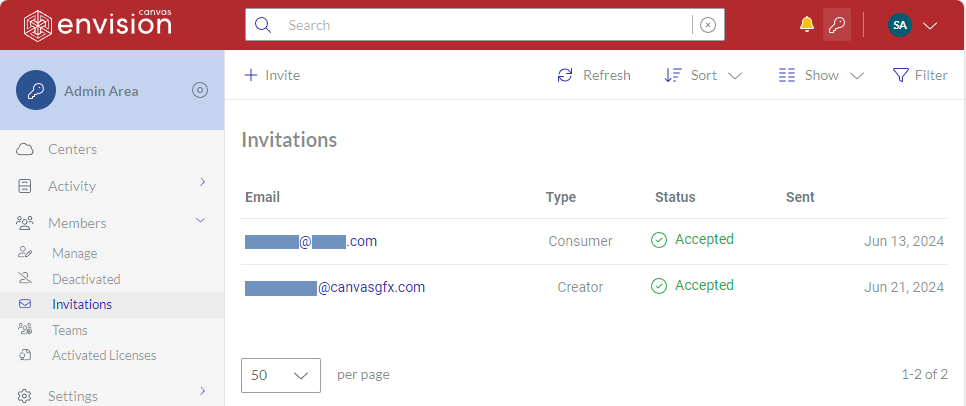
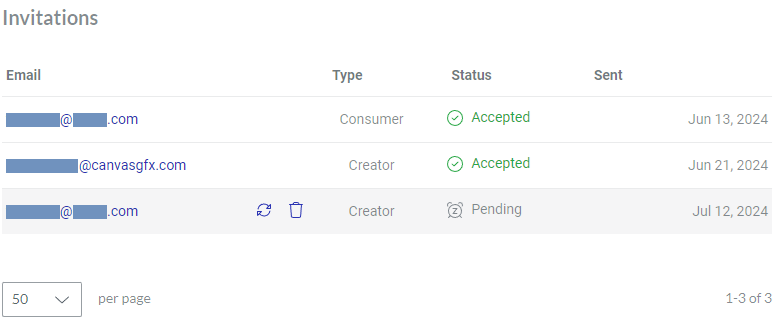
The Invitations page is a place in the Admin Area where you navigate and access all the invitations to the workspace for administering them. The page displays the invitations in the content table, where they are rows and their properties are columns. To view and manage the invitations, you can use the content table toolbar and action menu.
Accessing the Invitations page
To go to the member invitations to the workspace:
Click the Admin area button on the Portal top bar.
In the Admin Area sidebar, click Members > Invitations.
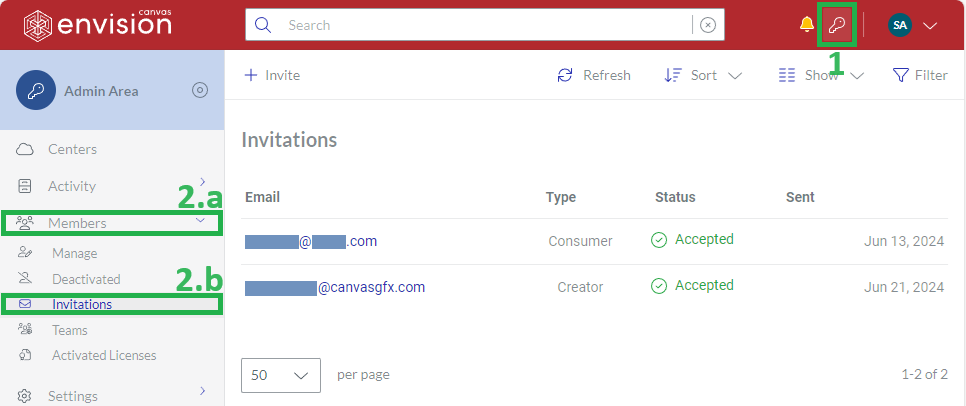
The system leads you to the Invitations page.
Invitations content table toolbar

The Invitations content table toolbar provides the following:
The Invite button to invite new members.
The Refresh button to refresh the invitations in the content table.
The Sort drop-down list to sort the invitations in the content table by a given column in ascending or descending order.
The Show drop-down list to show and hide table columns.
The Filter button to filter the invitations in the content table against your criteria.
Invitations content table columns
By default, the Invitations table displays all its columns:
Email
Type
Status
Sent
With the Show drop-down list, you can hide and show the Type and Status columns if you wish.
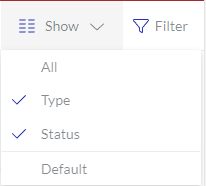
The Email and Sent columns cannot be hidden. The first empowers you with the management features for invitations.
Invitation action menu

The Email column features the action menu with the following options for an invitation:
Resend Invitation to resend the pending invitation. This button is active only for the invitations with the Pending status.
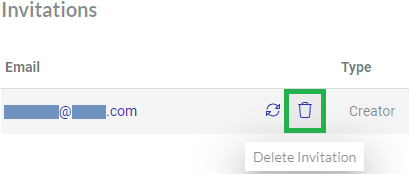
Delete Invitation to delete the invitation.
Inviting single members
To invite a new single member to the workspace:
Click the Invite button on the content table toolbar of either:
The Members page.
The Invitations page.
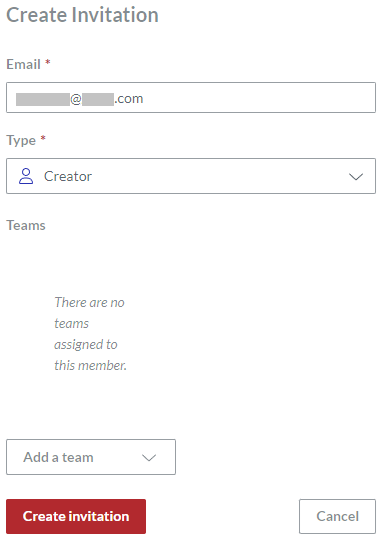
The system leads you to the blank Create Invitation page.
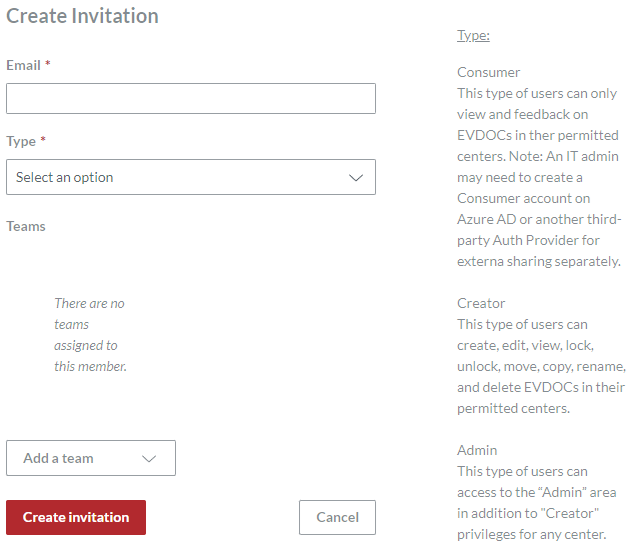
In the Email field, enter the email of the invited member.
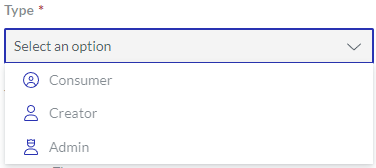
From the Type field, select the member's type, either:
Consumer
Creator
Admin
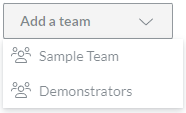
If it is necessary to add the member to a team, select the team from the Add a team drop-down list. The member can be in multiple teams.
Click the Create invitation button.
The system does the following:
Redirects you to the Invitations page, where the new invitation has the Pending status.
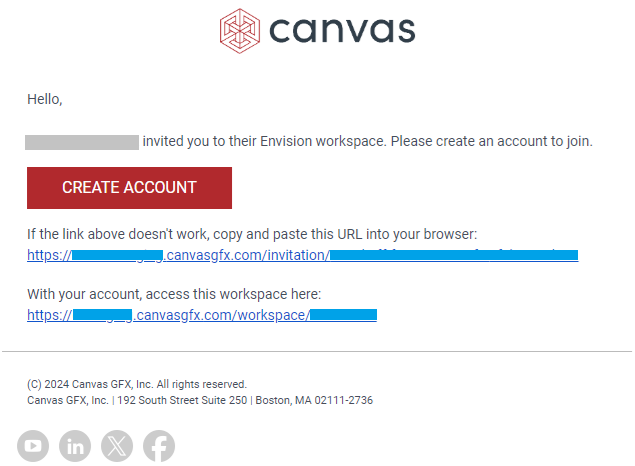
Sends the membership invitation to the email address given in the Email field.
Short video tutorial on inviting members
Resending invitations
To resend a pending invitation:
In the Invitations page content table, go to the invitation with the Pending status you want to resend.
Click the Resend button from the invitation action menu.

A notification dialog pops up at the screen bottom and informs you that the invitation has been resent.
Click the Dismiss button in the notification dialog.
Deleting invitations
To delete an invitation permanently:
In the Invitations page content table, go to the invitation you want to remove from the Portal.
Click the Delete button from the invitation action menu.
The Delete dialog pops up.
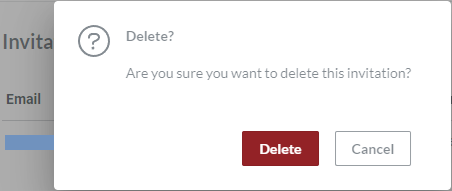
In the Delete dialog, click the Delete button. The invitation is permanently deleted.
