Using Visual Effects in Animations
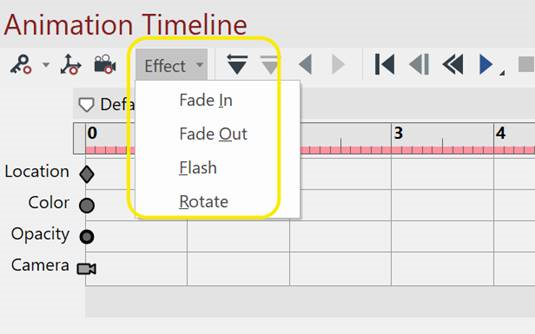
You can create the following four visual effects from the Effect drop-down list at the toolbar in the Animation Timeline pane:
Fade In: changes the opacity of selection from higher to lower.
Fade Out: changes the opacity of selection from lower to higher.
Flash: flashes a part or parts in the selected color.
Rotate: rotates a part or parts clockwise or counter-clockwise.
The same effects involving the same parts cannot be overlapped. Fade In and Fade Out are considered the same effect technically.
Using the Fade In effect
To use the Fade In effect in a 3D animation:
Select the part or parts that you want to animate.
Click the starting frame in the Animation Timeline pane.
Click the Effects drop-down list at the toolbar in the Animation Timeline pane.

Select either Fade In.
Set the options in the Fade In dialog box as needed.
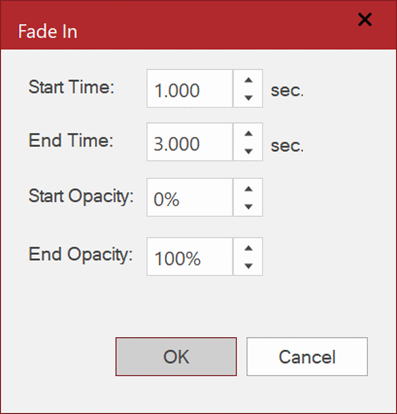
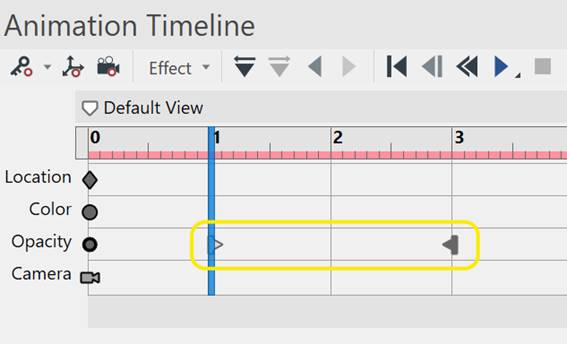
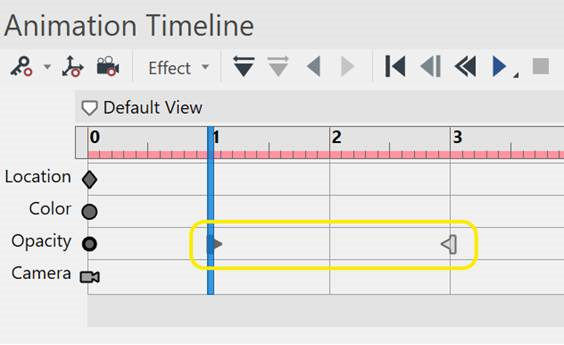
Click OK. A pair of Fade In keys will appear in the Opacity Key row.
Using the Fade Out effect
To use the Fade Out effect in a 3D animation:
Select the part or parts that you want to animate.
Click the starting frame in the Animation Timeline pane.
Click the Effects drop-down list at the toolbar in the Animation Timeline pane.

Select Fade Out.
Set the options in the Fade Out dialog box as needed.
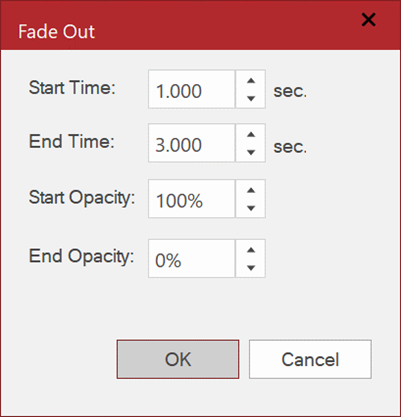
Click OK. A pair of Fade Out keys will appear in the Opacity Key row.
Using the Flash effect
To use the Flash effect in a 3D animation:
Select the part or parts that you want to animate.
Click the starting frame in the Animation Timeline pane.
Click the Effects drop-down list at the toolbar in the Animation Timeline pane.

Select Flash.
Set the options in the Flash dialog box as needed.
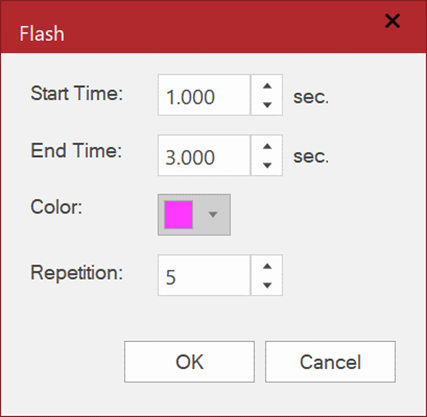
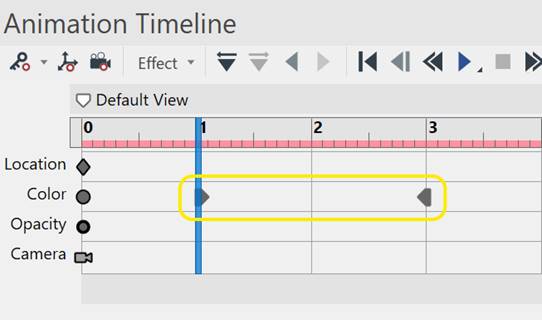
Click OK. A pair of Flash keys will appear in the Color Key row.
Using the Rotate effect
To use the Rotate effect in a 3D animation:
Select the part or parts that you want to animate.
Click the starting frame in the Animation Timeline pane.
Click the Effects drop-down list at the toolbar in the Animation Timeline pane.

Select Rotate.
Click in the Viewport to set the axis of rotation with the Arrow pointer.
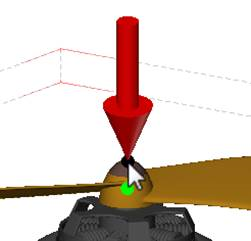
Set the options in the Rotate dialog box as needed. For the number of rotations, you can set it by the multiple of 360° in the Angle edit box. For example, when you want to rotate the parts 3 times, you set the Angle to 1080° (360° x3). When you want to set the axes again, click Pick Axis and do step 5 and 6 again.
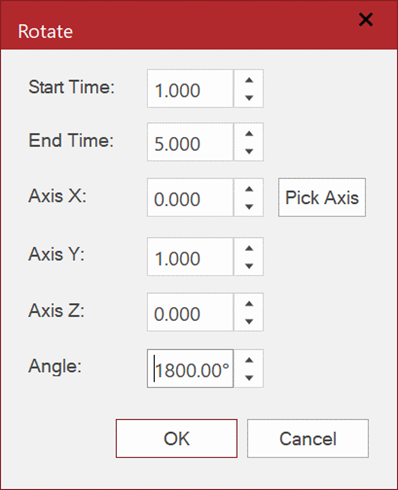
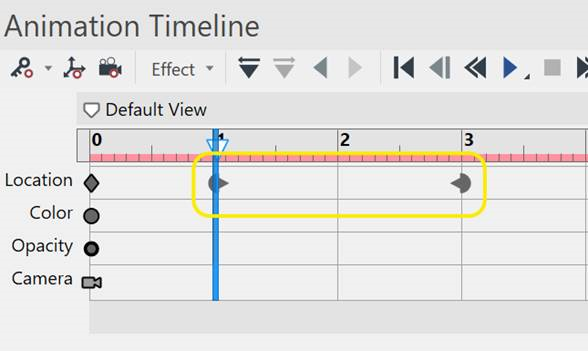
Click OK. A pair of Rotate keys will appear in the Location row.
Editing effect settings
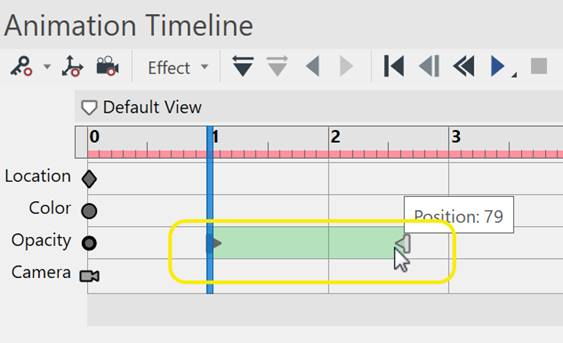
Effect keys can be moved or copied like any other keys. When hovering one of the effect keys, a pair of the keys will be highlighted like the screenshot below.
You can do the following:
Drag the left or right side of the effect marker in the Animation Timeline pane to change the start or end time.
Drag the selection of the effect keys to a new position in the Animation Timeline pane to change the start and end time.
Ctrl + drag the selection of the effect keys to copy and paste it to a new location.
Right-click one of the effect keys to show the context menu.
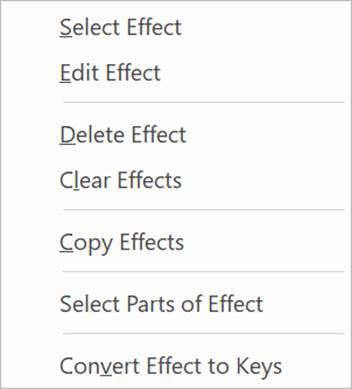
Effect Animation Timeline context menu
For effects, the Animation Timeline context menu includes the following commands:
 |
|
|---|