Using Mouse in Animation Timeline
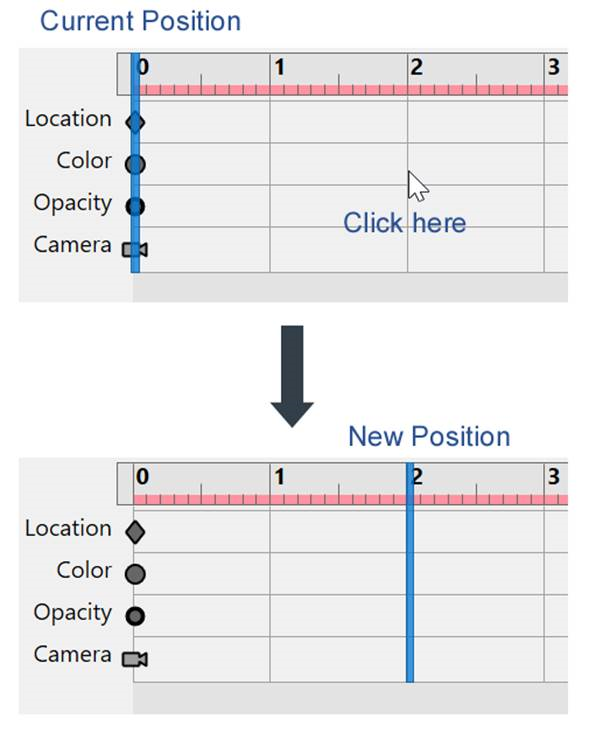
Click a frame—The current position of the Time Frame Bar moves to the clicked frame. The view on the viewport will be updated accordingly.
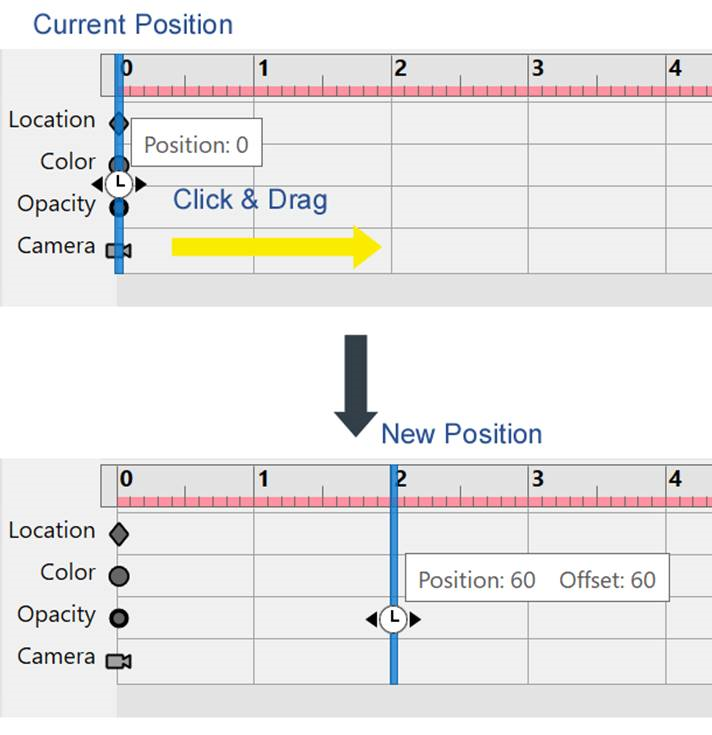
Click and drag the Time Frame Bar—Move the Time Frame Bar to a new location. The view on the viewport will be updated accordingly while dragging the Time Frame Bar.
Click and drag diagonally (from one of the four corners)—Select the region of timeline frames across the Key Type tracks.
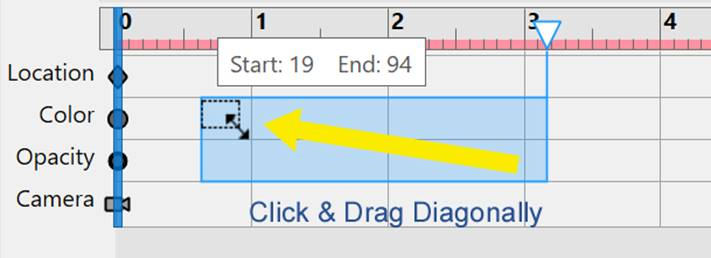
Drag horizontally, vertically at the four sides of the selection, or diagonally at the four corners of the selection ==> Resize the selection.

Click one of the Key Type tracks—Select the enter track/row in the Timeline.

Mouse Wheel Up at the mouse pointer—Zoom in the Timeline at the mouse pointer.

Mouse Wheel Down at the mouse pointer—Zoom out the Timeline at the mouse pointer.

Double-click the Timeline—Fit the entire animation to the width of the pane.

Click the mouse wheel and drag - Pan the Timeline.

Click on a key and drag it to a new location—Move the key to the new location.
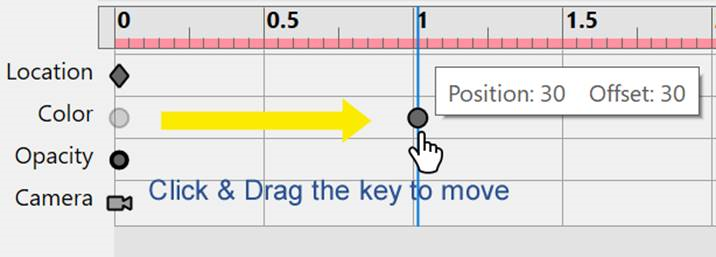
Ctrl + click on a key and drag it to a new location—Create a copy of the key at the new location.
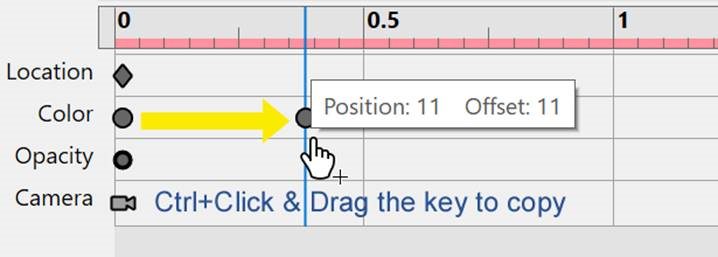
Click between the two ends of the Selection Bar and drag the selection to a new location—Move the selection along the keys inside it to the new location.

Ctrl + click between the 2 ends of the Selection Bar and drag the selection to a new location—Create a copy of the selection along the keys inside it at the new location.

Click at either of the two ends of the Selection Bar and drag—Scale the intervals between all keys in the selection proportionally and shift the keys accordingly.

Ctrl + click at either of the 2 ends of the Selection Bar and drag—Create a copy of the keys scaling the intervals between all keys in the selection proportionally.

Click the upside-down triangle that extends from the right side of the selection and drag—Scale the intervals of all keys in the selection including all of the selected frames proportionally.

Right-click any blank area, a key (not Effect keys), or a selection in the Animation Timeline pane - Show the context menu.
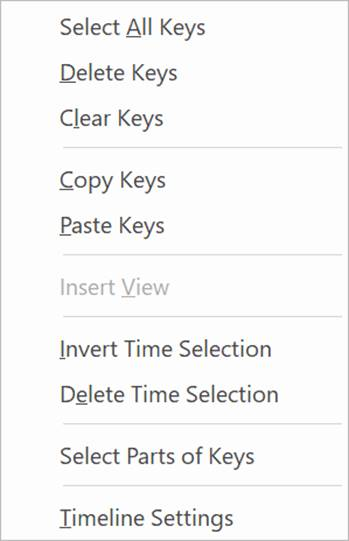
Main Animation Timeline context menu
The main Animation Timeline context menu includes the following commands:
Select All Keys: selects all keys in the animation by selecting all frames.
Delete Keys: deletes a key or keys in the selection.
Clear Keys: deletes all keys in the animation
Copy Keys: makes a copy of a key or keys in the selection.
Paste Keys: pastes the copied key, keys, effect, or effects.
Insert View: when a view is selected in the 3D Views pane, this command gets enabled. It adds the keys of the view in the timeline as well as the marker.
Invert Time Selection: when there is a selection that contains two or more keys, this command gets enabled. It replaces the current selection with the mirrored selection.
Delete Time Selection: deletes all frames including any keys in the selection.
Select Parts of Keys: selects the parts, associated with a (non-camera) key or keys in the selection, in the Viewport.
Timeline Settings: displays the Timeline Settings dialog box.