Updating Table Fill, Borders, and Margins
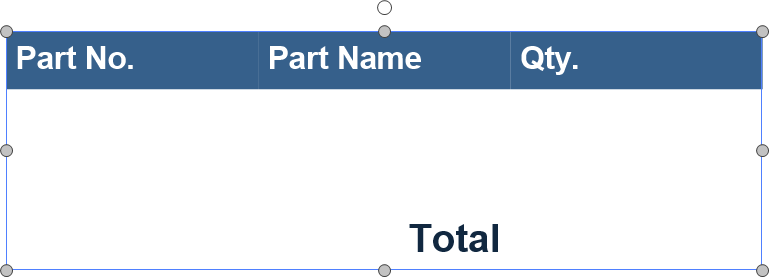
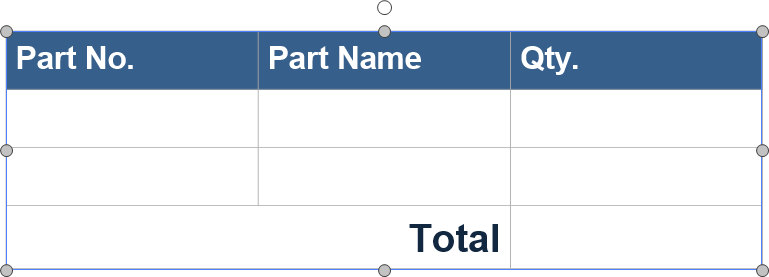
For one or more cells or the entire table, you can change the cell background and border, edit the borders, and set the margins. Additionally, you can toggle the visibility of gridlines in tables with no borders.
Setting the background fill ink
To change the background fill of one or more cells or the entire table:
Select one or more cells or the table whose background fill you want to change.
Click the Fill menu button in the Fill & Border panel on the Table contextual ribbon tab.
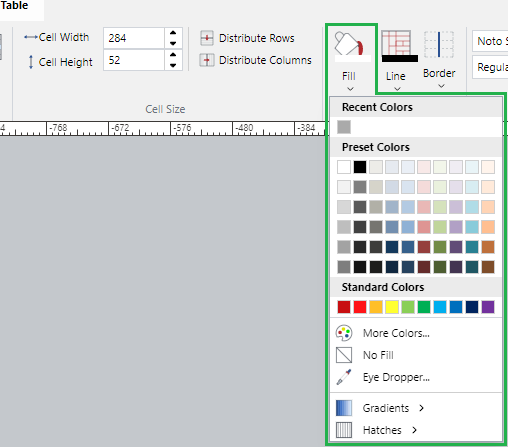
Select a color, gradient, or hatch from the Fill drop-down menu.
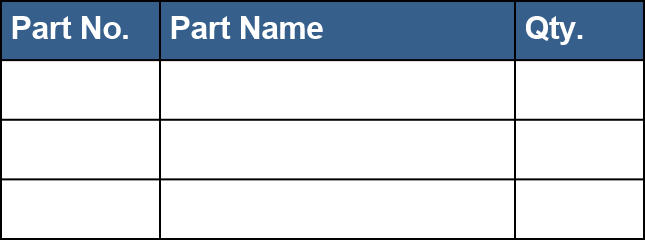
Changing the border color, weight, and dashes
To change the color of the borders of one or more cells or the entire table:
Select one or more cells or the table whose border color you want to change.
Click the Line menu button in the Fill & Border panel on the Table contextual ribbon tab.
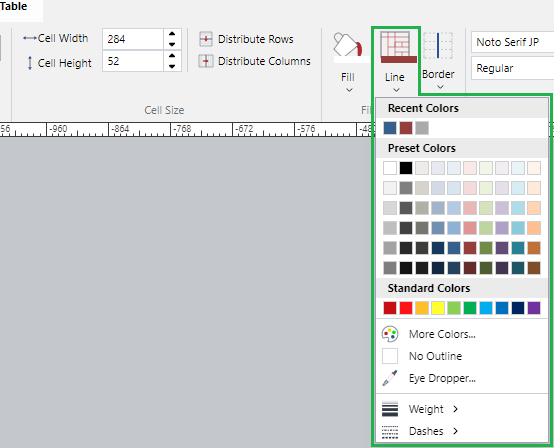
If necessary, select the new border color from the Fill drop-down menu.
If necessary, select the new border weight from the Weight submenu of the Fill drop-down menu.
If necessary, select the new border dashes from the Dashes submenu of the Fill drop-down menu.

Editing borders
To edit the borders of one or more cells or the entire table:
Select one or more cells or the table whose borders you want to edit.
Click the Border menu button in the Fill & Border panel on the Table contextual ribbon tab.
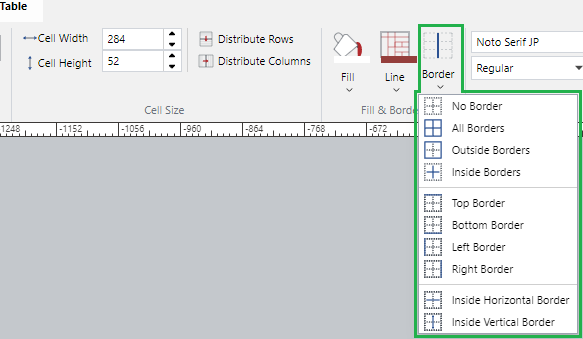
Select the new border configuration from the Border drop-down menu.

Changing cell margins
To change the margins of one or more cells or the entire table:
Select one or more cells or the table whose margins you want to change.
Click the Cell Margins menu button in the Alignment panel on the Table contextual ribbon tab.
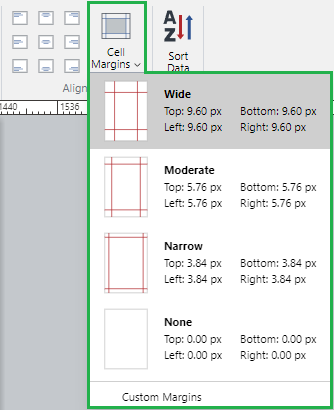
From the Cell Margins drop-down menu, select a margin preset option or Custom Margins.
When Custom Margins is selected, the Cell Margins dialog box pops up. Specify the margins in this pop-up dialog box.
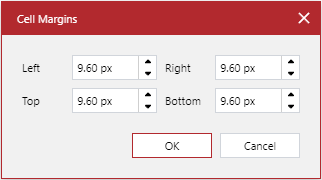
When done, click the OK button.
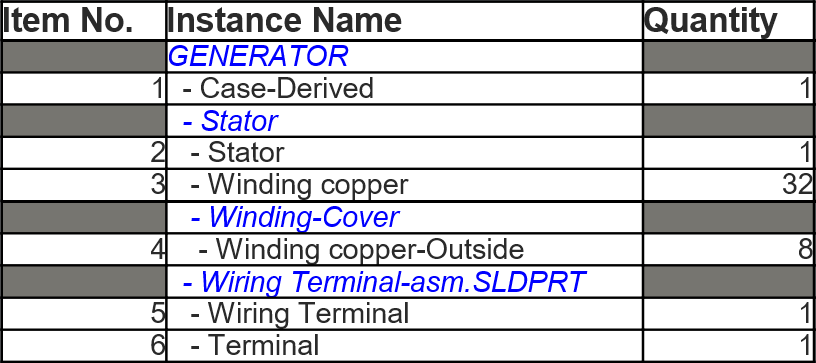
All margins: 0
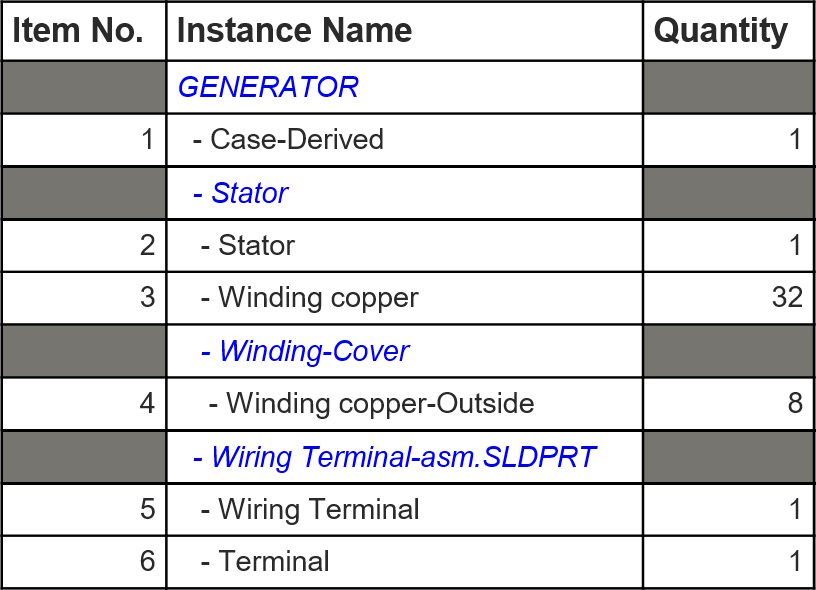
All margins: 0.06
Showing and hiding gridlines in tables with no borders
To show or hide gridlines in a table with no borders:
Click a table with no borders.
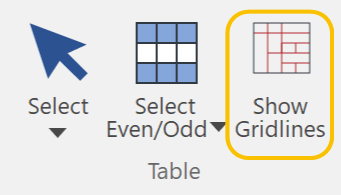
Click the Show Gridlines button in the Table panel on the Table contextual ribbon tab.
Show Gridlines: off
Show Gridlines: on
