Snapping Objects to Grid
You can display a grid of vertical and horizontal lines to aid in positioning objects on a page. You can also turn on the snapping to the grid, which makes objects snap into alignment with the grid when you drag near a grid line.
The Creator can assist you in aligning objects in the illustration with the Snap to Grid feature. When you place, resize, or move objects on the page layout area, and this feature is on, the system automatically snaps the boundaries of these objects to the closest gridlines.

Showing, hiding, and configuring the grid
By default, the grid is hidden. To display and configure it, follow the procedure discussed in the Grid section.
Turning on and off the Snap to Grid feature
To enable or disable the automatic snapping of objects to the grid:
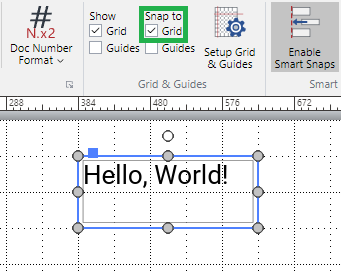
Go to the Snap to Grid checkbox in the Grid & Guides panel on the Layout ribbon tab.

Either:
Select the checkbox to enable the automatic snapping of objects to the grid.
Clear the checkbox to disable the automatic snapping of objects to the grid.
Aligning objects with the Snap to Grid feature
To snap one or more objects to gridlines:
Ensure the Snap to Grid feature is on.
Either:
Align an object or objects.
Resize an object.
Draw an object.
Edit vector paths.
To make objects jump to the next gridline:
Press the Shift+Arrow key combination.
Grid snapping examples
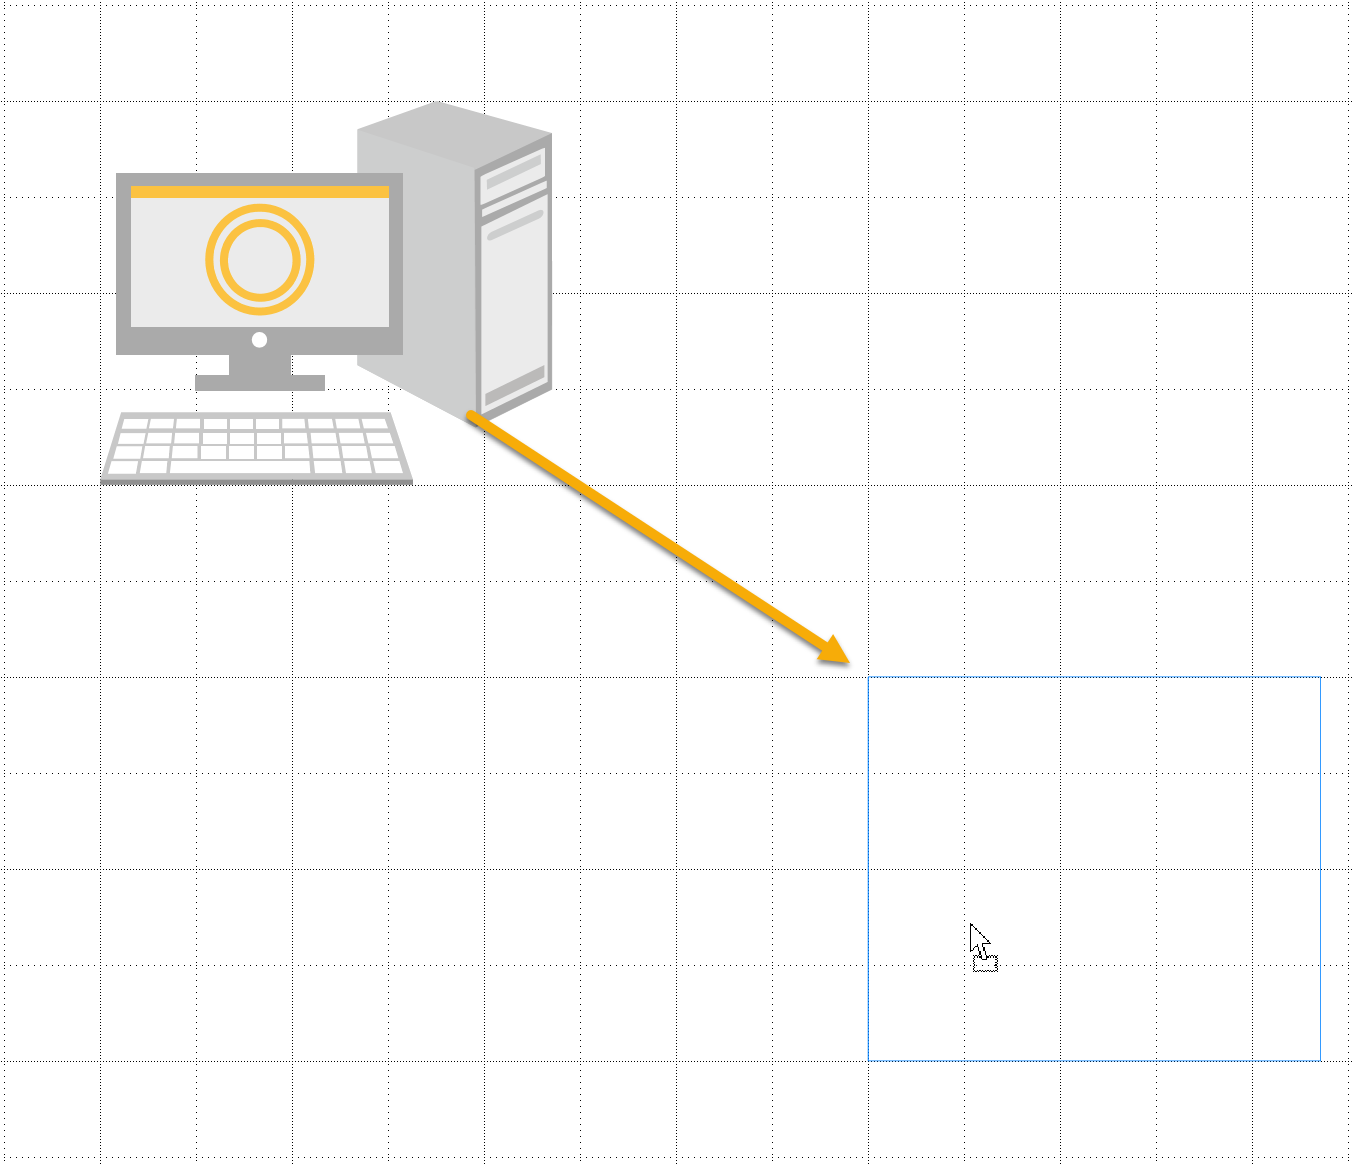
Dragging the object to move it toward the target grid.
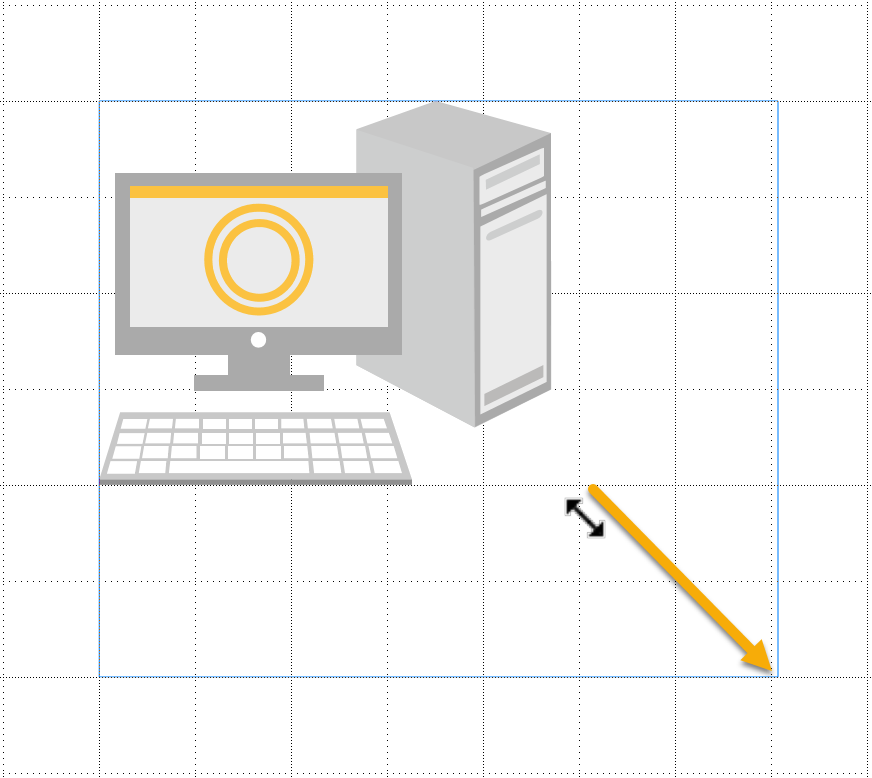
Dragging the corner handle to resize the object to fit the object’s height to the target grid.

