Canvas Envision Knowledge Base Help

Aligning and Distributing Objects

You can quickly and easily align and distribute selected objects as discussed in this section.

Aligning objects to the page bounds

To align an object with the bounds of the page:

  1. Select an object.

  2. Click one of the following:

    • A button in the Align panel of the Home ribbon tab.

      Align Panel on the Home Ribbon Tab
    • A command from the Align menu in the Align & Arrange panel of the Draw ribbon tab.
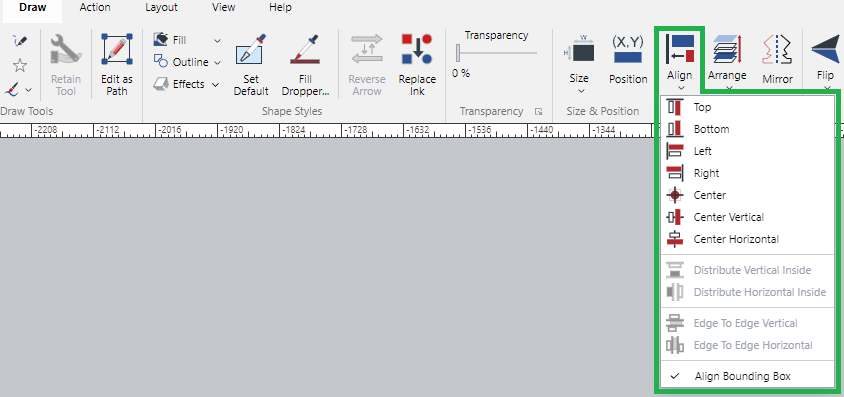
      Align Menu in the Align and Arrange Panel on the Draw Ribbon Tab

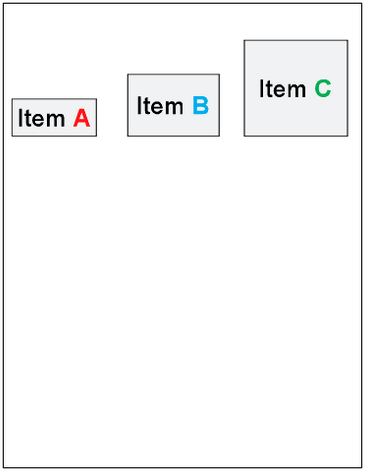
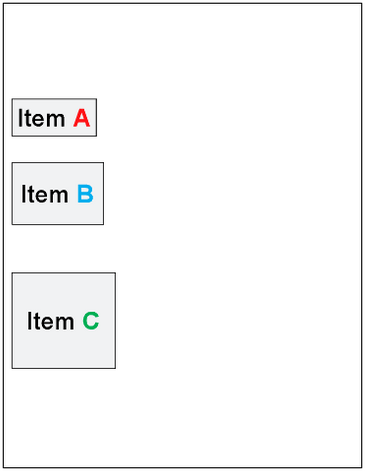
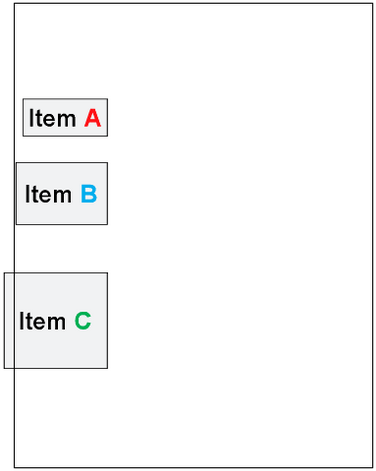
Page bounds alignment options

  • Original object position

  • Top

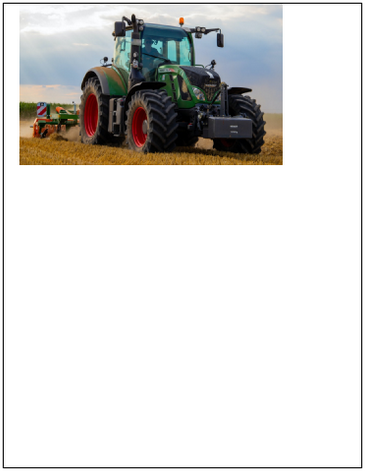
  • Original Alignment Position of an Object
  • Top Page Bounds Alignment Position of an Object
  • Bottom

  • Left

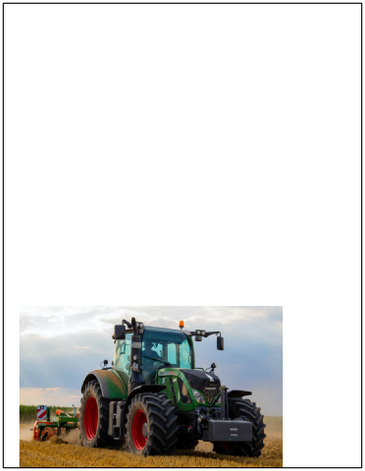
  • Bottom Page Bounds Alignment Position of an Object
  • Left Page Bounds Alignment Position of an Object
  • Right

  • Center

  • Right Page Bounds Alignment Position of an Object
  • Center Page Bounds Alignment Position of an Object
  • Center Vertical

  • Center Horizontal

  • Center Vertical Page Bounds Alignment Position of an Object
  • Center Horizontal Page Bounds Alignment Position of an Object

Aligning objects with one another

To align one or more objects with another object:

  1. Select an object (the key object) with which you want to align other objects.

  2. Select objects you want to align with the key object.

  3. Either:

    • Click a button in the Align panel of the Home ribbon tab.

      Align Panel on the Home Ribbon Tab for Multiple Selected Objects
    • Click a command from the Align menu in the Align & Arrange panel of the Draw ribbon tab.
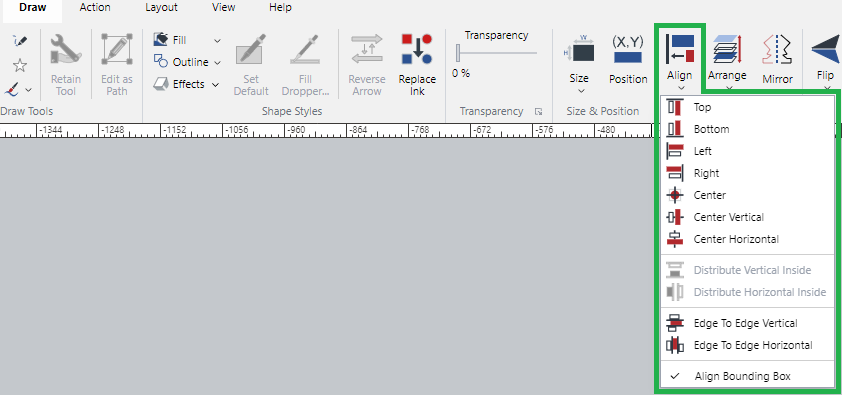
      Align Menu in the Align and Arrange Panel on the Draw Ribbon Tab for Multiple Selected Objects
    • Right-click a selected object, hover over the Align submenu, and click a command from the submenu.
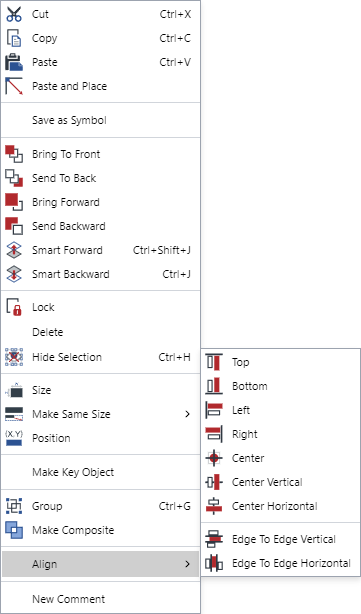
      Align Submenu from the Context-sensitive Menu for the Selected Objects

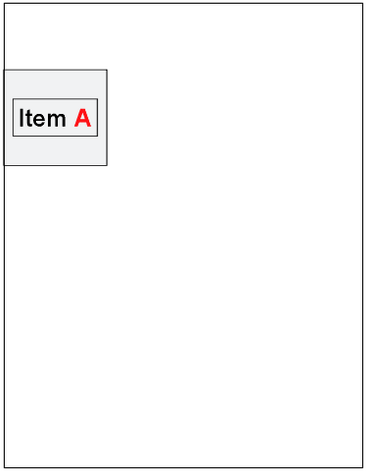
Key object alignment options

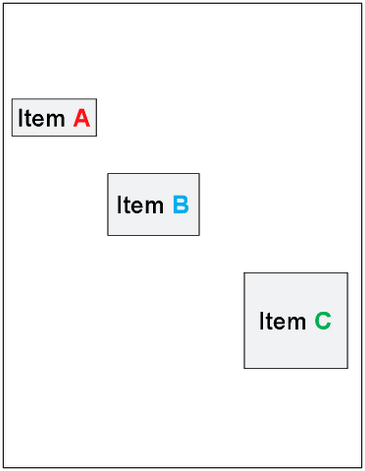
  • Original position along the Item A key object

  • Top

  • Original Alignment of Objects with Item A
  • Top Alignment of Objects with Item A
  • Bottom

  • Left

  • Bottom Alignment of Objects with Item A
  • Left Alignment of Objects with Item A
  • Right

  • Center

  • Right Alignment of Objects with Item A
  • Center Alignment of Objects with Item A
  • Center Vertical

  • Center Horizontal

  • Center Vertical Alignment of Objects with Item A
  • Center Horizontal Alignment of Objects with Item A

Distributing space evenly between objects

To distribute space evenly between objects:

  1. Select three or more objects you want to distribute evenly.

  2. Either:

    • Click the Distribute Vertical Inside or Distribute Horizontal Inside button in the Align panel of the Home ribbon tab.

      Distribute Vertical Inside and Distribute Horizontal Inside Buttons in the Align Panel on the Home Ribbon Tab for Multiple Selected Objects
    • Click the Distribute Vertical Inside or Distribute Horizontal Inside command from the Align menu in the Align & Arrange panel of the Draw ribbon tab.
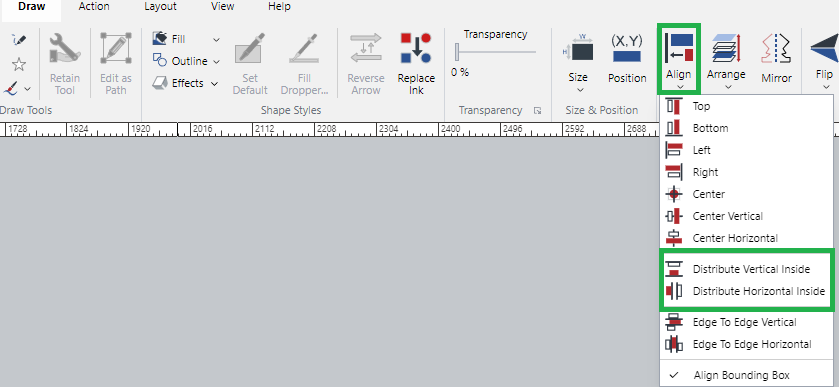
      Distribute Vertical Inside and Distribute Horizontal Inside Commands from the Align Menu in the Align and Arrange Panel on the Draw Ribbon Tab for Multiple Selected Objects
    • Right-click a selected object, hover over the Align submenu, and click the Distribute Vertical Inside or Distribute Horizontal Inside command from the submenu.
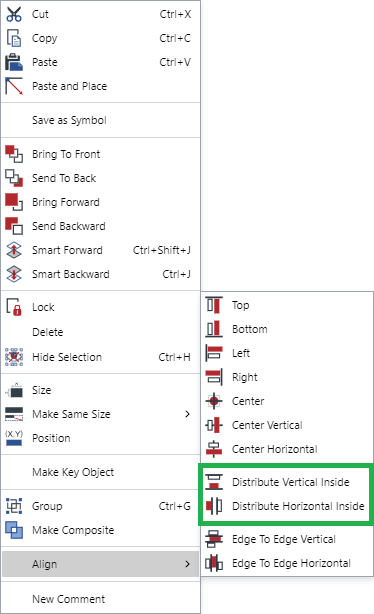
      Distribute Vertical Inside and Distribute Horizontal Inside Commands from the Align Submenu from the Context-sensitive Menu for the Selected Objects

Object distribution options

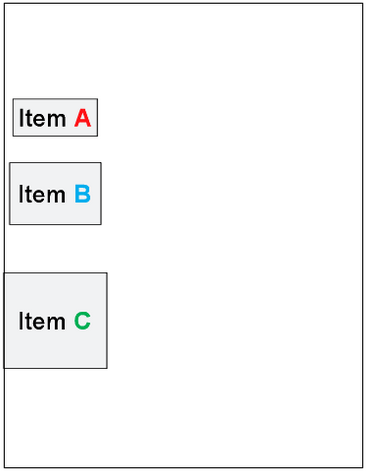
  • Original position

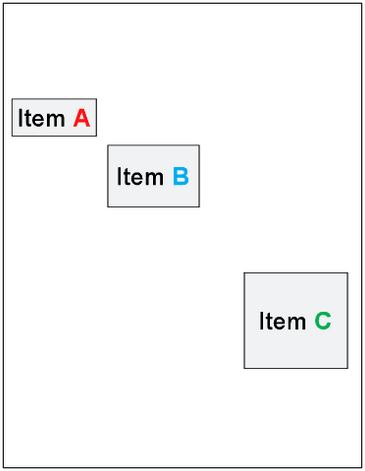
  • Distribute Horizontal Inside

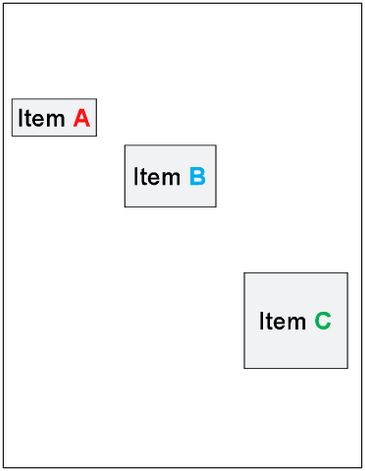
  • Distribute Vertical Inside

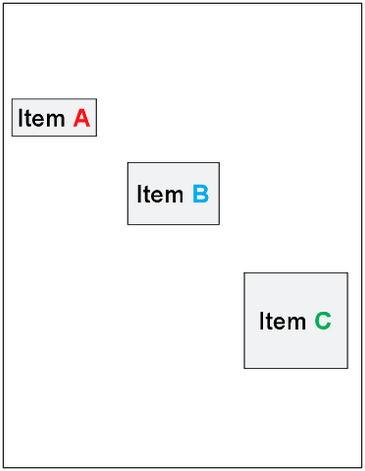
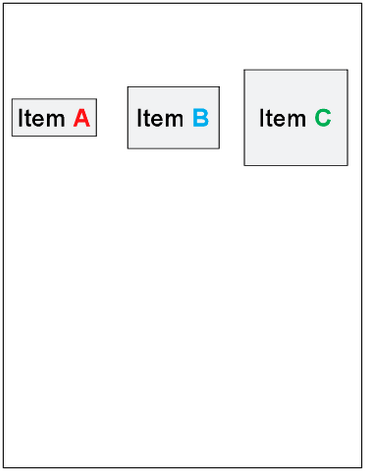
  • Original distribution of Objects
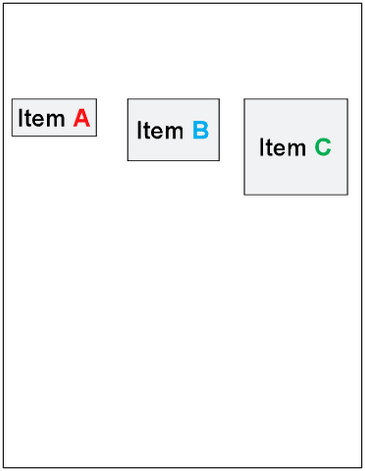
  • Distribute Horizontal Inside Command Applied to Three Objects
  • Distribute Vertical Inside Command Applied to Three Objects

Aligning objects outside of outlines or font glyphs

Some vector objects may have thicker outlines than others. You may want to align objects considering the thickness of vector objects. Also, text objects can have text margins. You may want to align text objects based on their font glyphs instead of their object bounding boxes.

To align objects outside of outlines or font glyphs:

  1. Select one or more objects you want to align or distribute.

  2. Either:

    • Turn off the Align Bounding Box button in the Align panel of the Home ribbon tab.

      Align Bounding Box Button in the Align Panel on the Home Ribbon Tab for Multiple Selected Objects
    • Remove the checkbox from the Align Bounding Box command from the Align menu in the Align & Arrange panel of the Draw ribbon tab.
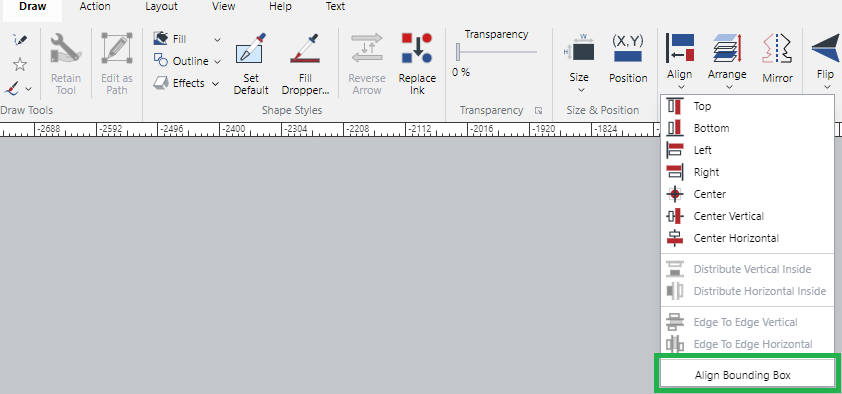
      Align Bounding Box Command from the Align Menu in the Align and Arrange Panel on the Draw Ribbon Tab for Multiple Selected Objects
  3. Click an align or distribute button (command).

Align bounding box examples

Align Bounding Box On

Align Bounding Box Off

Align Bounding Box Button On in the Align Panel on the Home Ribbon Tab Align Bounding Box Command On in the Align Menu in the Align Panel on the Draw Ribbon Tab

Align Bounding Box Button Off in the Align Panel on the Home Ribbon Tab Align Bounding Box Command Off in the Align Menu in the Align Panel on the Draw Ribbon Tab

Objects aligned at the top of the bounding boxes
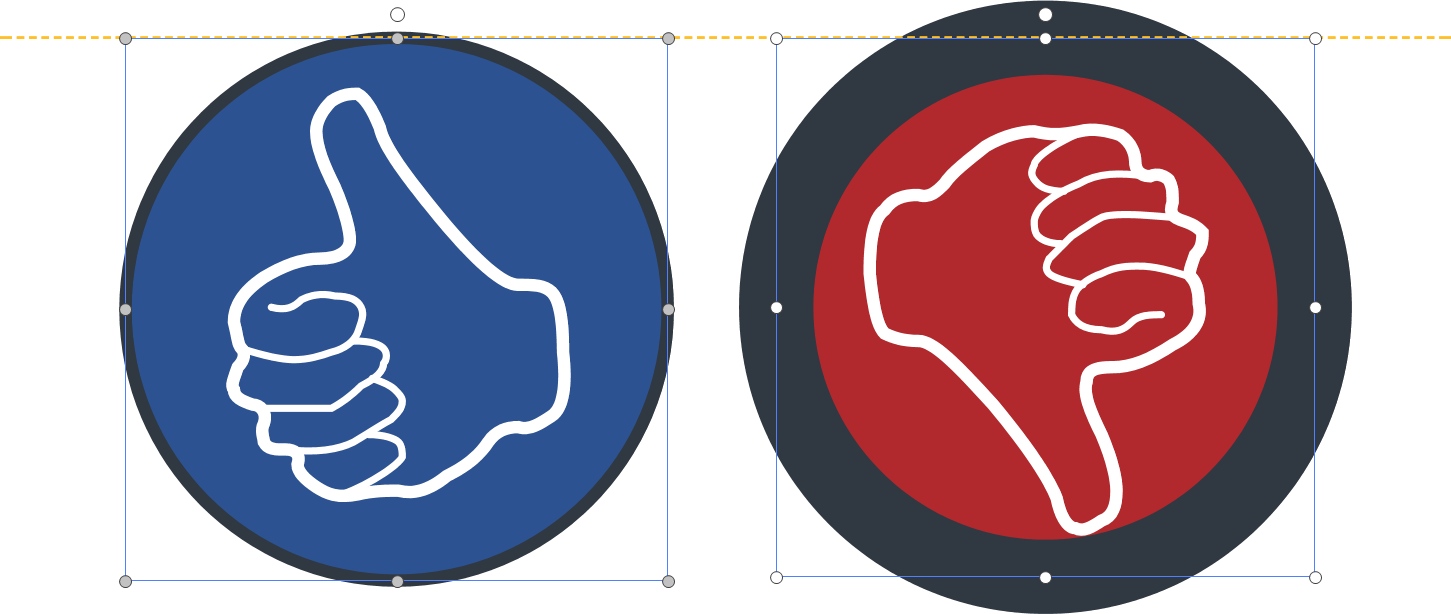
Objects Aligned at the Top of Bounding Boxes

Objects aligned at the top outside the outlines
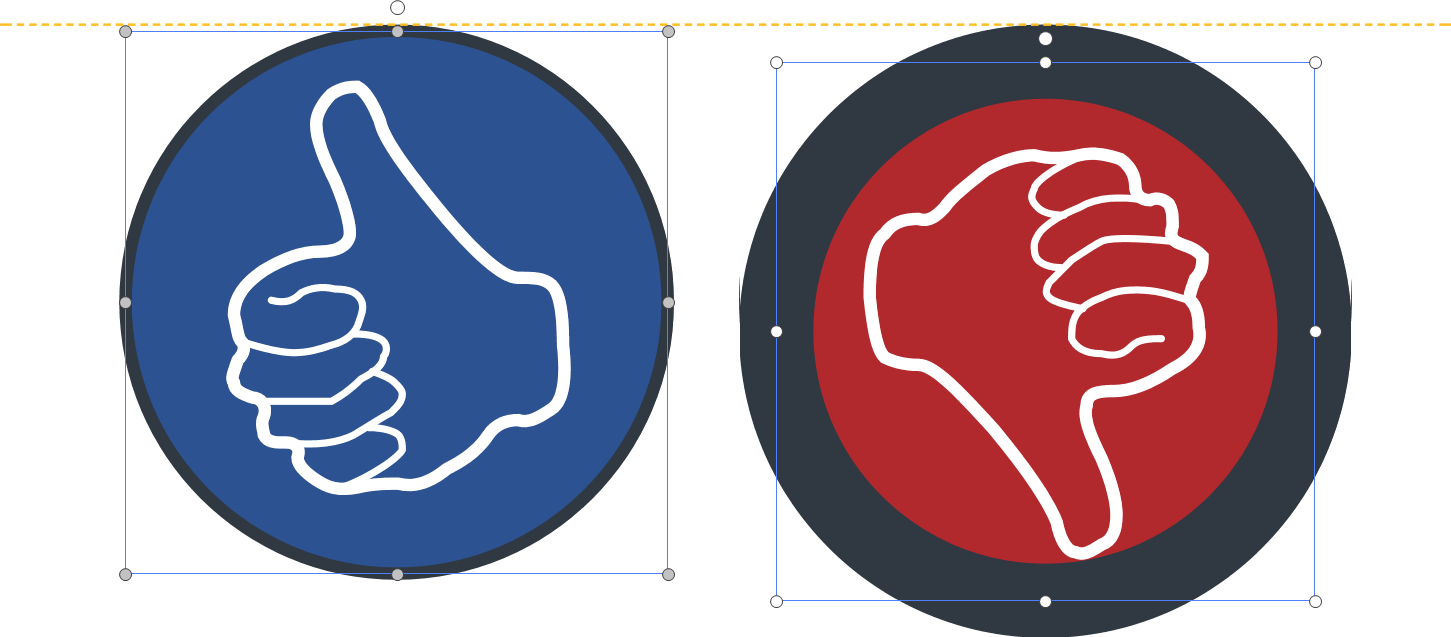
Objects Aligned at the Top Outside the Outlines

Text aligned at the top of the bounding boxes

Text Objects Aligned at the Top of Bounding Boxes

Text aligned at the top outside the font glyphs

Text Objects Aligned at the Top Outside the Font Glyphs

Short video tutorial

Last modified: 28 September 2024