Managing Your Personal Information
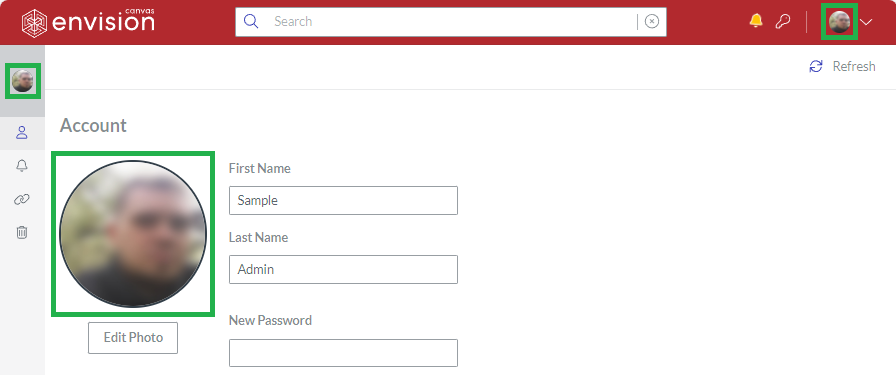
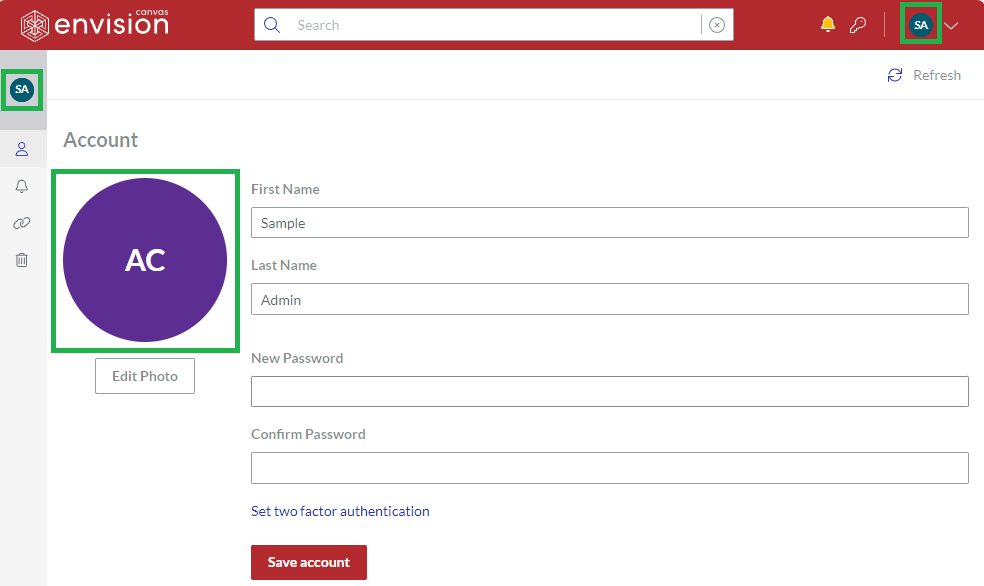
You can view and manage your personal account information on the Account page as follows:
Manage your profile photo.
Update your first and last name.
Reset your password.
Manage two-factor authentication.
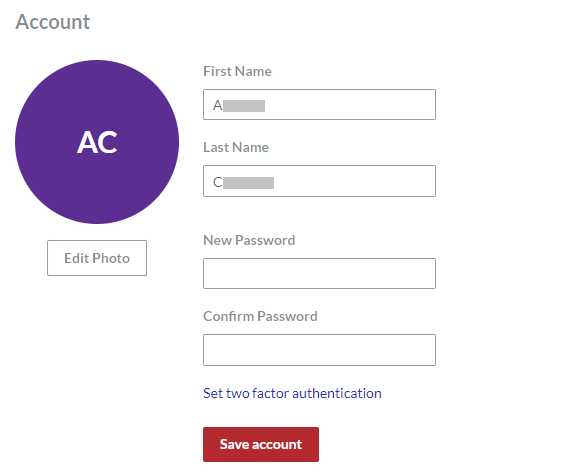
Accessing Account page
To go to your personal account information:
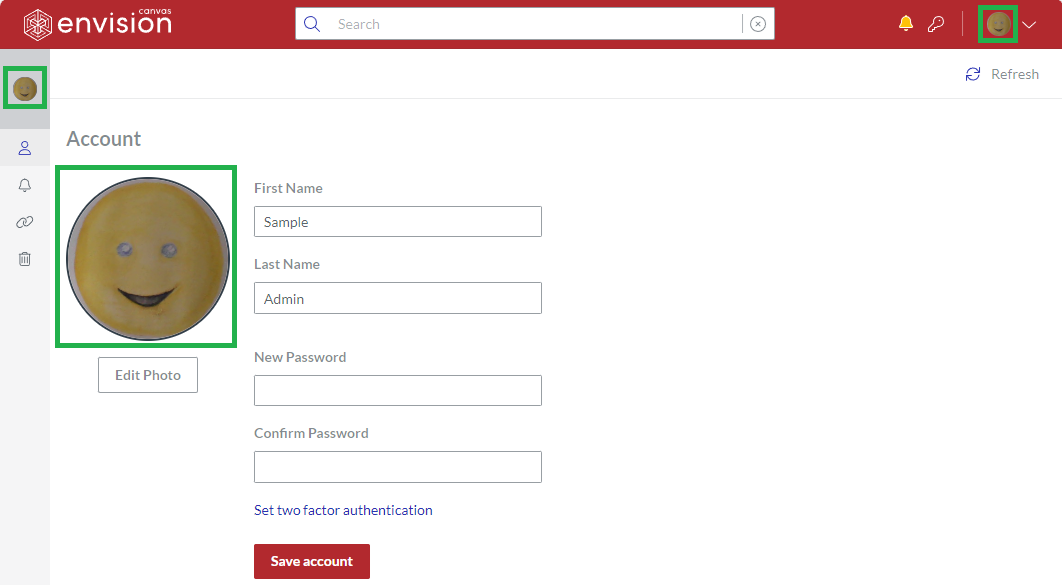
Click Account from the User menu.
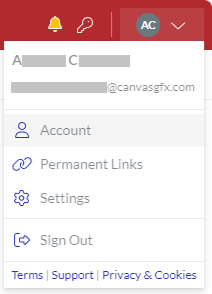
The system leads you to the Account page.
Managing your profile photo
You can manage your account profile photo as follows:
Take a new photo with the built-in camera.
Upload a new photo from the local drive.
Replace the existing photo.
Edit the new or existing photo.
Remove the existing photo from the account.
Taking your first profile photo
To take your profile photo with the camera built-in or attached to your hardware when your account has no profile photo given:
On the Account page, click the Edit Photo button. The Change Photo dialog pops up.
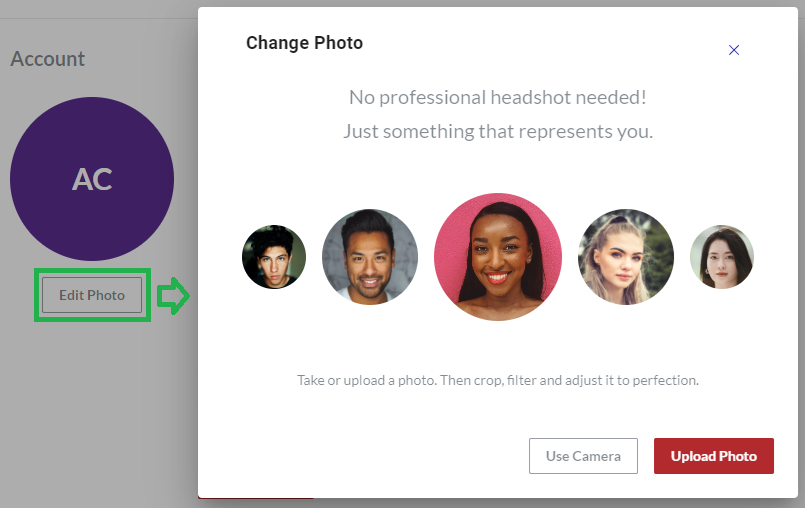
In the Change Photo dialog, click the Use Camera button. The Take Photo dialog replaces the Change Photo dialog.
If the Take Photo dialog cannot access the camera:
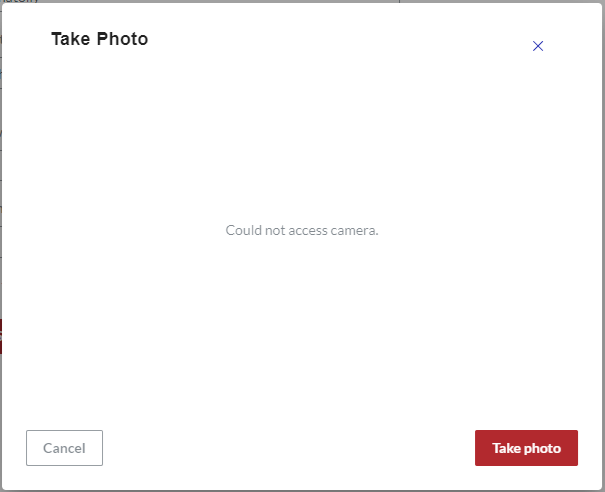
In the security settings of your operational system, allow your browser to use the camera.
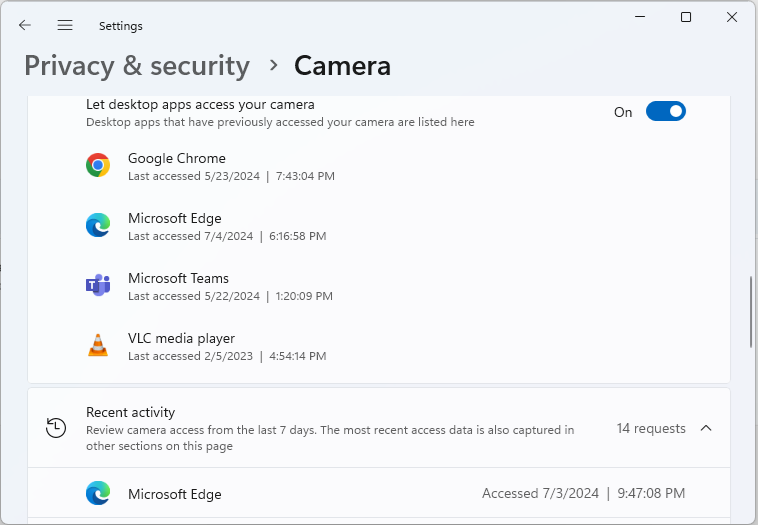
In the security settings of your browser, allow applications to ask to use the camera.

If the Canvas Envision Portal has no permission to use your camera, the browser raises a pop-up prompt asking you to allow the Portal to use your camera.
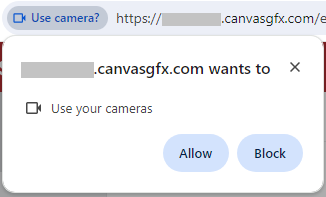
In the browser pop-up prompt, click the Allow button to allow the Portal to use your camera for taking your profile photo. The Take Photo dialog starts displaying the real preview from the built-in camera.
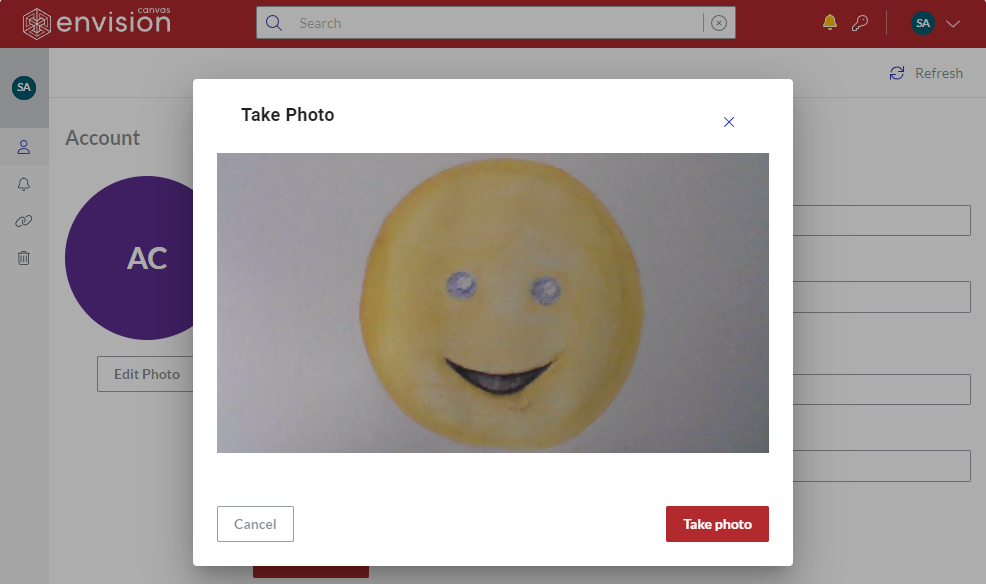
Click the Take Photo button. The Take Photo dialog starts the countdown from 3 to 1.
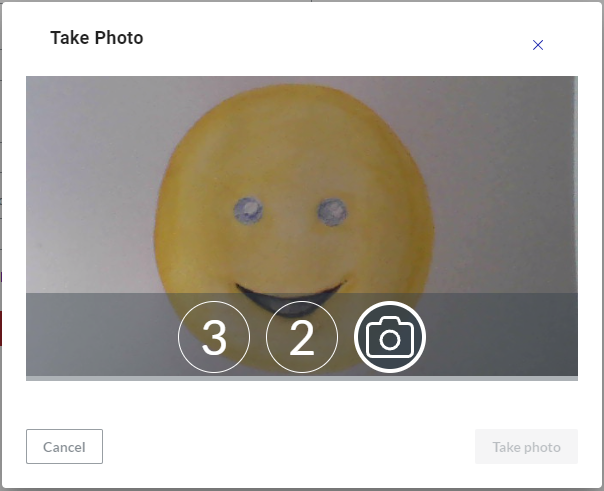
During the countdown, adjust your posture in front of the camera. When the countdown stops, the system automatically takes your photo and opens it in the Edit Photo dialog.
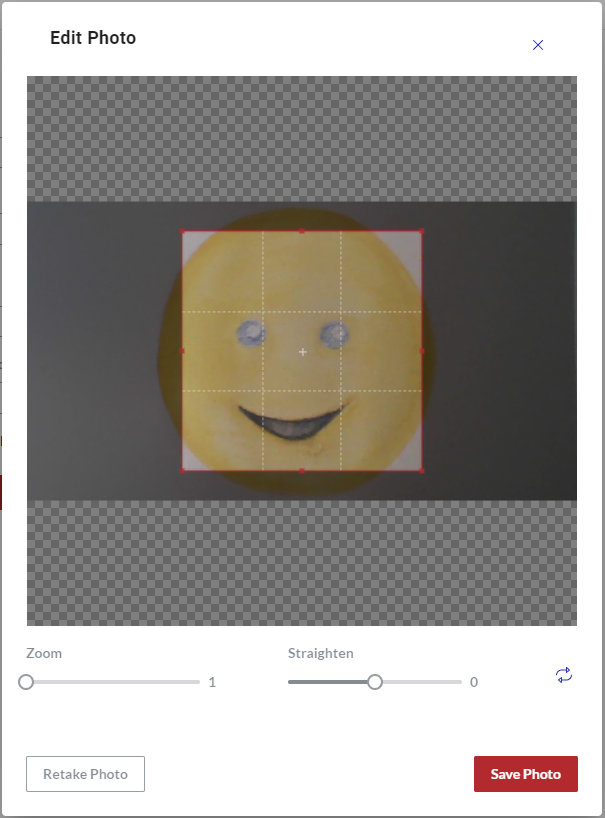
If necessary to take another photo, click the Retake Photo button and repeat the pertinent previous steps.
If necessary, edit the photo as discussed in Editing the photo.
Click the Save Photo button. The photo becomes your account profile icon. The Portal displays it where necessary.
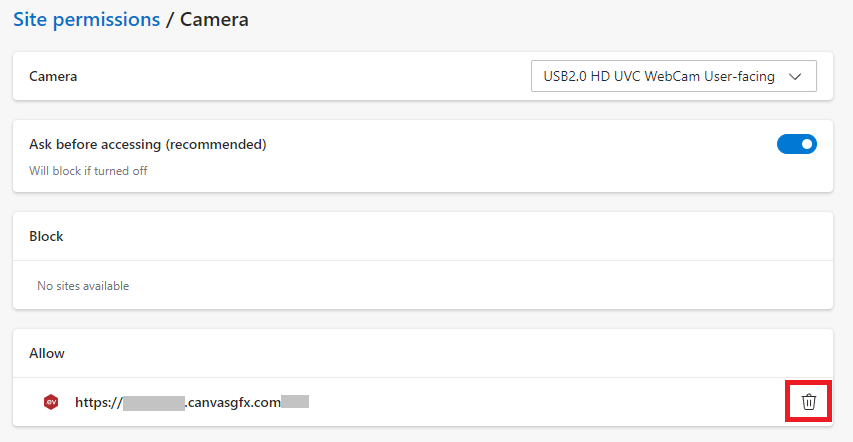
If you want to forbid the Canvas Envision Portal from accessing your camera in the future, remove the camera permission for the Portal from the camera site permissions in your browser.
Uploading your first profile photo
To upload your profile photo from the local drive when your account has no profile photo given:
On the Account page, click the Edit Photo button. The Change Photo dialog pops up.

In the Change Photo dialog, click the Upload Photo button. The system opens the browser dialog for uploading files.
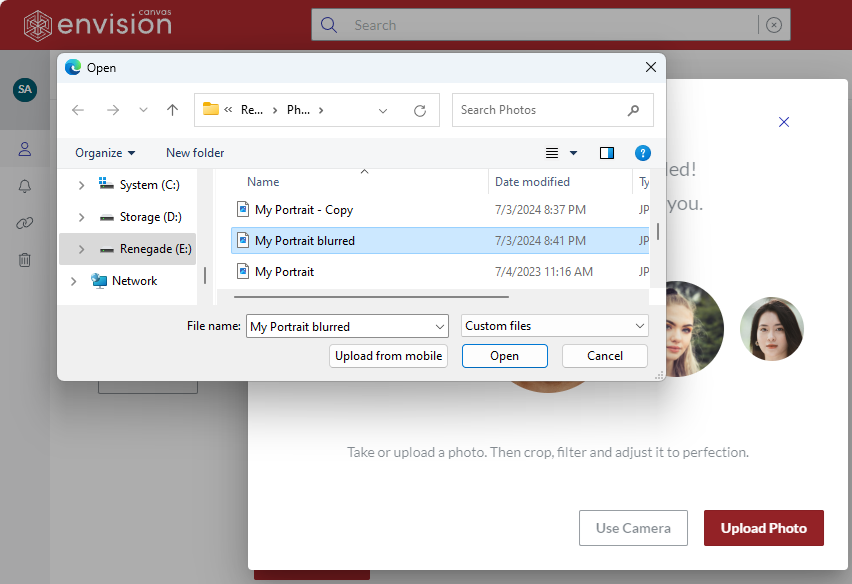
Search for and select the photo and click Open. The photo is uploaded into the Edit Photo dialog.
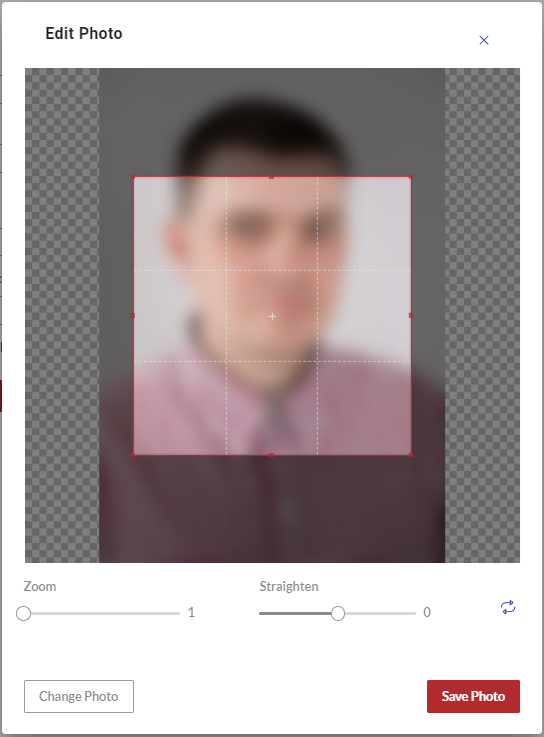
If necessary to upload another photo, click the Change Photo button and repeat the pertinent previous steps.
If necessary, edit the photo as discussed in Editing the photo.
Click the Save Photo button. The photo becomes your account profile icon. The Portal displays it where necessary.
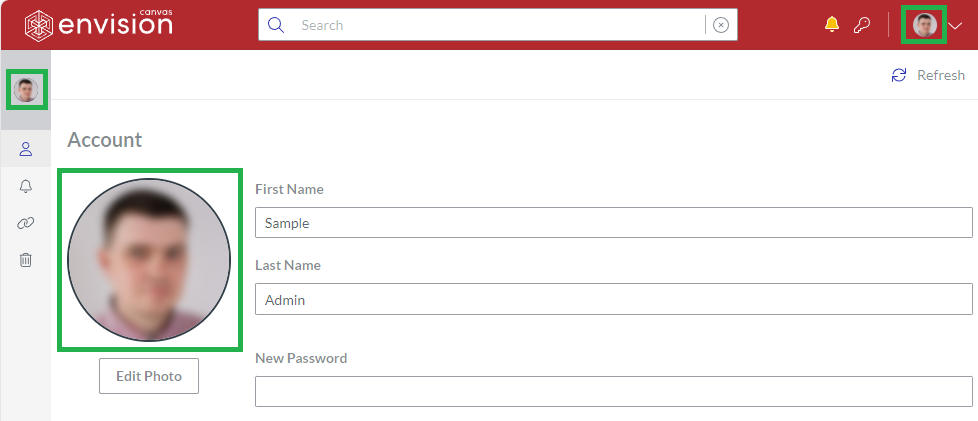
Replacing your profile photo
To replace your existing profile photo:
On the Account page, click the Edit Photo button. The Account Photo dialog pops up.
In the Account Photo dialog, click the Add Photo button.
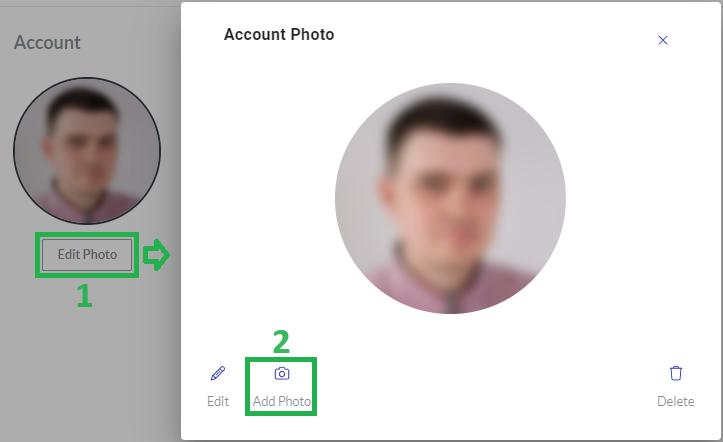
The Change Photo dialog replaces the Account Photo dialog.
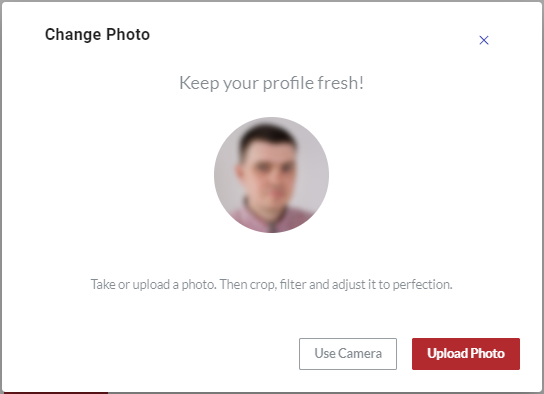
In the Change Photo dialog, click either:
Use Camera to take the new photo with the camera built-in or attached to your hardware.
Upload Photo to upload the new profile photo from the local drive.
Follow the corresponding procedure, either:
Reload the Portal in the browser. The new photo becomes your account profile icon. The Portal displays it where necessary.
Editing the photo
The Edit Photo dialog provides you with the features to edit a given photo.

To edit the taken or uploaded photo, the dialog automatically appears in the following procedures:
To edit your existing profile photo:
On the Account page, click the Edit Photo button. The Account Photo dialog pops up.
In the Account Photo dialog, click the Edit button.
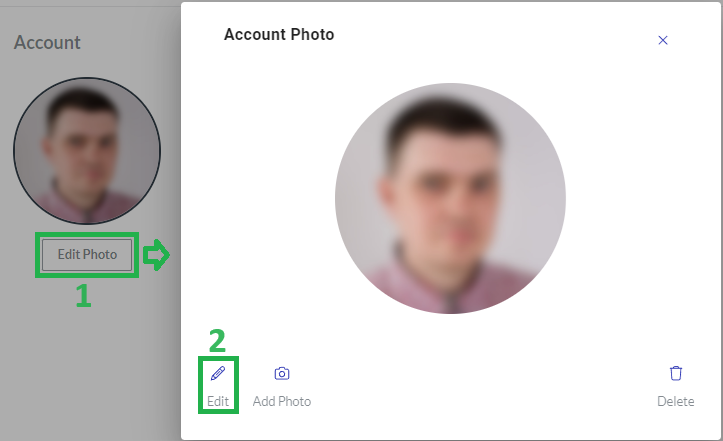
The Edit Photo dialog replaces the Account Photo dialog.
Edit the photo as discussed in the procedure below.
To edit the given photo, do one or more of the following actions:
Click and drag the crop box to reposition it.
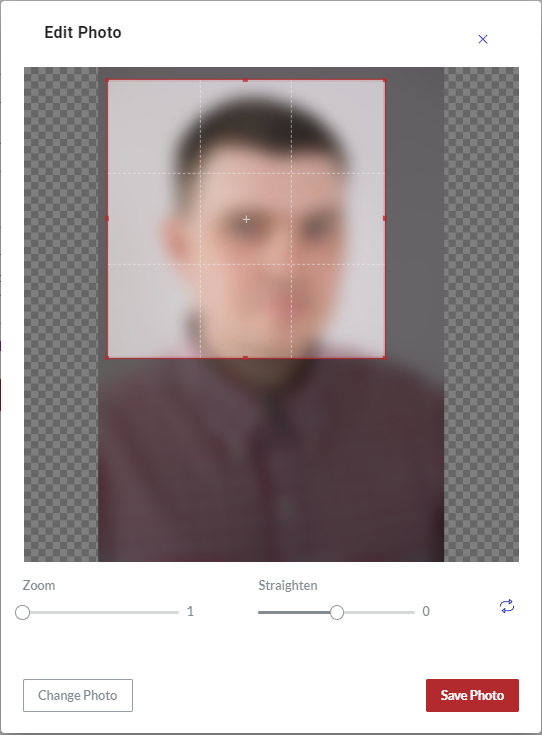
Click and drag the borders and corners of the crop box to resize it.
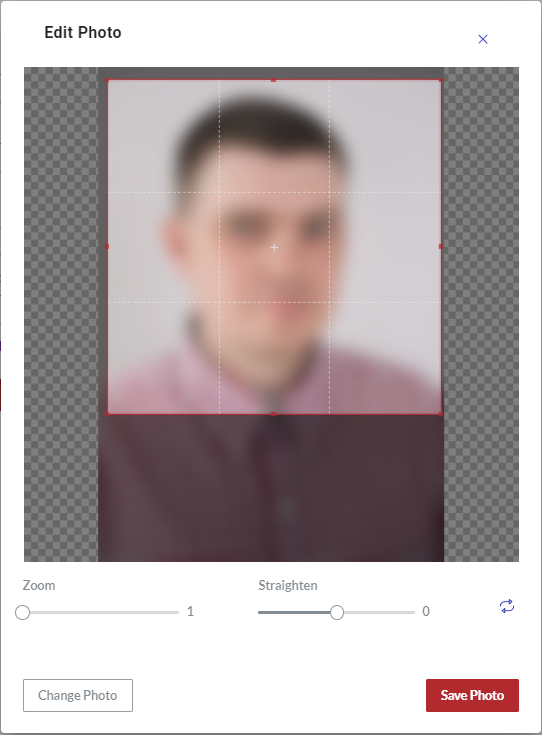
Drag the Zoom slider to zoom the photo.

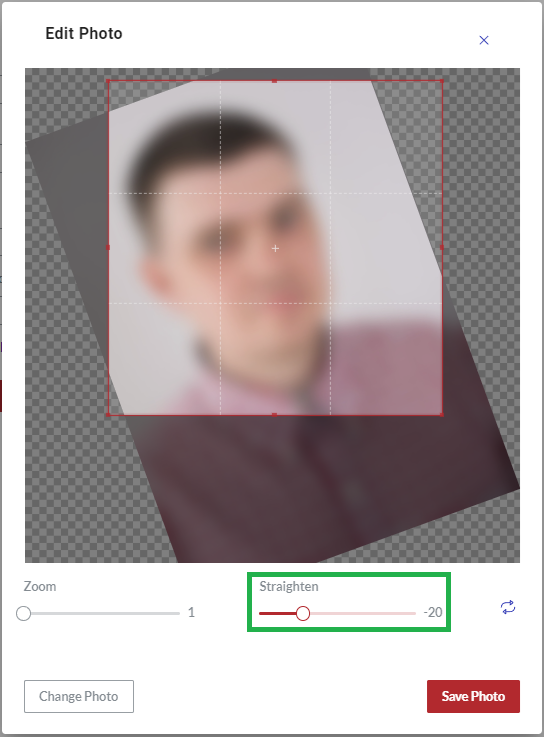
Drag the Straighten slider to rotate the photo along its center.
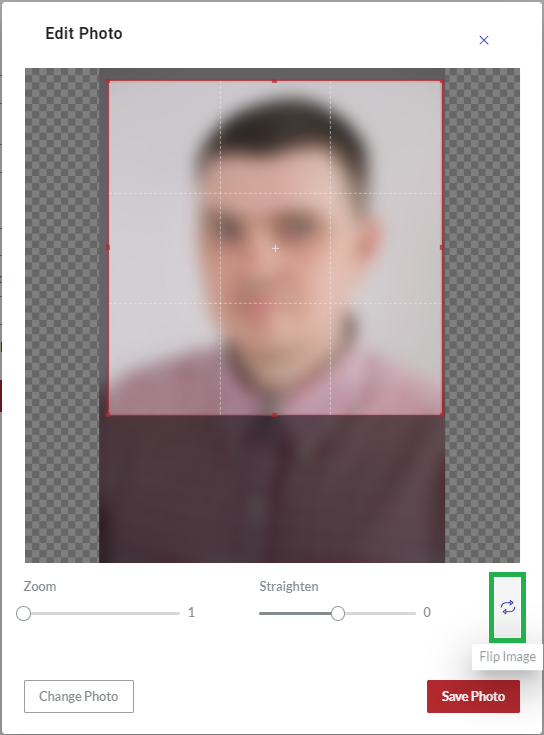
Click the Flip Image button to flip the photo as in the mirror horizontally or vertically.
Removing your profile photo
To remove your profile photo from the account:
On the Account page, click the Edit Photo button. The Account Photo dialog pops up.
In the Account Photo dialog, click the Delete button.
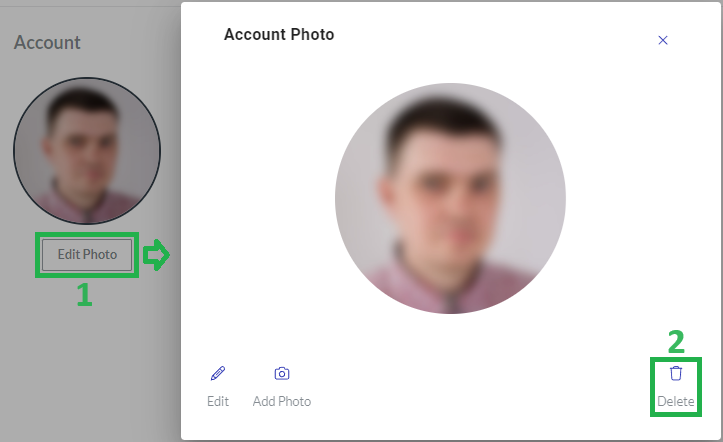
The Delete dialog pops up.
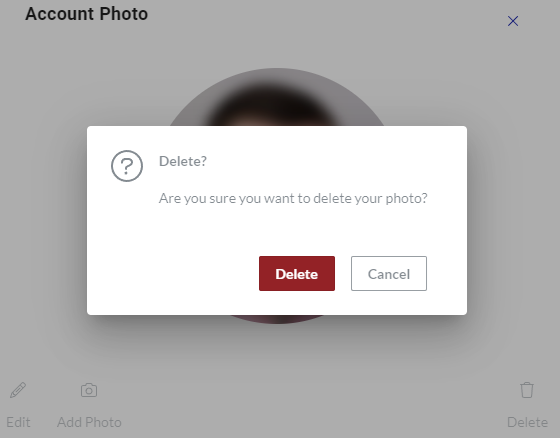
In the Delete dialog, click the Delete button. Your profile photo is permanently deleted from the account. The Portal does not display it.
Updating your first and last name
To update your first and last name:
On the Account page, update the names in the First Name and Last Name fields.
Click the Save account button. A notification dialog pops up at the screen bottom. The first and last name is updated.
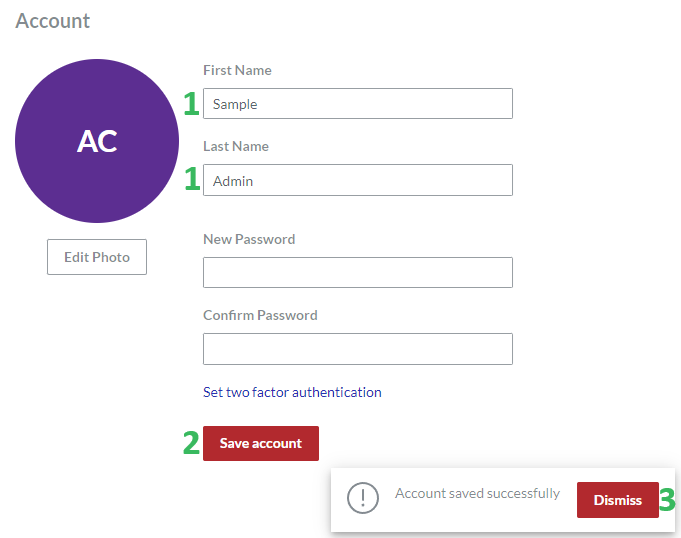
Click the Dismiss button in the notification dialog.
Resetting your password
To reset your password:
On the Account page, enter the new password in the New Password and Confirm Password fields.
Click the Save account button. A notification dialog pops up at the screen bottom. The password is reset.
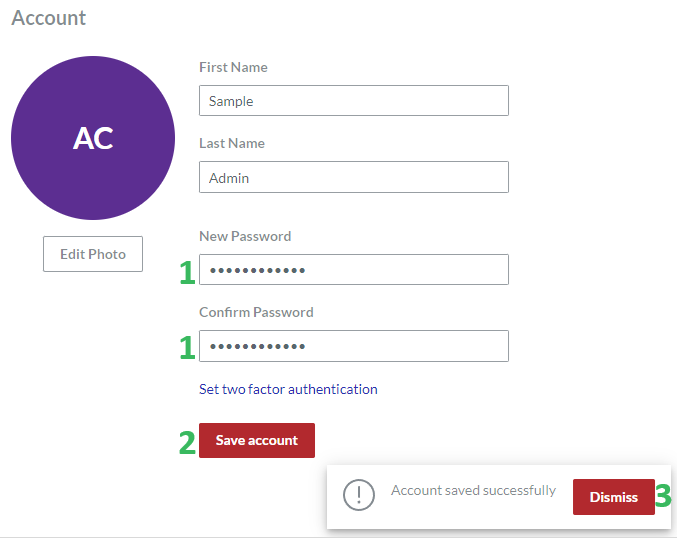
Click the Dismiss button in the notification dialog.
Managing two-factor authentication
Two-factor authentication is a secure authentication method that requires you to provide two factors of identification to access the Portal:
Your login credentials.
A one-time code from an authorized third-party authenticator application.
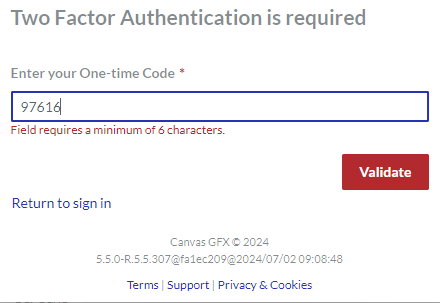
When the two-factor authentication is on for your account, the system asks you for the one-time code after successfully entering your login and password.
Two-factor authentication prerequisites
For the two-factor authentication, you need a mobile phone with the Internet and one of the following authenticator applications installed:
FreeOTP
Google Authenticator
Setting up two-factor authentication
To set up the two-factor authentication for your account:
On the Account page, click the Set two factor authentication link.
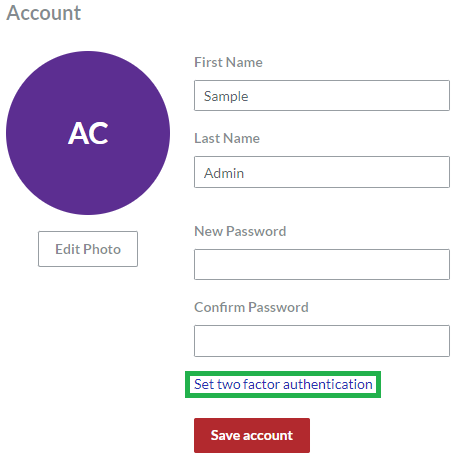
The system leads you to the Two Factor Authentication setup page that displays the QR code and instructions on setting up the two-factor authentication.
With the authenticator application, scan the QR code.
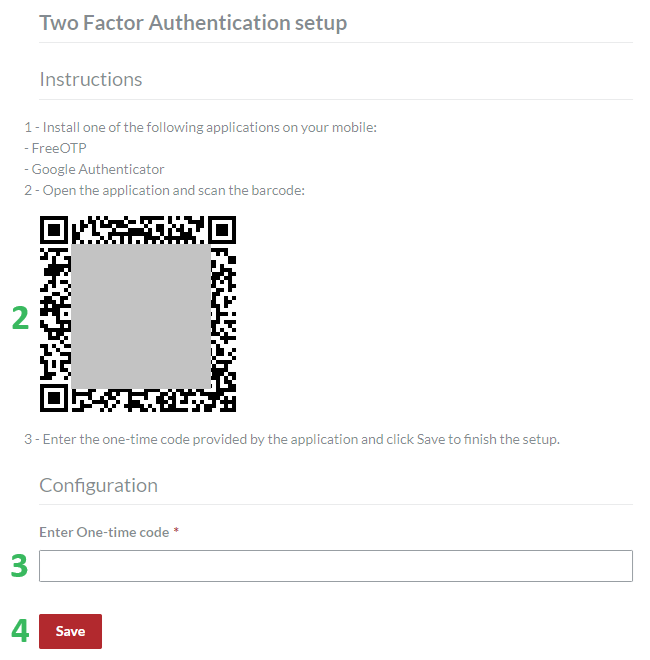
Enter the one-time code from the authenticator application in the field.
Click the Save button. The MFA sets successfully dialog pops up.
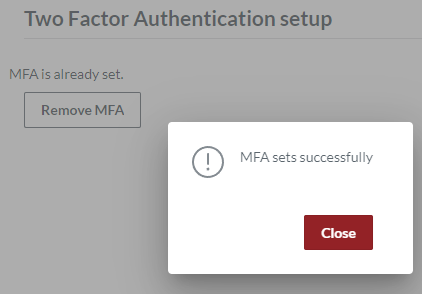
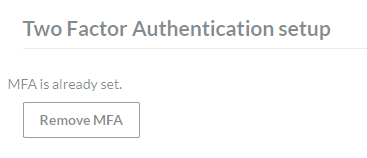
Click the Close button. The Two Factor Authentication setup page displays the message that MFA is already set.
Removing two-factor authentication
To remove the two-factor authentication from your account:
On the Account page, click the Set two factor authentication link.

The system leads you to the Two Factor Authentication setup page that displays the message that MFA is already set.
Click the Remove MFA button.

The MFA removes successfully dialog pops up.
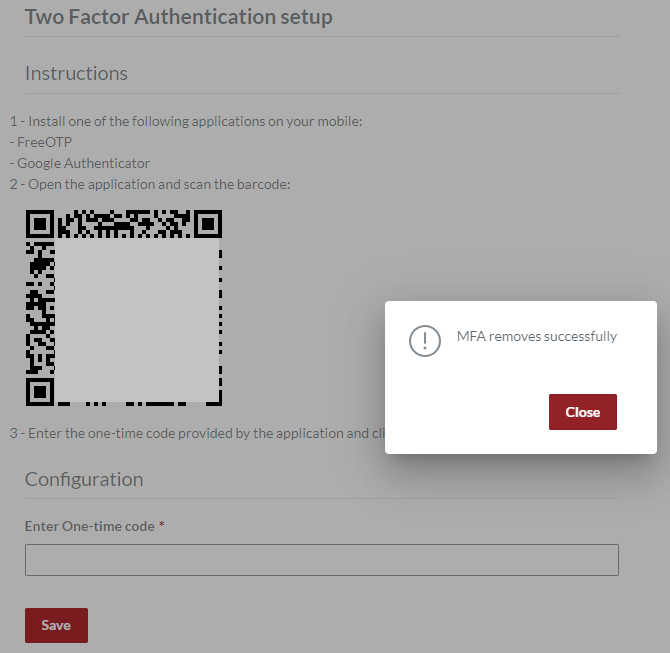
Click the Close button. You are back to the Two Factor Authentication setup page that displays the QR code and instructions on setting up the two-factor authentication.
Remove the Canvas Envision account from the authenticator application.