Panes
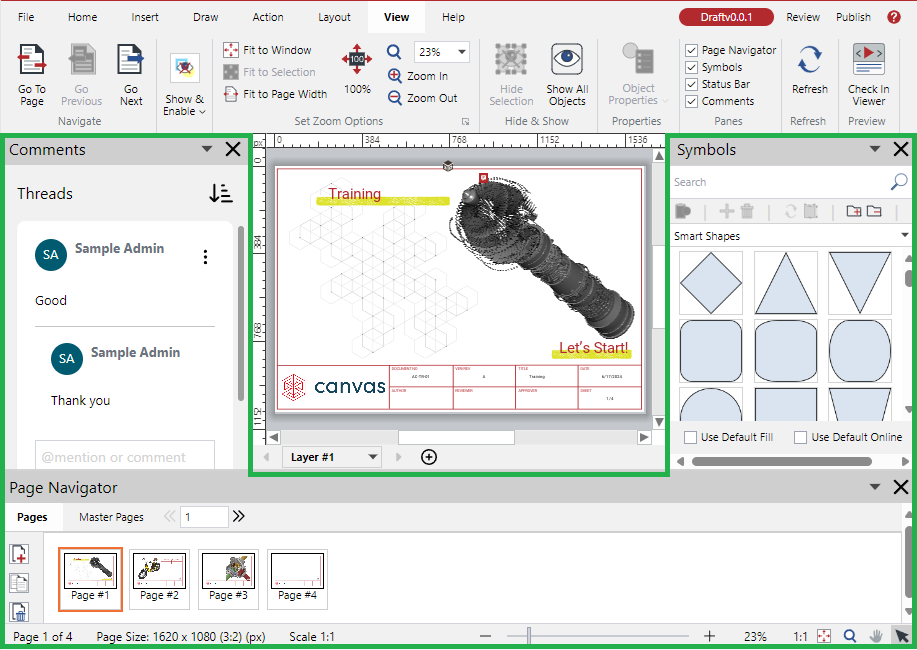
Panes are separate rectangular sections around the main working area that provide supplementary and additional features and controls. By default, the panes are hidden. Their position on the screen is docked to the main working area, but you can rearrange them around it and resize them.
Provided panes
The main screen includes the following panes:
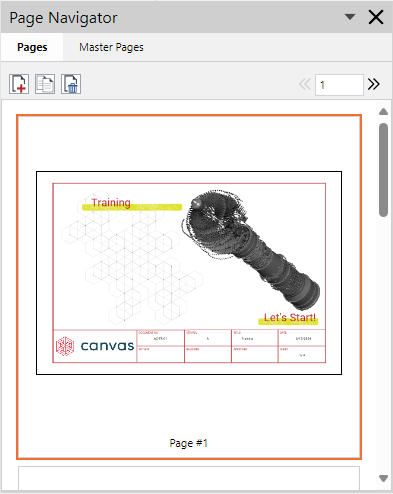
Page Navigator: to navigate and manage pages and master pages.
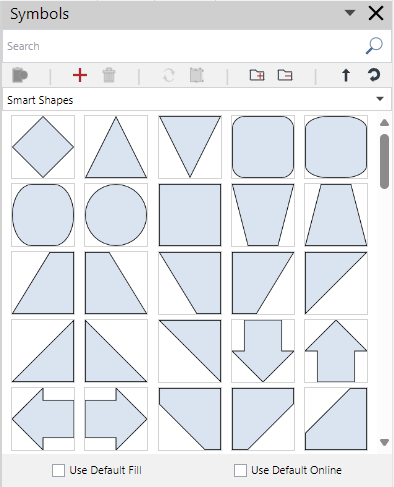
Symbols: to insert into the illustration graphical symbolic objects, such as basic shapes, callouts, diagrams, flowchart symbols, multigons, numbers, and smart shapes.
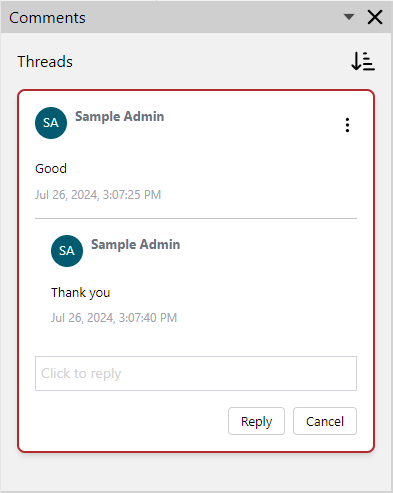
Comments: to explore and manage comment threads.
Showing and hiding panes
The Panes panel on the View ribbon tab is the main place to manage the visibility of panes. You can also hide displayed panes using their title bars. Showing and hiding the Page Navigator pane is also possible with the Status Bar.
Showing and hiding panes with the View ribbon tab
To show and hide the panes using the Panes panel on the View ribbon tab:
Go to the View ribbon tab.

In the Panes tab panel:
Select a checkbox to show the pane.
Clear a checkbox to hide the pane.
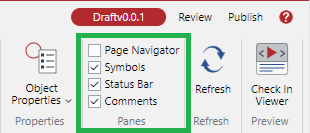
The panes appear and disappear around the main working area.
Hiding panes with their title bars
To hide a displayed pane using its title bar:
Click the X button on the right of the pane title bar.

The pane disappears.
Showing and hiding the Page Navigator pane with the Status bar
To show or hide the Page Navigator pane using the Status bar:
Click the page indicator on the left of the Status bar:
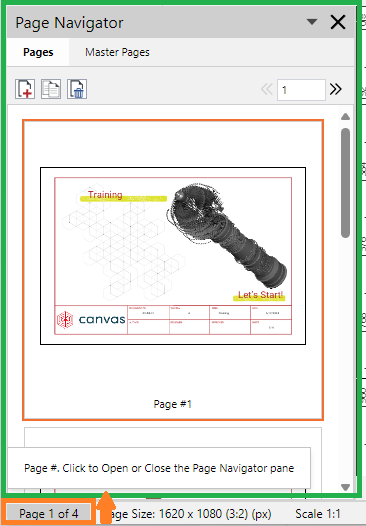
The Page Navigator pane appears or disappears.
Arranging panes on the screen
The panes are docked to the left and right sides of the main working area. The Page Navigator pane can also be docked to the bottom.
To rearrange the position of a pane:
Click the menu button on the right of the pane title bar.

The menu drops down and displays the currently available rearrangement options.
Click the option where you want to move the pane. The pane is moved.
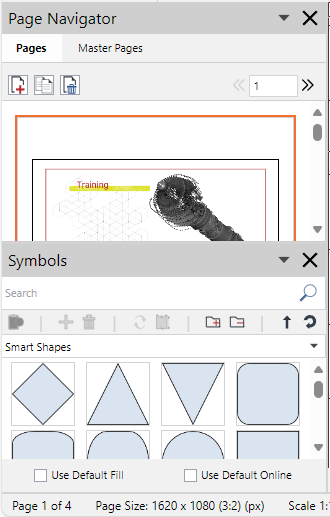
Up to two panes can be docked on one side. In such a case, one is at the top, and another is at the bottom.
Resizing panes
You can update the width of a pane docked to the left or right.
To change the width of a pane:
Hover the cursor on the line between the pane and the main working area until the cursor becomes a horizontal double-headed white arrow.
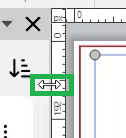
Click and drag left or right. The system updates the widths of the pane and main working area in response to your dragging.
When the Page Navigator pane is docked to the bottom, you can update its height following the above-mentioned procedure. However, you should drag up or down a vertical double-headed white arrow.
