Cropping Images
You can adjust the overall size of an image cropping or removing unwanted areas, for example, excessive background. Also, you can crop an image and scale it to a specified size at the same time.
Cropping images
To crop an image:
Select an image you want to crop.
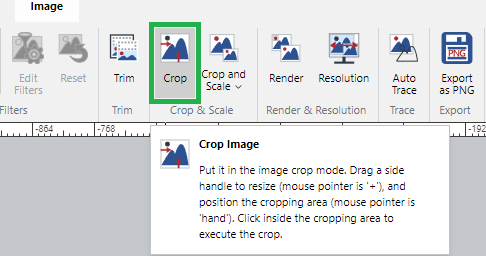
Click the Crop button in the Crop & Scale panel on the Image contextual ribbon tab.
The blue bounds with small handles appear on the edges of the selected image.
Adjust the cropping area by dragging the sides of the cropping bounds.
Move the cropping bounds if necessary.
When you are ready to crop, click inside the cropping bounds.
Mouse pointer when cropping images
Mouse pointer | Mouse operation |
|---|---|
The mouse pointer is outside of the cropping bounds. You cannot do anything. | |
The mouse pointer is at one of the small blue square handles on the cropping bounds. You can drag it to resize the cropping bounds. | |
The mouse pointer is on one of the four sides of the cropping bounds. You can drag the cropping bounds to move it. | |
The indicator of the cropping mode. You can click inside the cropping bounds to execute the crop. |
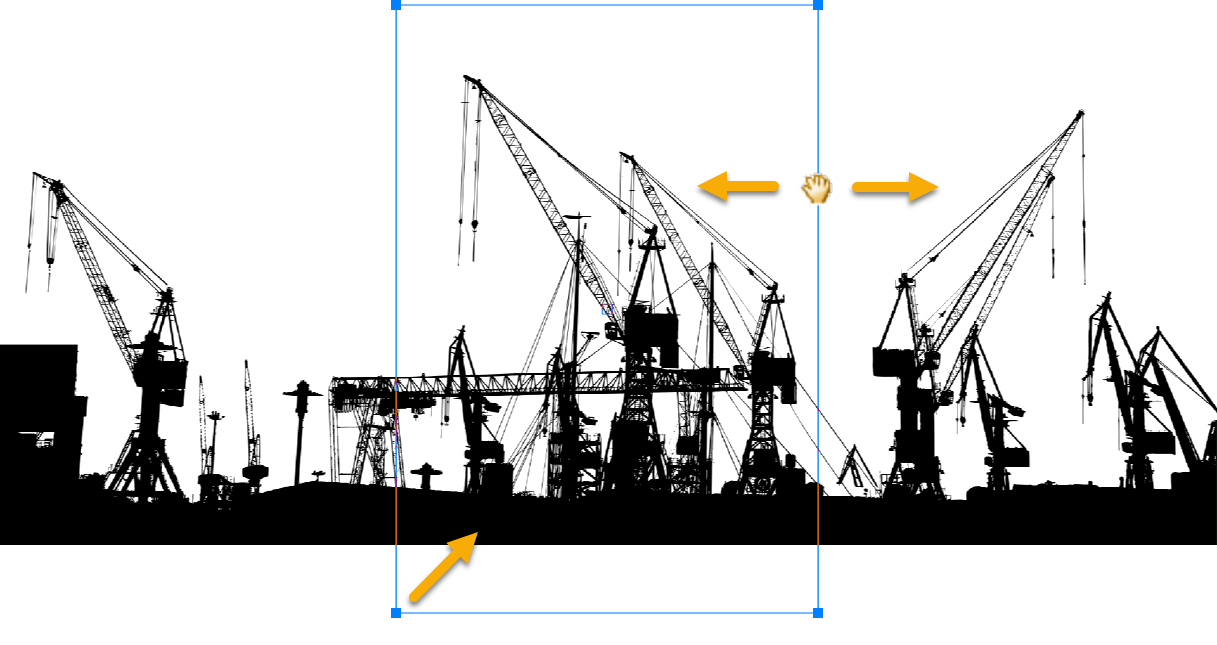
Cropping example
In the cropping mode
The cropping bounds are adjusted.
The cropped image.


Adding white and transparent image frames
To add a white or transparent frame to an image:
Select an image you want to have a white or transparent frame.
Click the Crop button in the Crop & Scale panel on the Image contextual ribbon tab.

The blue bounds with small handles appear on the edges of the selected image.
Dragging the sides of the cropping bounds outward to add the frame area.
When you are ready to crop, click inside the cropping bounds.
White transparent image frame example
In cropping mode–the background is light blue.
Adding padding to the cropping bounds.
The white frame is added.


Cropping and scaling images
To crop and scale an image:
Select an image you want to crop and scale.
Click the Crop & Scale menu button in the Crop & Scale panel on the Image contextual ribbon tab.
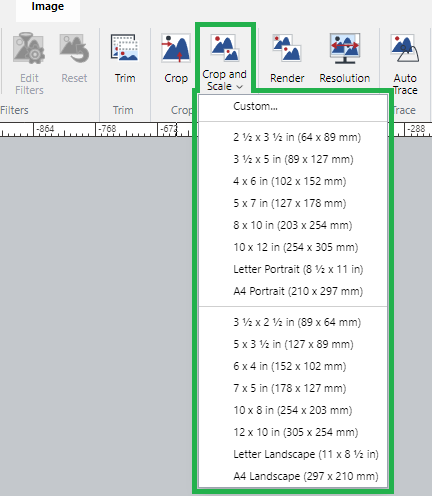
Select a crop preset option or click the Custom option.
When Custom is selected, the Crop and Scale dialog box pops up.
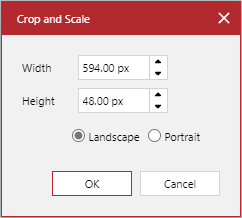
Specify the width, height, and orientation in the Crop and Scale pop-up dialog box.
When done, click the OK button.
The blue bounds with small handles appear on the edges of the selected image. The image may be automatically scaled.
Adjust the cropping area by dragging one of the four corner handles of the cropping bounds.
Move the cropping bounds if necessary.
When you are ready to crop, click inside the cropping bounds.
Crop and scale image example
2 ¼ in x 3 ¼ in is selected.
The cropped image in 2 ¼ in x 3 ¼.

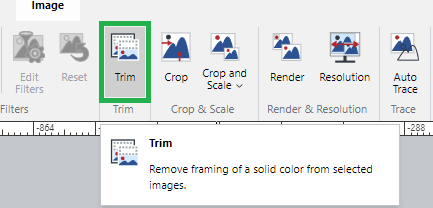
Trimming one-color frames from images
To trim a one-color frames from an image:
Select an image with a one-color frames you want to trim.
Click the Trim button in the Trim panel on the Image contextual ribbon tab.
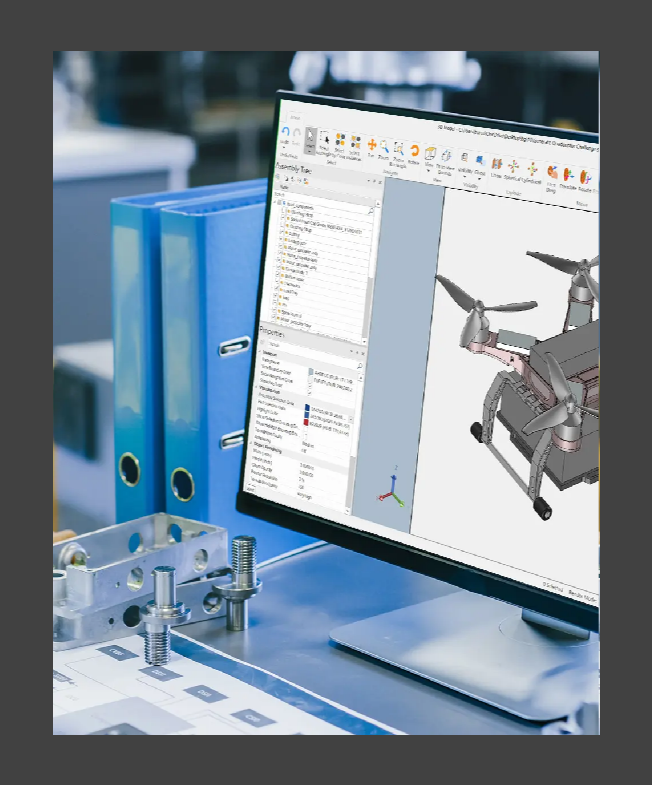
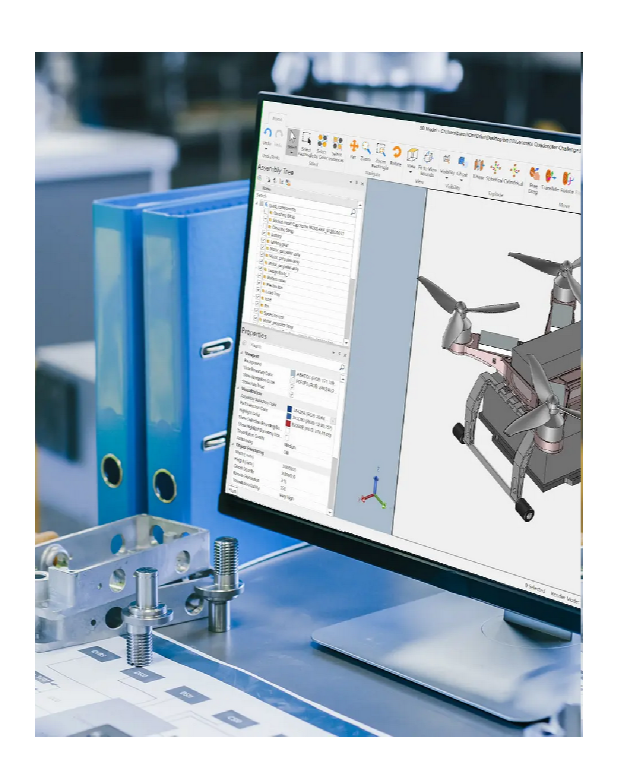
One-color frame trim example
The image has a gray frame.
The gray frame is removed.
Trimming images to shapes
To trim an image to a specific shape:
Draw the shape to which you want to trim the image.
Resize and position the shape over an image you want to trim to it.
Select the shape and image.
Click the Clipping Path menu button in the Clipping Path panel on the Draw contextual ribbon tab.
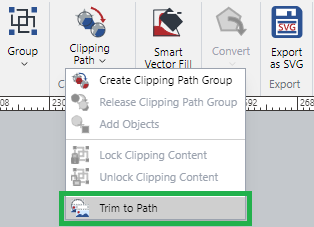
Select the Trim to Path command from the Clipping Path menu.
Short video tutorial
Trim-to-shape image example
A shape is placed on the image.
Trim to Path is applied. The background is transparent.

