Changing Pivot Position
In general, the pivot position is the center of a part’s bounding box. You may not be able to transform them as you want under such conditions. However, you can change pivot position in various ways.
Changing pivot position
To change the position of the pivots of one or more parts selected for transformation:
Select more than one part for transformation.
From the parts selected in step 1, select one or more parts whose pivot position you want to change.
Select one of the following transformation modes, either:
Linear Explode
Spherical Explode
Cylindrical Explode
Translate
Rotate
If you have selected multiple parts and if it is necessary, click the Multiple Pivots state button in the Align Pivots panel on the 3D Edit ribbon tab in 3D edit mode.

When it is enabled, the icon will be highlighted in the darker gray.
Click the Set Pivot menu button in the Align Pivots panel on the 3D Edit ribbon tab in 3D edit mode.

From the Set Pivot menu, select the necessary commands, either:
On Bounding Box Center to revert to the original position.
On Point
On Line/Axis
If you have selected On Point, move the mouse point to any given point in the Viewport and click.
If you have selected On Line/Axis, mouse over an edge which is of the desired pivot position and click.
The pivot position of the selected parts will change to the new position that you specify.
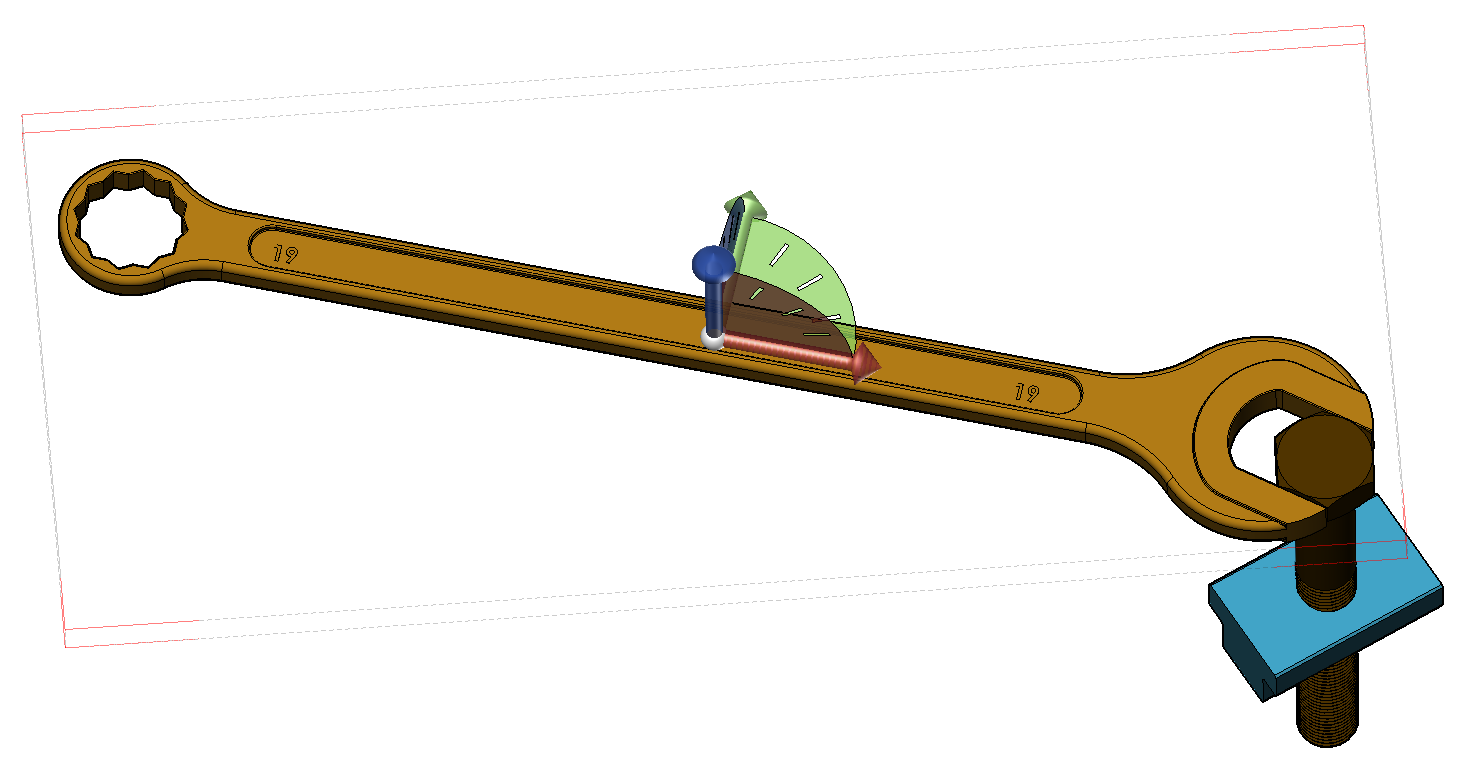
Pivot position change example

The selected part has the pivot at the center of its bounding box.

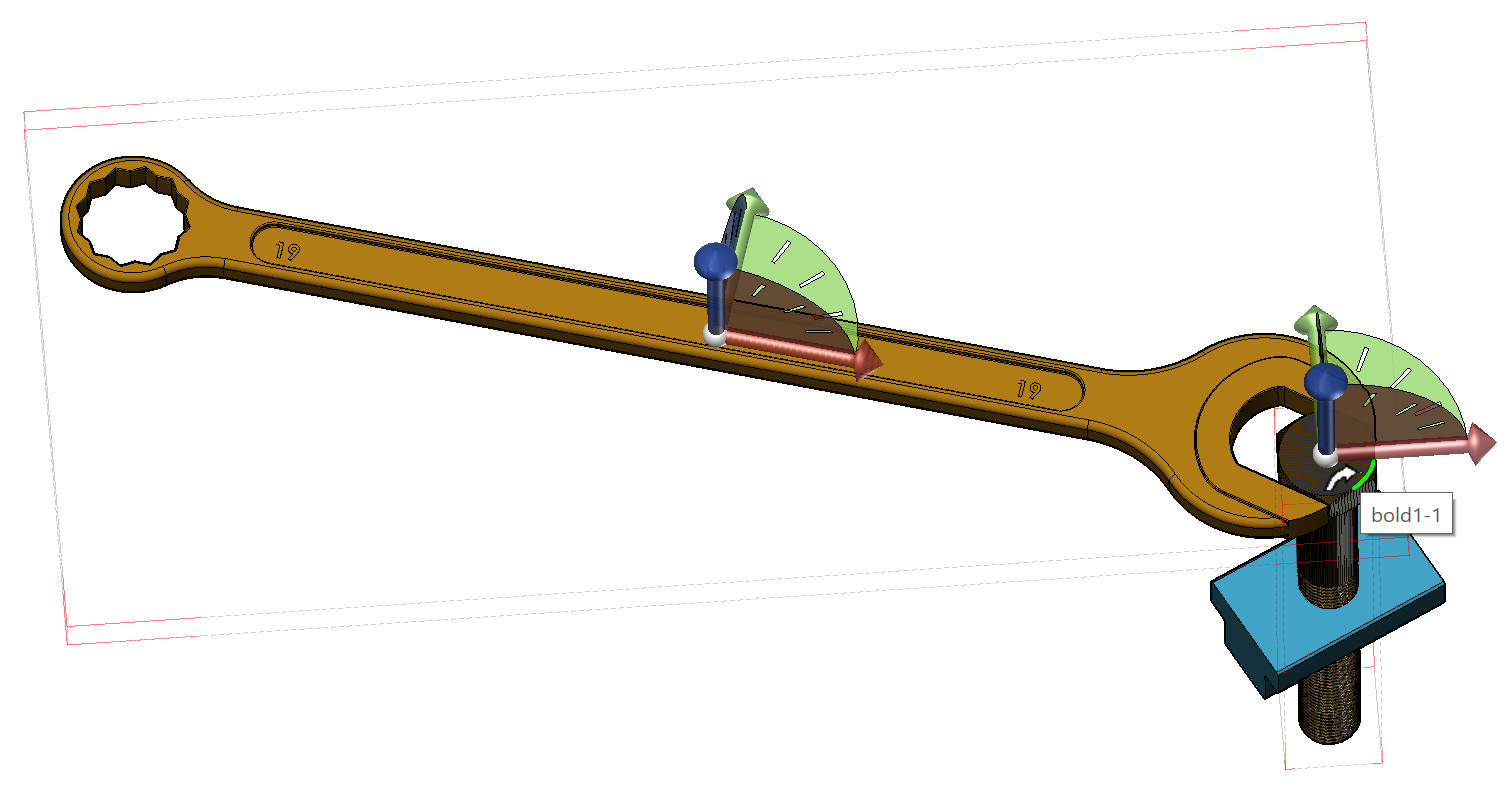
When On Line/Axis is selected, mouse over the edge which has the desired pivot position. It will highlight the edge in green.

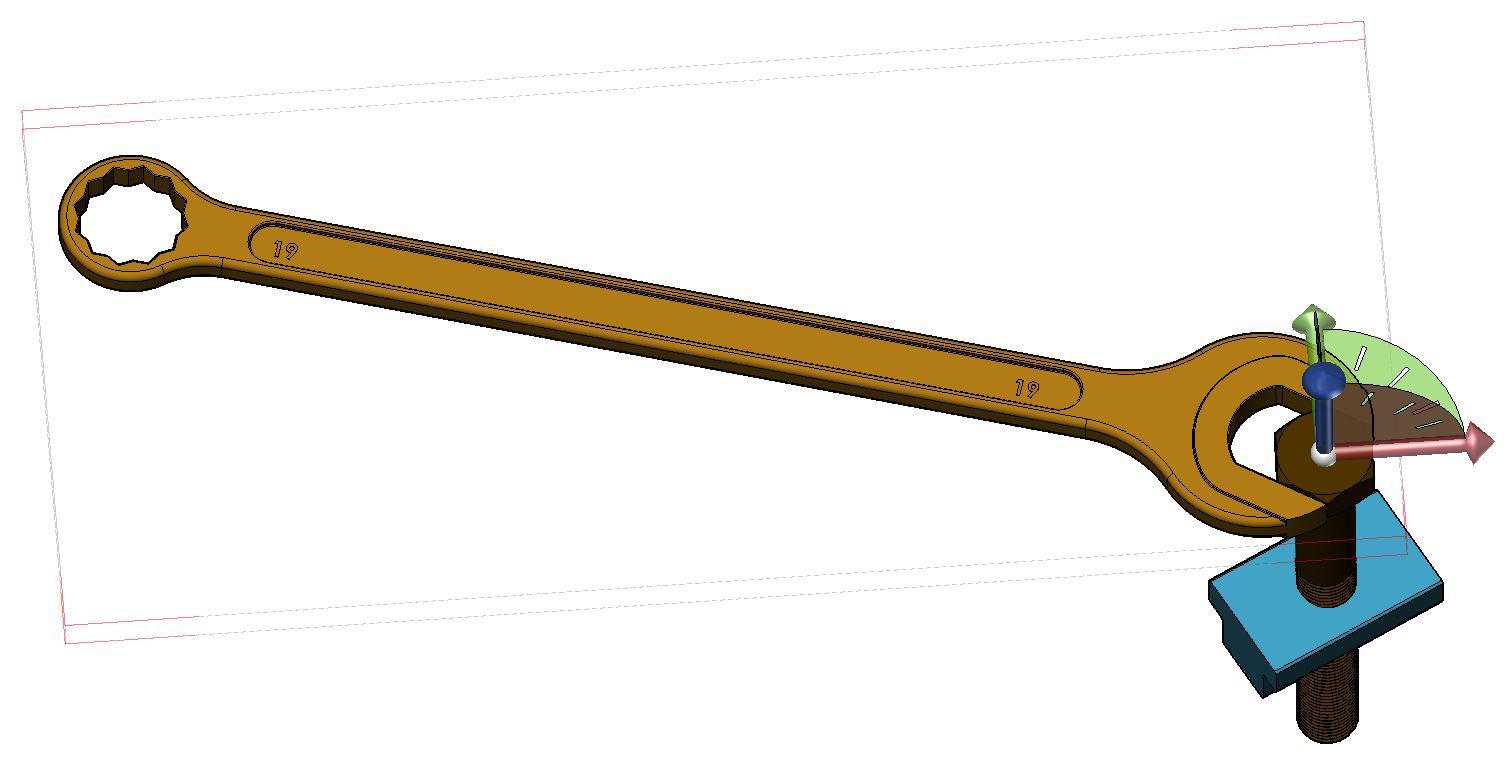
A click will move the pivot to the new location.

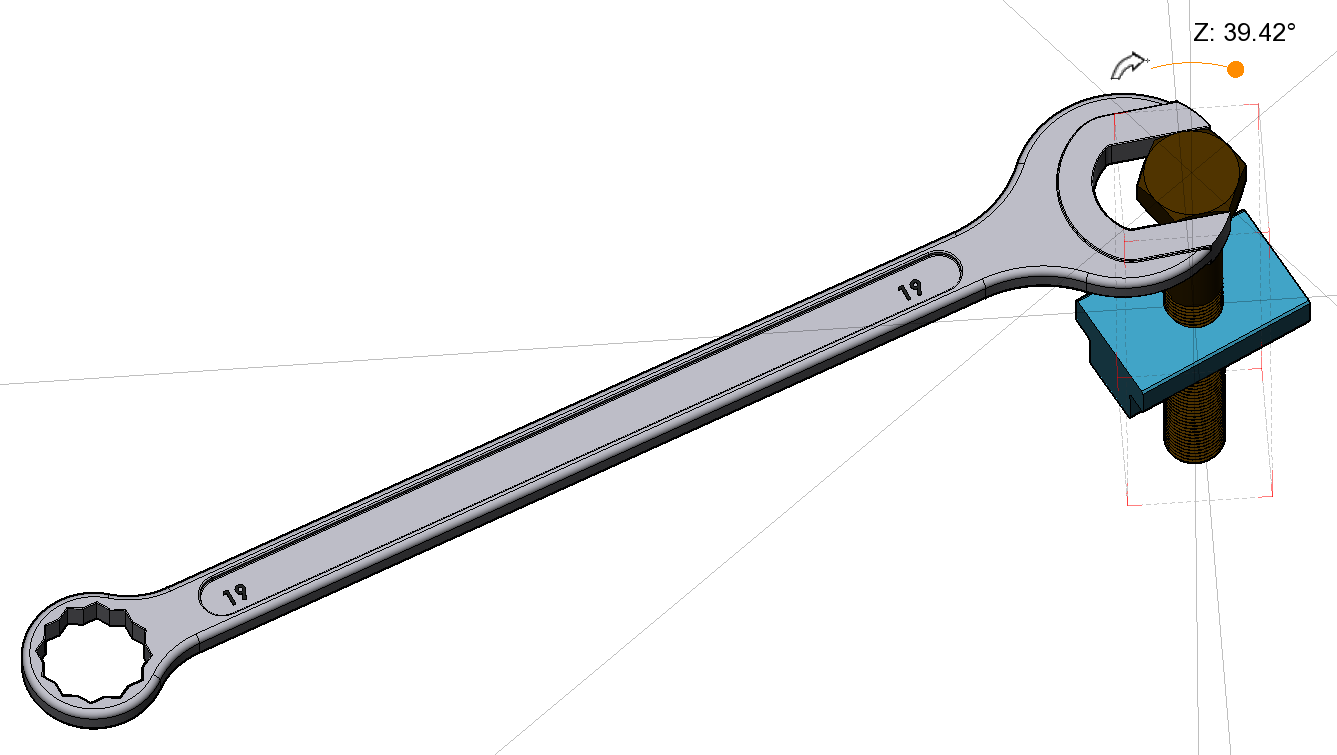
Now, you can rotate the spanner at the new axis of rotation, for instance.