Adding Lens Annotations
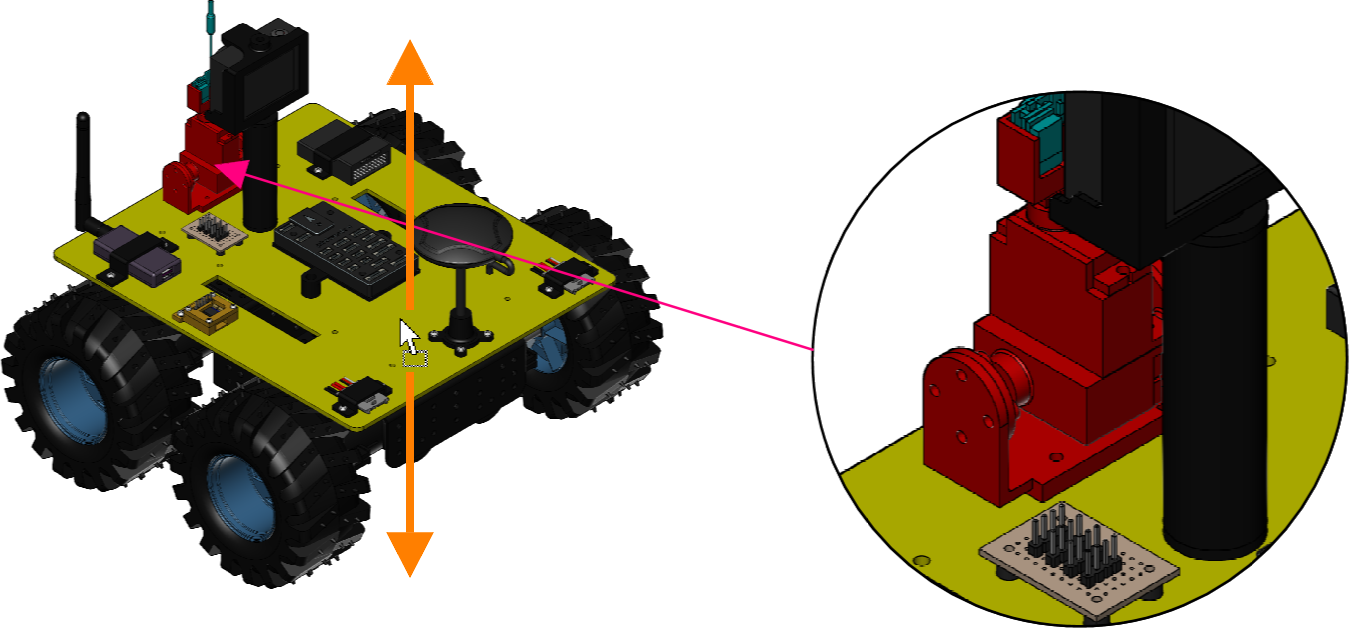
To annotate by magnifying and calling out specific areas of objects, you can use the Lens split button in the Annotation Tools panel on the Insert ribbon tab.
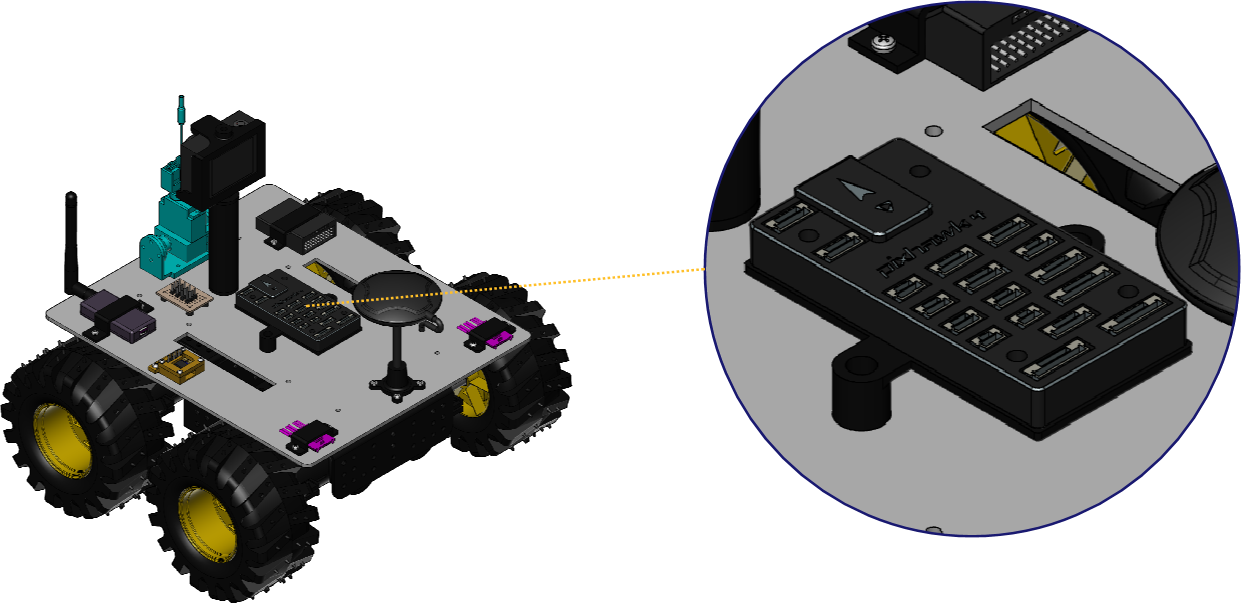
Adding lens annotations to 3D models
To add one or more annotations with serial letters, numbers, or custom text to a 3D model:
Select a 3D model object you want to annotate.
Go to the Annotation Tools panel on the Insert ribbon tab.

Click the bottom part of the Lens split button.
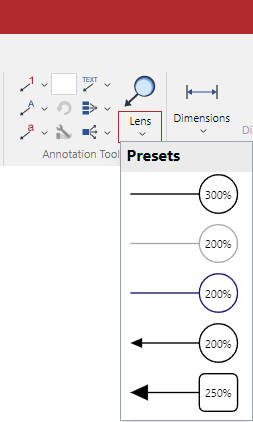
Select a lens annotation option from the drop-down list.
Click at the center point of interest on the object and drag out to place the lens.
Press Esc to exit the mode.
Short video tutorial
Changing the magnification and magnified view of lens objects
To change the magnification or magnified view of a lens object:
Select a lens object whose magnification or magnified view you want to cahnge.
Go to Lens contextual ribbon tab.

Type a new magnification value in the Magnification Factor field in the Magnification panel.

From the Magnified View drop-down list, select either:
All in Region
Below Lens
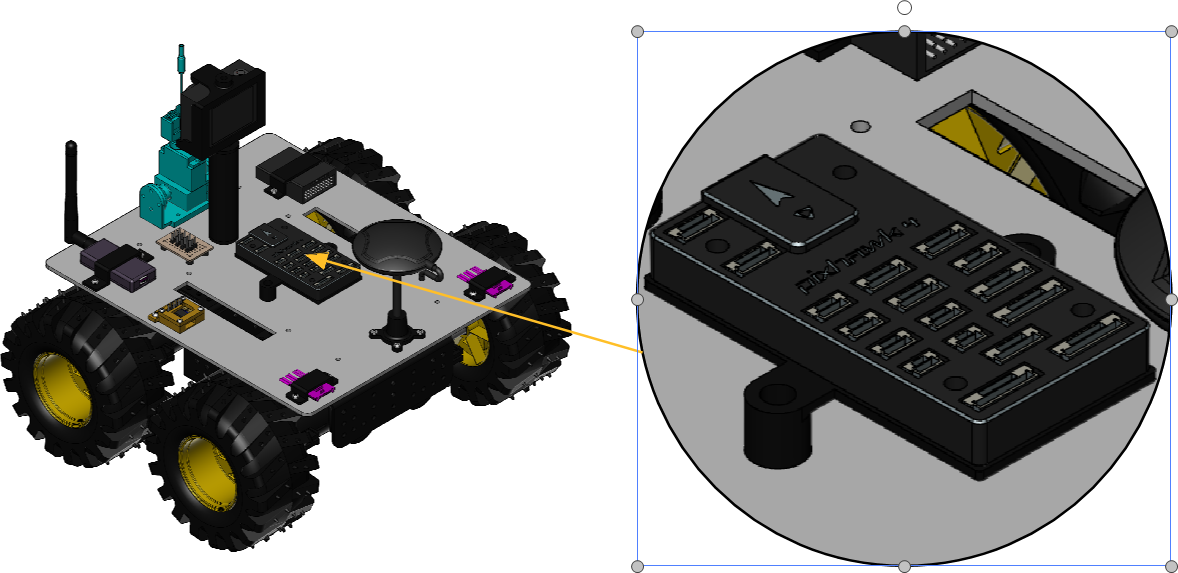
Magnification examples
Magnification Factor: 150
Magnification Factor: 400
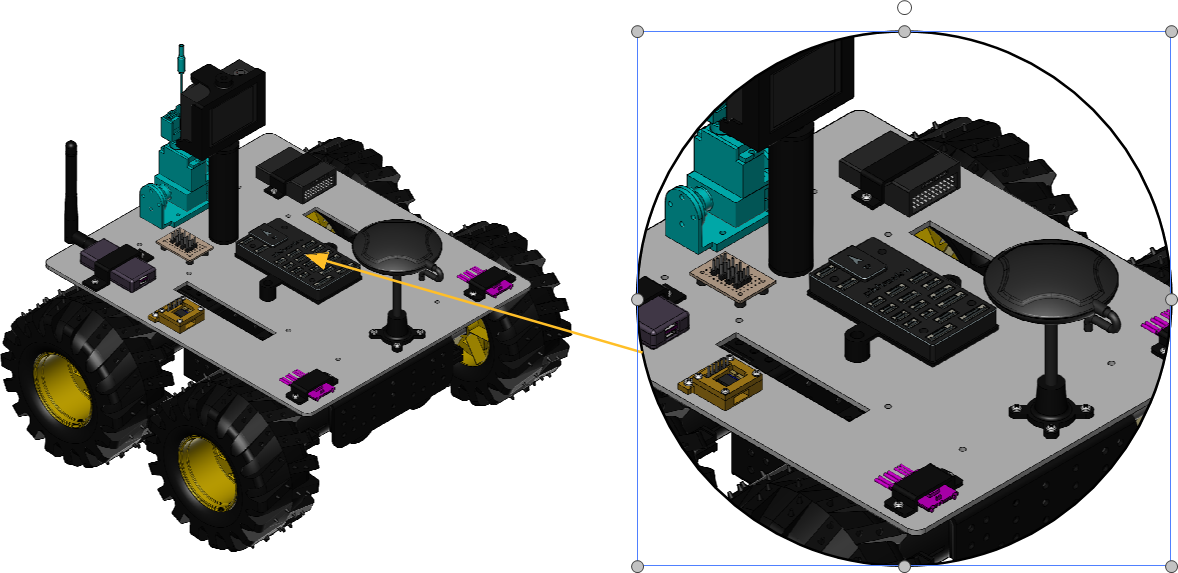
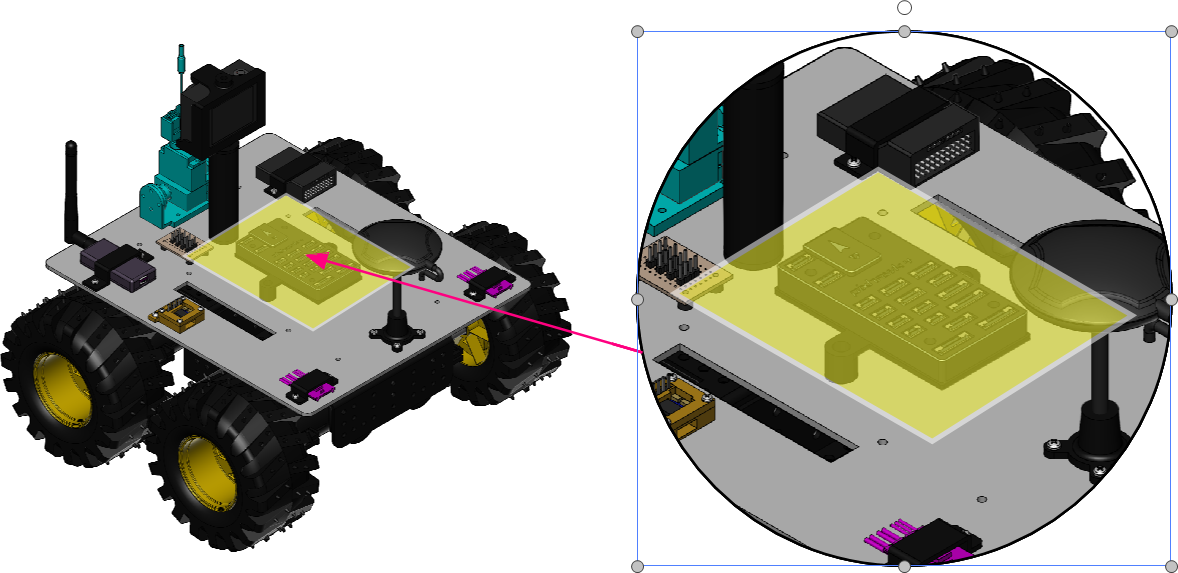
Magnified View examples
Magnified View: Below Lens
The arrowhead indicates the yellow semi-transparent polygon is below the lens. Thus, the yellow semi-transparent polygon is viewed in the lens.
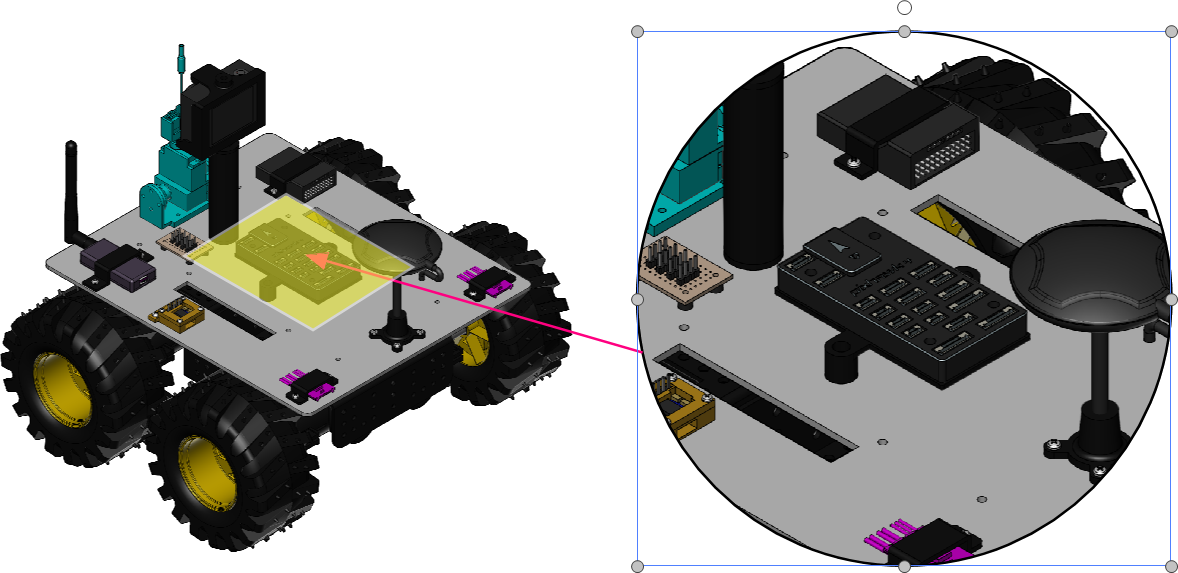
Magnified View: Below Lens
The arrowhead indicates the yellow semi-transparent polygon is above the lens. Thus, the yellow semi-transparent polygon is not viewed in the lens.
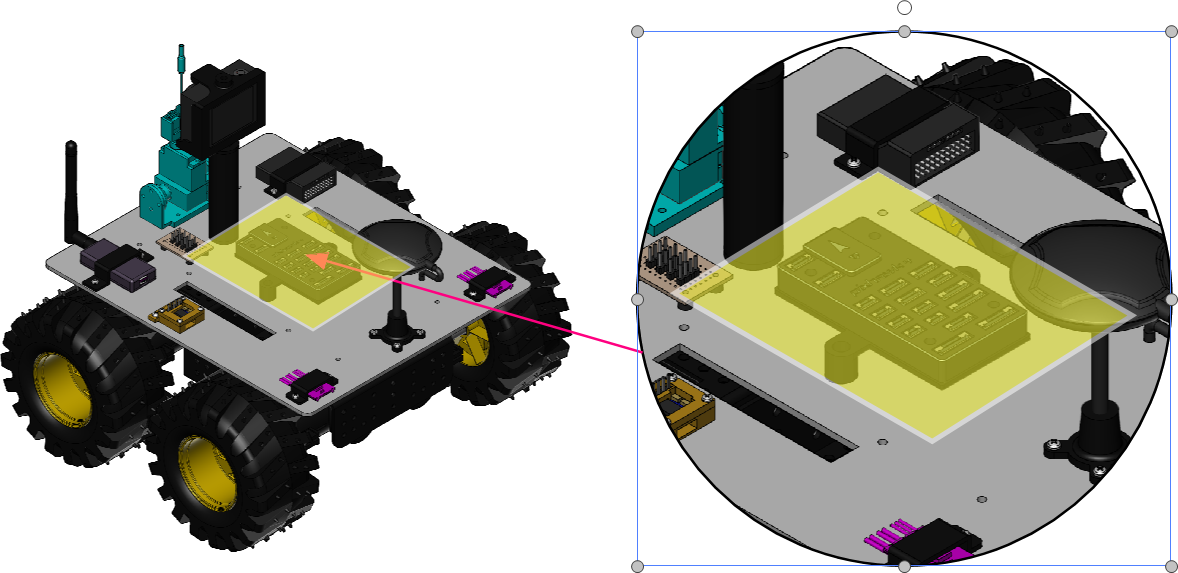
Magnified View: All in Region
The arrowhead indicates the yellow semi-transparent polygon is above the lens. Even so, the yellow semi-transparent polygon is viewed in the lens.
Changing the Lens View
To change the Lens View of a lens object:
Select a lens object whose Lens View you want to change.
Go to Lens contextual ribbon tab.

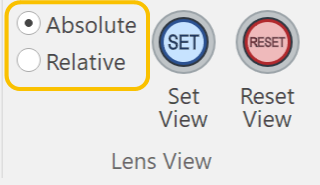
In the Lens View panel, select the necessary radio button, either:
Absolute
Relative
Lens View examples
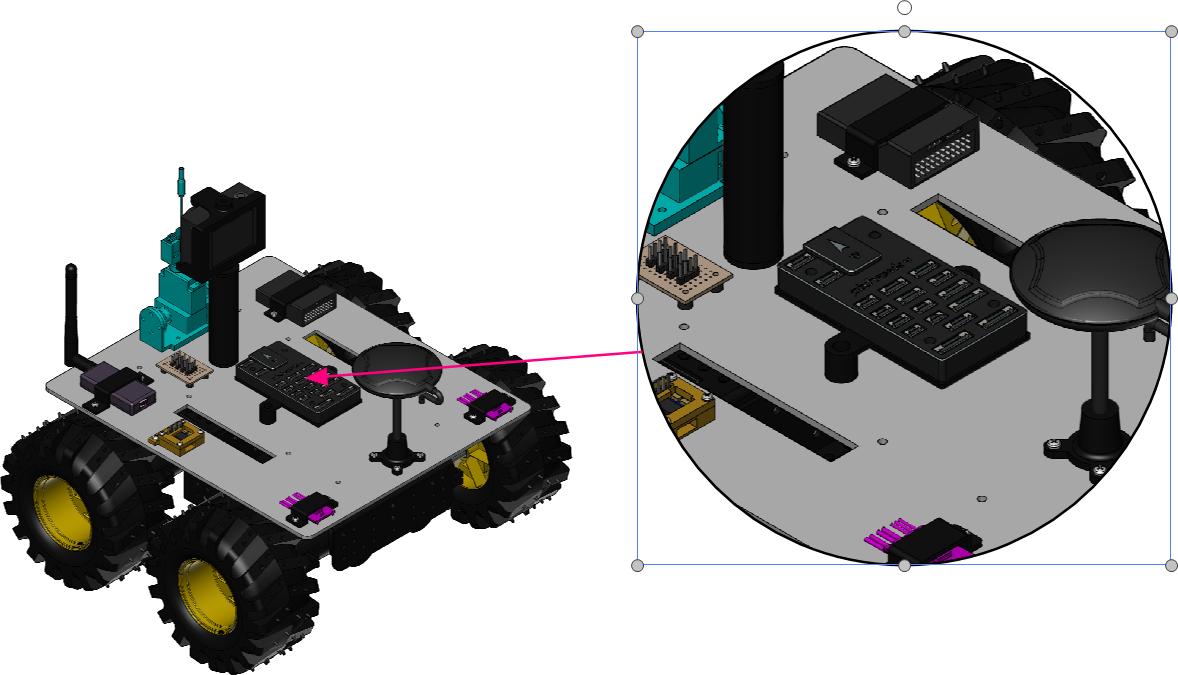
Lens View: Absolute
When moving the lens, the initial view is retained.
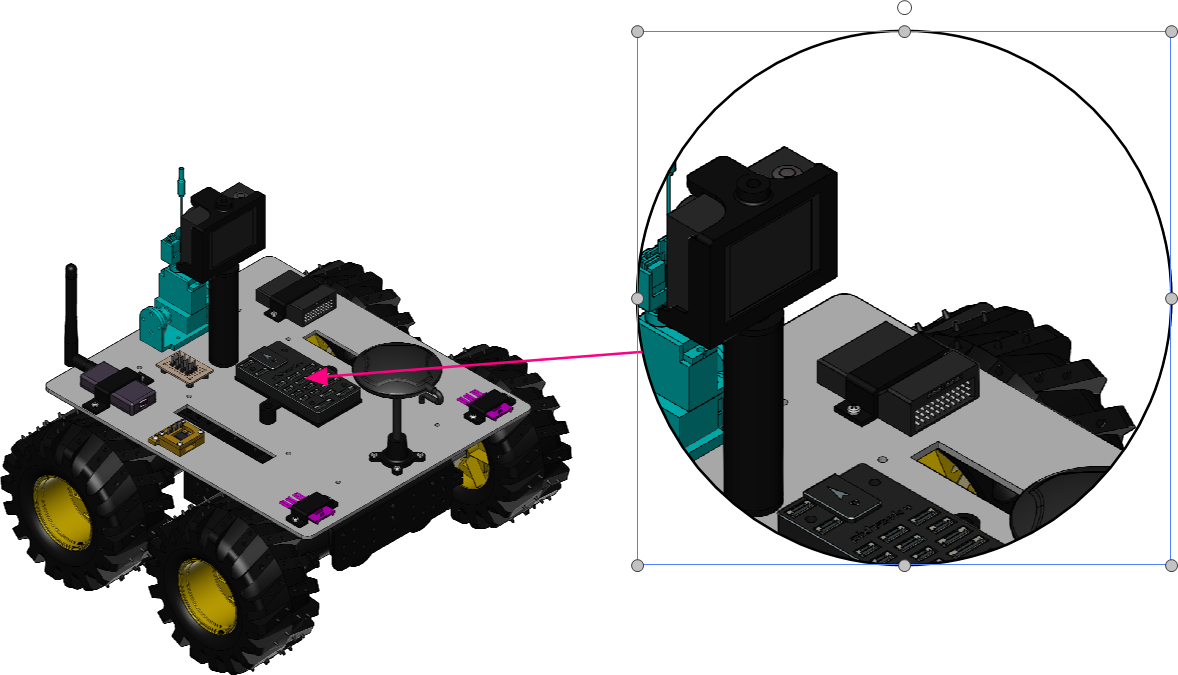
Lens View: Relative
When moving the lens, the initial view is changed relative to the movement.
Resetting the Lens View
To reset the Lens View of a lens object:
Select a lens object whose Lens View you want to reset.
Go to Lens contextual ribbon tab.

In the Lens View panel, click the Reset View button.
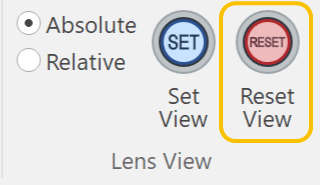
The Lens View is reset.
Setting the new Lens View
To set the new Lens View of a lens object:
Select a lens object whose Lens View you want to set.
Go to Lens contextual ribbon tab.

In the Lens View panel, click the Set View button.
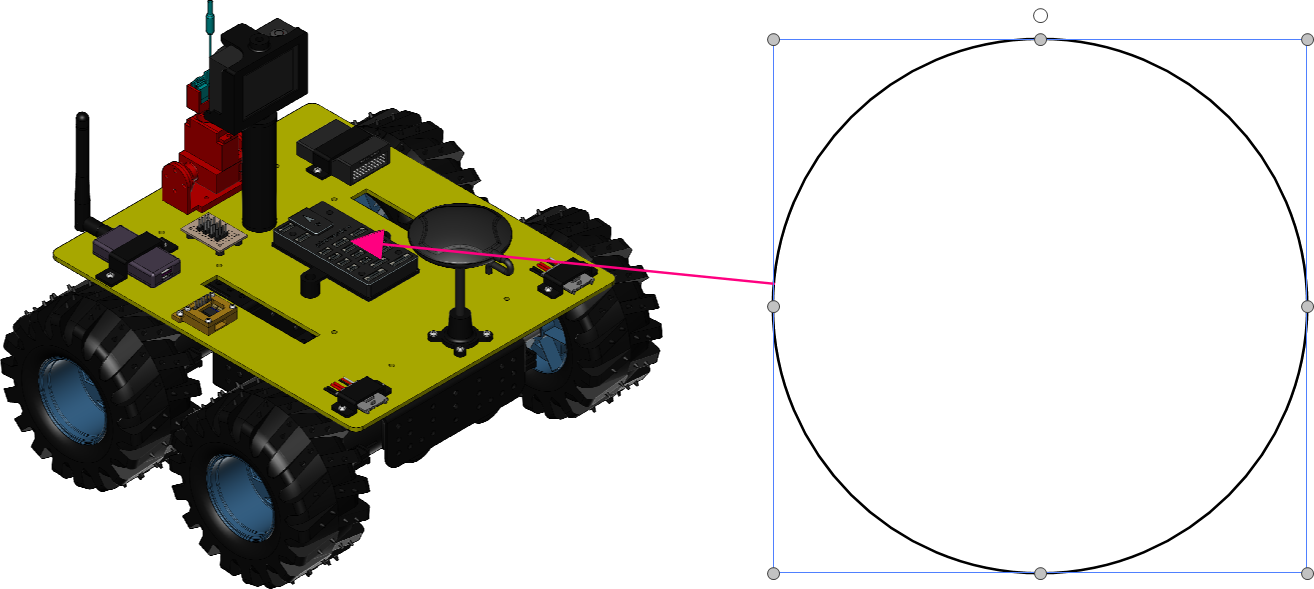
The Lens View becomes blank.
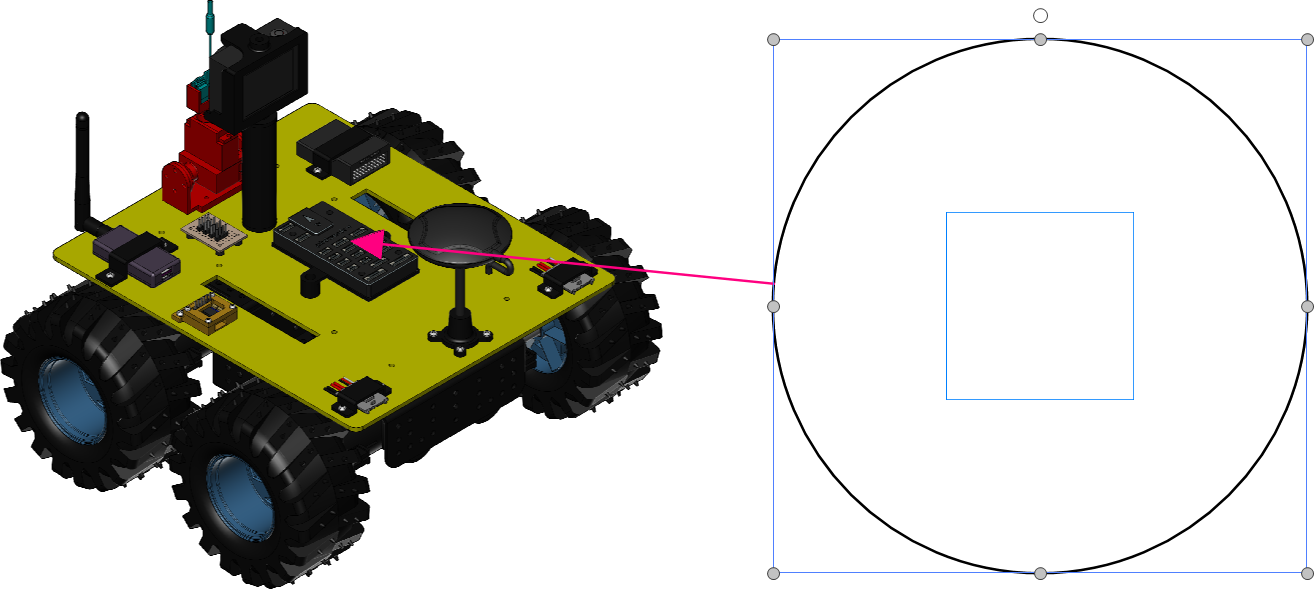
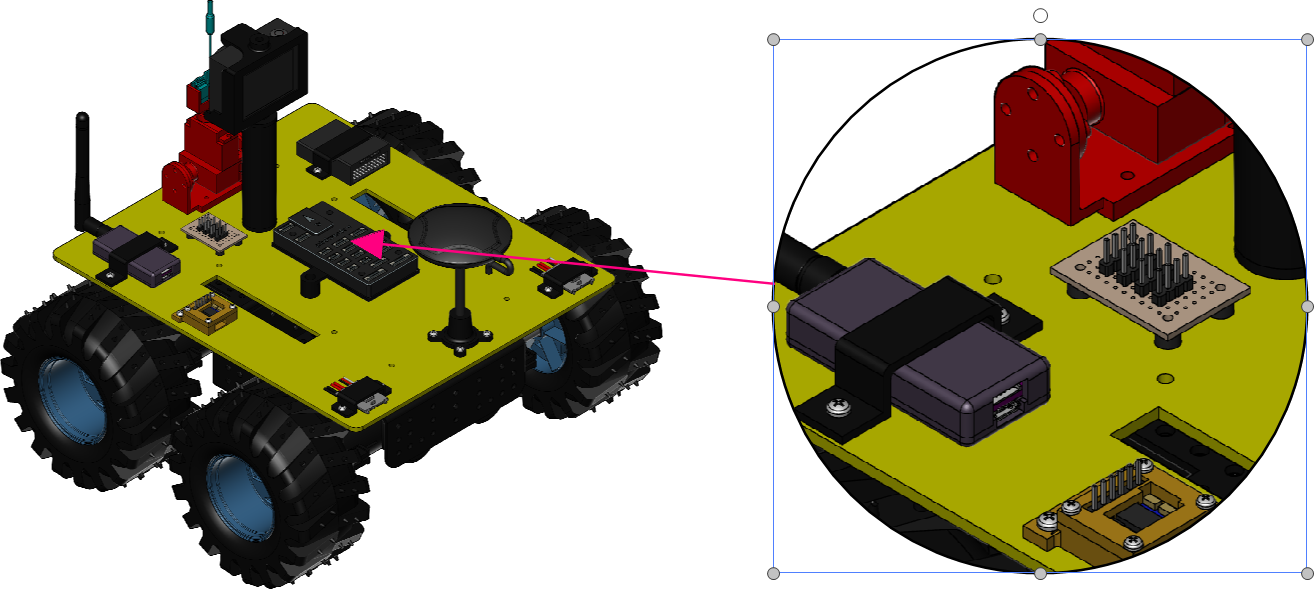
Click at a new center point of interest on the target object.
Changing the pointing position (center) of the Lens View
To change the pointing position (center) of the Lens View:
Select a lens object whose pointing position (center) of the Lens View you want to change.
Go to Lens contextual ribbon tab.

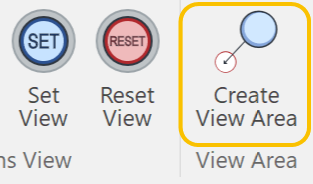
In the View Area panel, click the Create View Area button.
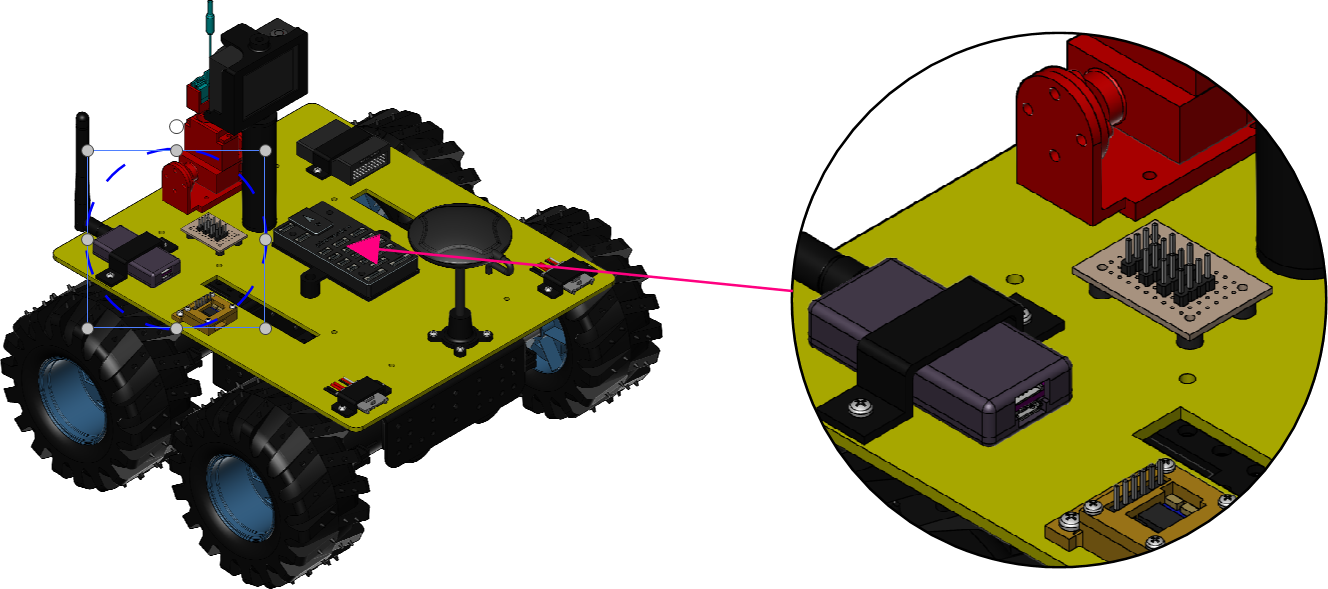
The circle of blue dash outline is created at the view area.
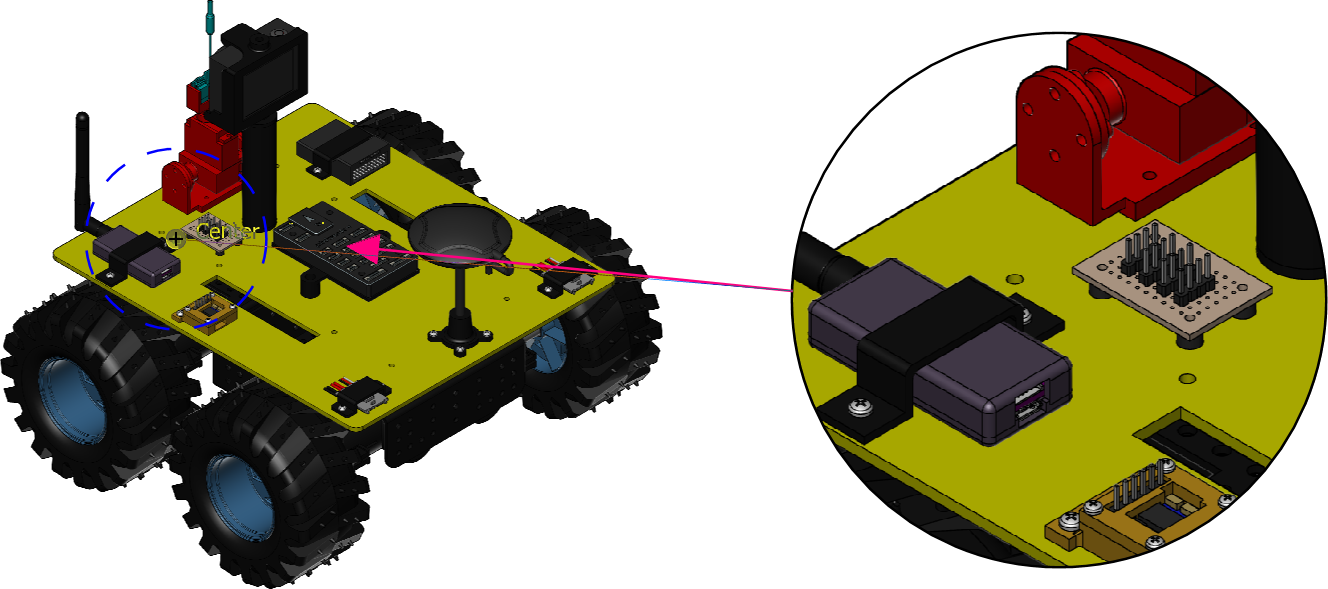
Enable the Smart Mouse – Center.
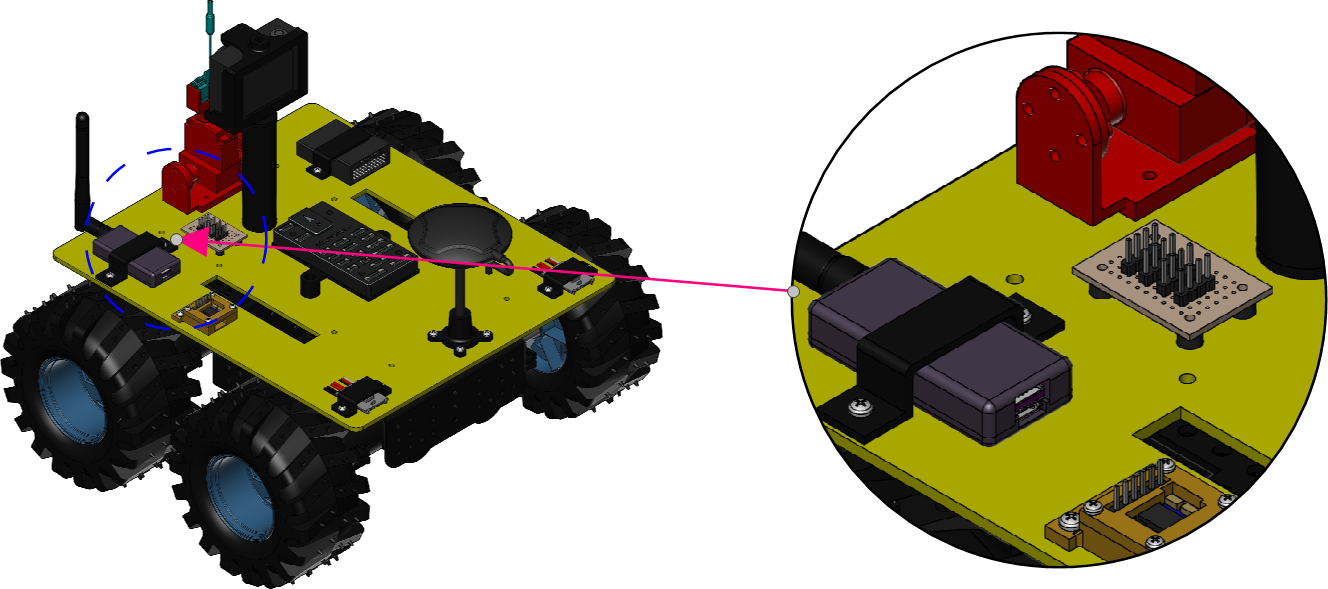
Drag the end point of the Smart Line to the center of the view area.
Turning on Snapshot Lens
To turn on the Snapshot Lens for a lens object:
Select a lens object for which you want to turn on the Snapshot Lens.
Go to the Snapshot Resolution panel in the Lens contextual ribbon tab.

Enter the new resolution value in the Resolution field.
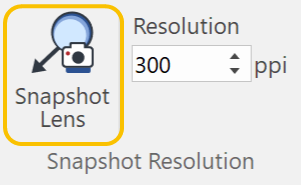
Click the Snapshot Lens button. When it is turned on, the button gets highlighted.
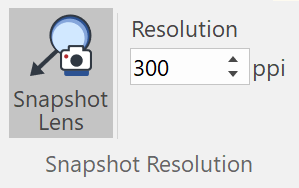
When the Snapshot Lens is on, you can move the target object of the lens without changing the lens view.
