Adding 2D Annotations to 3D Models
You can annotate on 3D Model objects with the following:
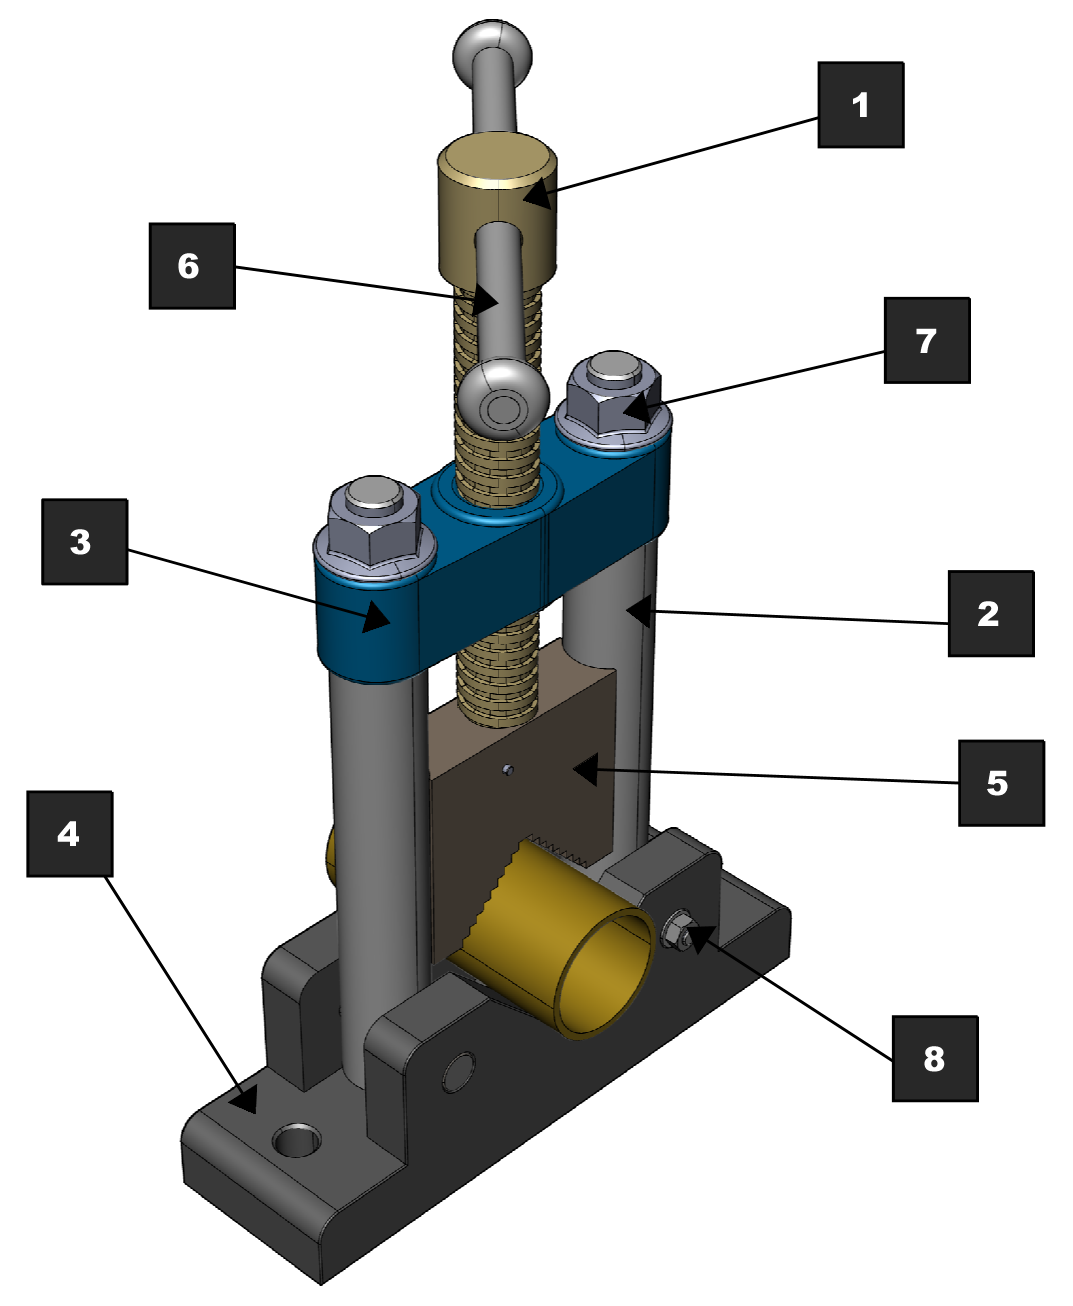
Serial numbers: 1, 2, 3, 4, 5, etc.
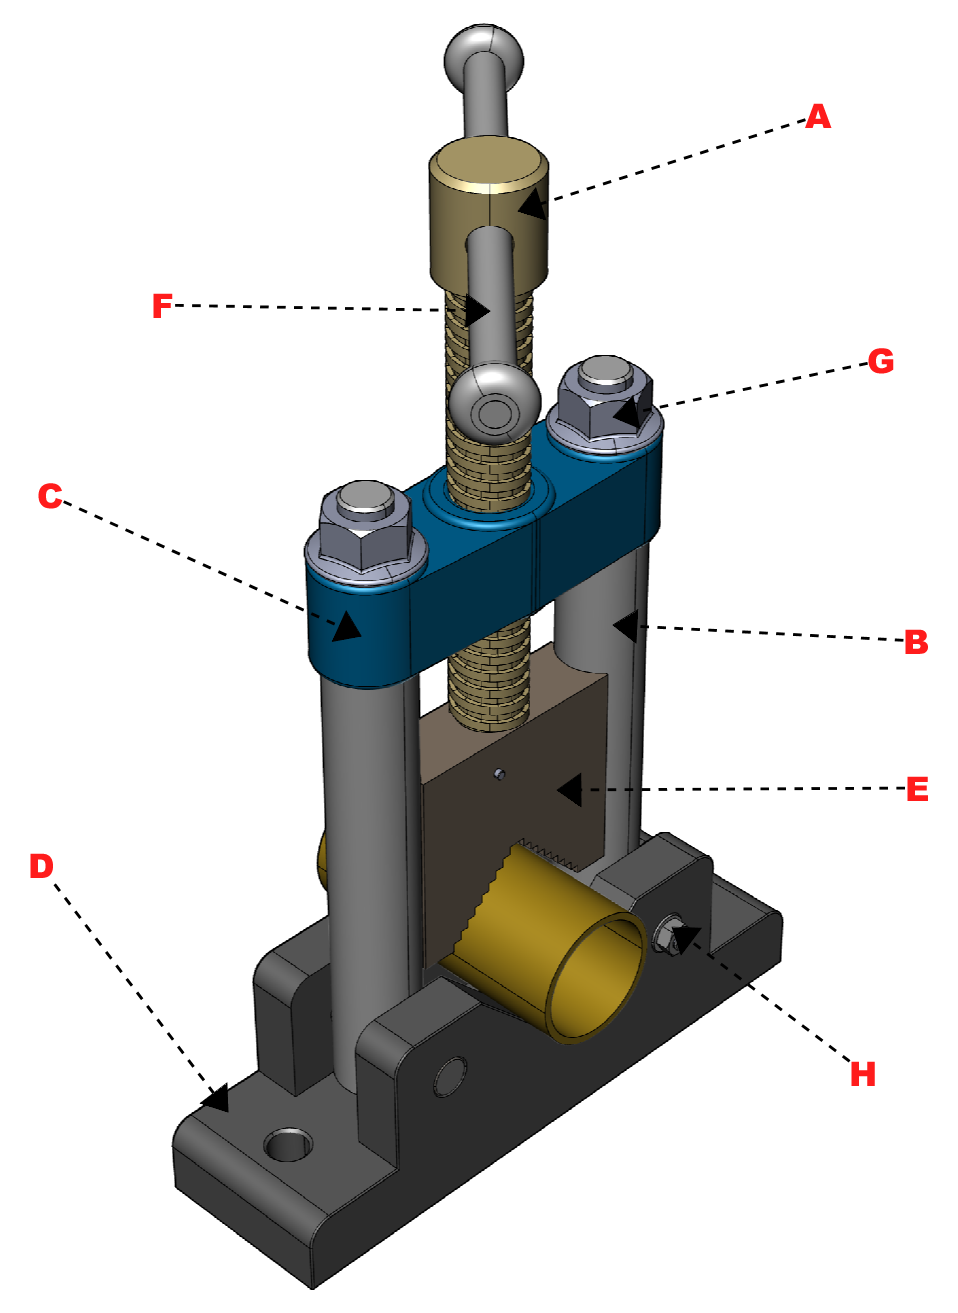
Serial uppercase letters: A, B, C, D, E, etc.
Serial lowercase letters: a, b, c, d, e, etc.
Any text by typing it with a shape frame or without.
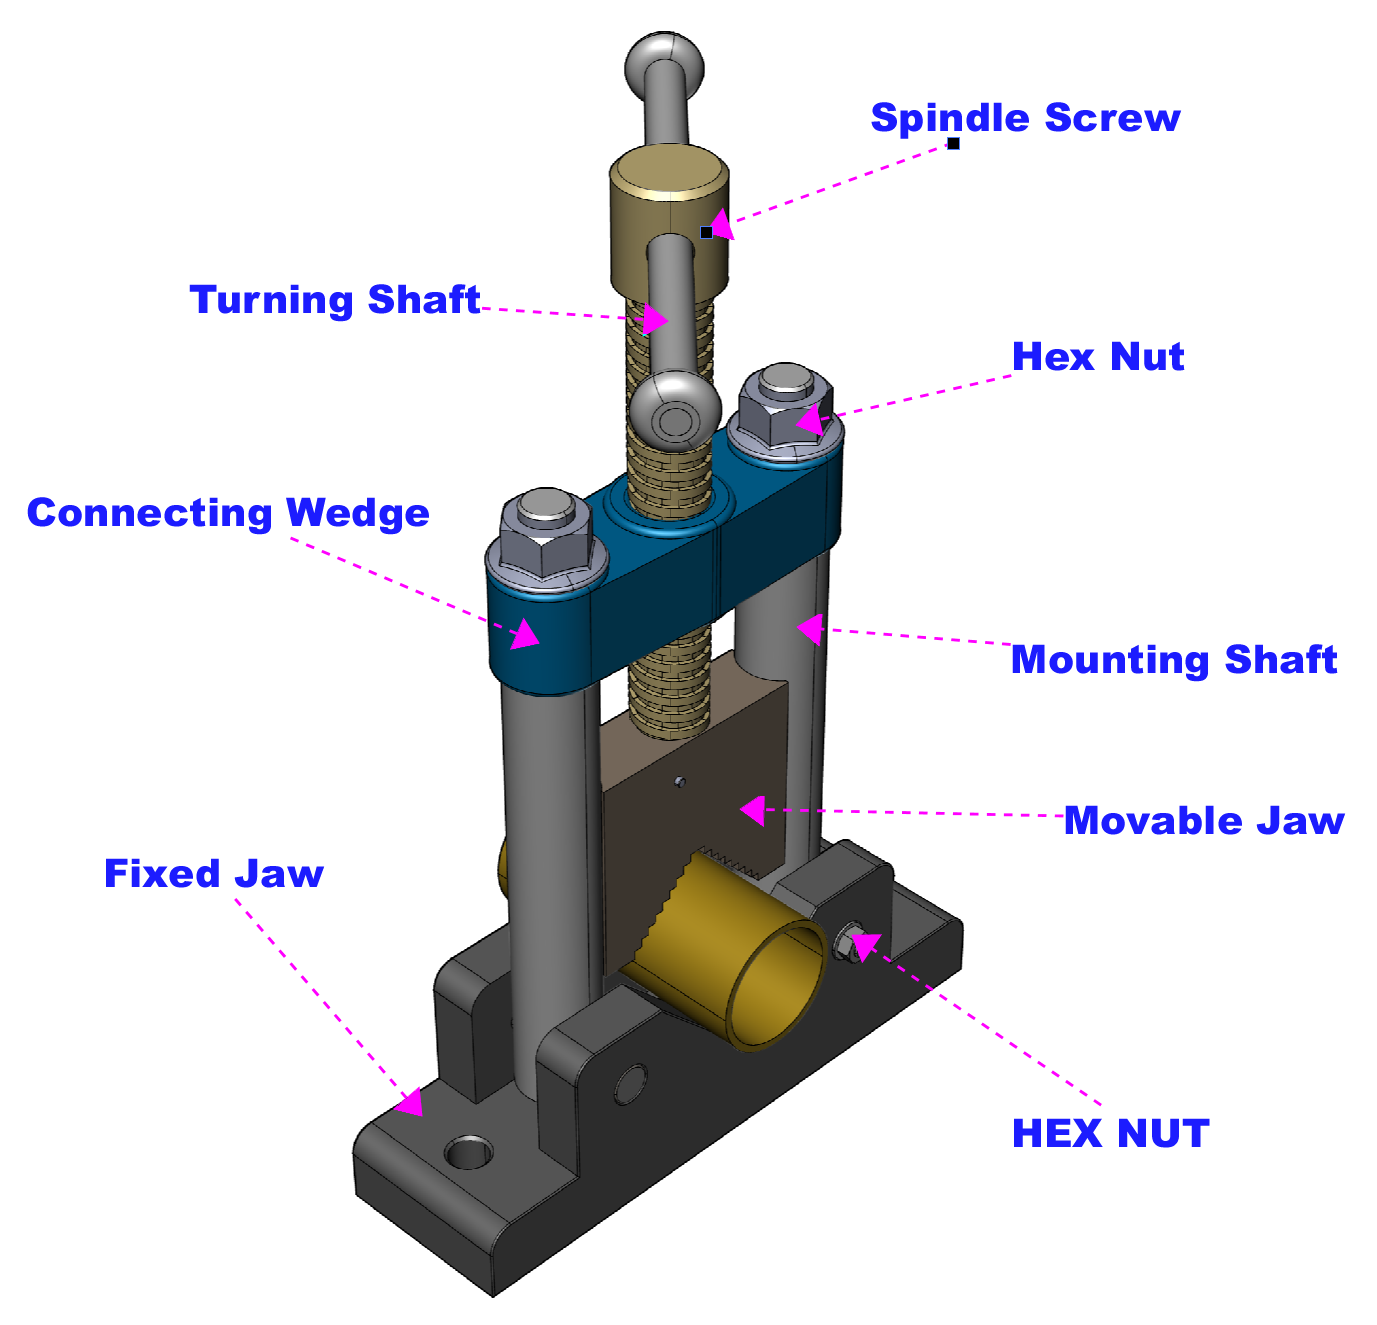
Instance names from the 3D model.
Custom properties from the user properties of the 3D model.
Annotating on 3D models with serial letters, numbers, and custom text
To add one or more annotations with serial letters, numbers, or custom text to a 3D model:
Select a 3D model object you want to annotate.
Go to the 2D Annotation Tools panel on the 3D Model contextual ribbon tab.

Click the appropriate annotation tool menu button, either:
Number Annotation
Alphabet (L)
Alphabet (s)
Label Annotation
Select a preset from the drop-list if the current setting is not suitable.
Click the 3D Model object and drag out to place an annotation text.
Repeat step 5 as needed.
Press Esc to exit the mode.
2D Annotation Tools for letters, numbers, and text
Number Annotation
Alphabet (L)
Alphabet (s)
Label Annotation


2D Annotation examples on a 3D model
Annotating on 3D models with the Instance Name and Custom Data Annotation
To add one or more annotations with instance names or custom data to a 3D model:
Select a 3D model object you want to annotate.
Go to the 2D Annotation Tools panel on the 3D Model contextual ribbon tab.

Click the Data Annotation menu button.
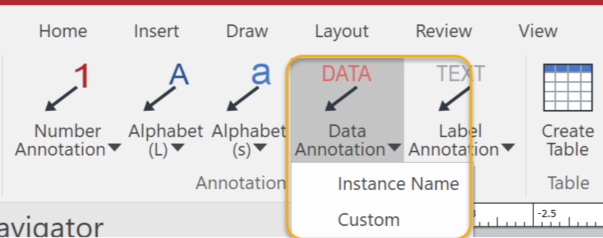
From the Data Annotation menu, select either:
Instance Name
Custom
When Custom is selected, the Custom Data Annotation dialog box pops up.
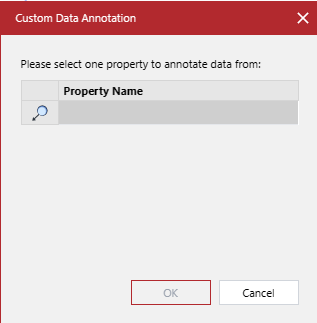
Select a property whose values you want to use for annotation in the Custom Data Annotation pop-up dialog box.
When done, click the OK button.
Hover over a part to highlight the pointed part and to see the value loaded from the 3D model based on its pointing site in the tooltip.
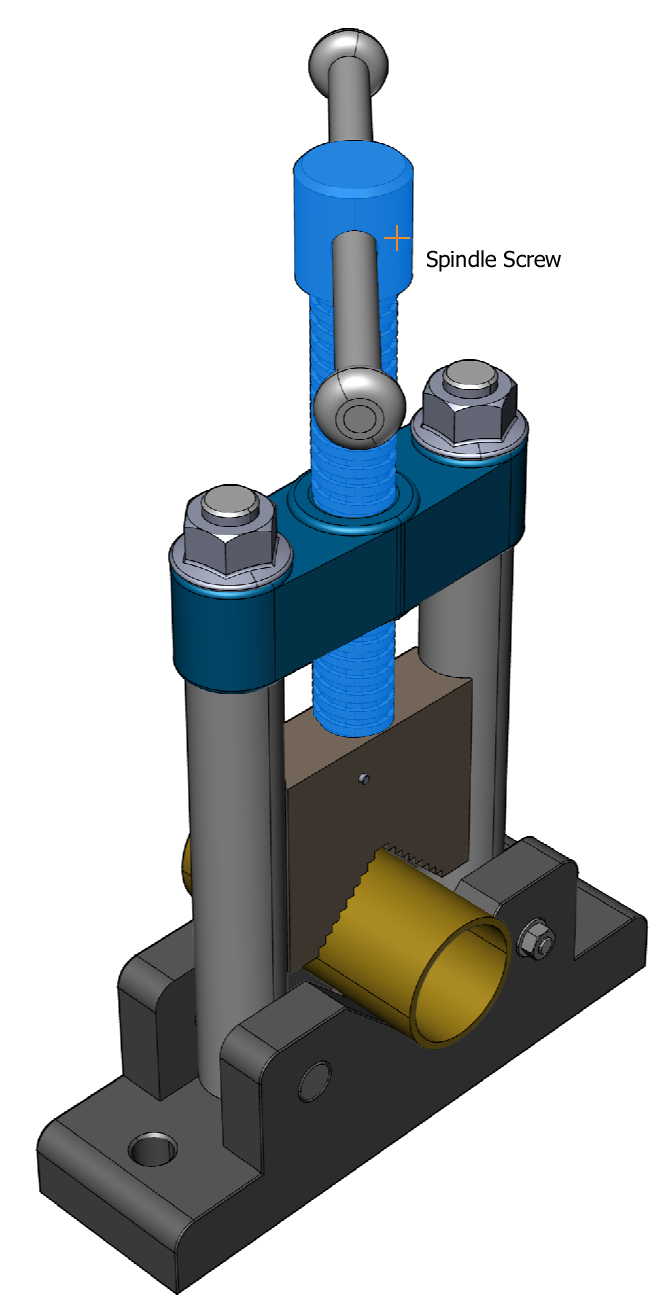
When you decide to annotate it, click and drag out to place the annotation string.
Repeat step 9 as needed.
Press Esc to exit the mode.
