Selecting Objects
To perform operations on objects and groups, you must select them first.
Select tool
You can select objects only when the Select tool is on.
To turn the Select tool on, either:
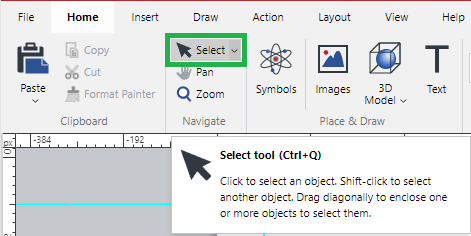
In the Navigate panel of the Home ribbon tab, click the Select tool button.
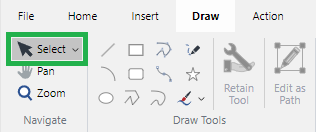
In the Navigate panel of the Draw ribbon tab, click the Select tool button.
On the right side of the Status bar, click the Select tool button.

Press the Ctrl+Q key combination.
When the Select tool is on, the cursor is a single-headed black arrow pointing top left. ![]()
Selecting one object
To select an object in the page layout area or pasteboard:
Ensure the Select tool is on.
Click the object.
Selecting multiple objects
To select multiple objects in the page layout area or pasteboard:
Ensure the Select tool is on.
While pressing the Shift key, click each object you want to select.
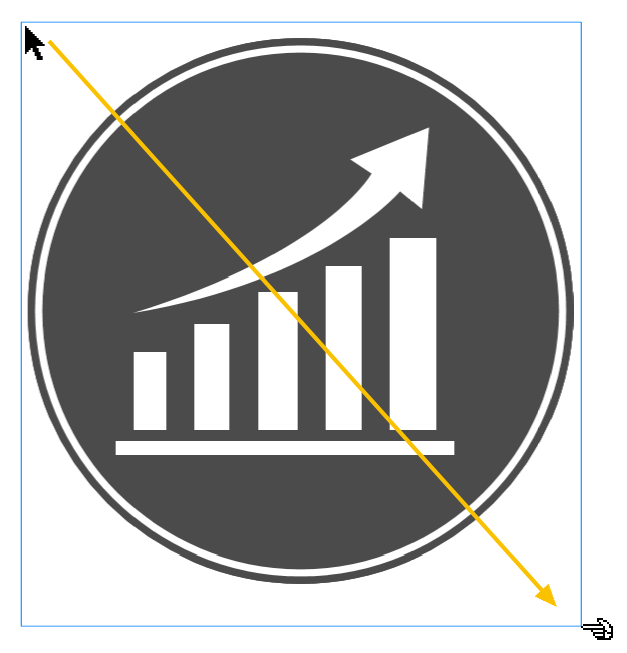
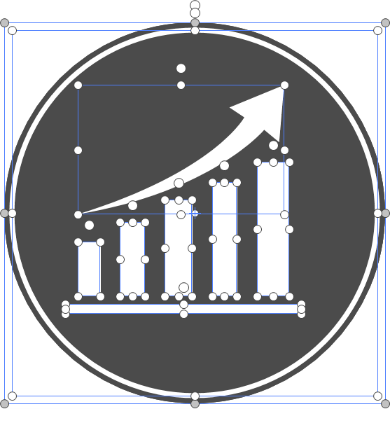
You can also drag with the Select tool to enclose the objects you want to select.
 |  |
|---|
While pressing the Ctrl key, drag to touch the objects you want to select.
 |  |
|---|
Selecting all objects
To select all the objects:
Go to the Navigate panel of the Home or Navigate ribbon tab.
Click the Select menu button.
Click the Select All option from the Select menu.

Selecting objects across visible layers
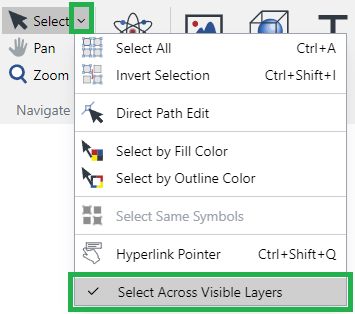
To select objects across visible layers:
Go to the Navigate panel of the Home or Navigate ribbon tab.
Click the Select menu button.
Click the Select Across Visible Layers option from the Select menu.
Selecting objects behind other objects
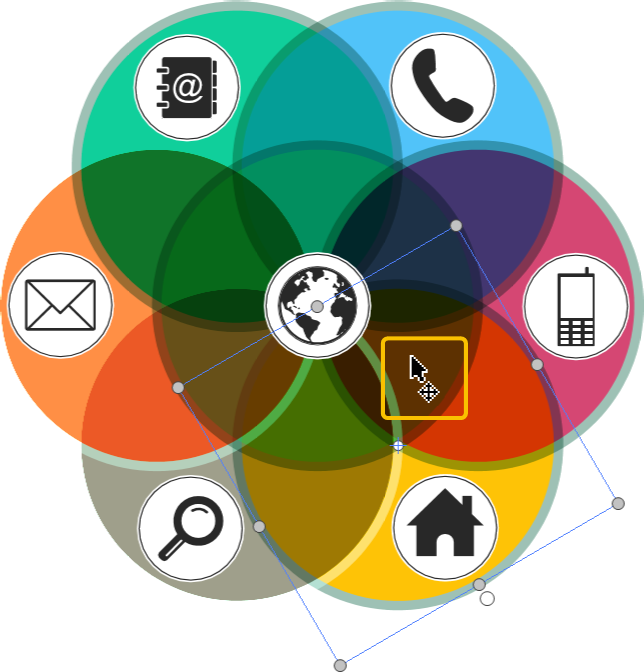
To select objects behind other visible objects:
Ensure the Select tool is on.
Select the object in front.
Press the Tab key and click the object again.
Repeat step 2, if necessary.
 |  |  |
|---|
Inverting selection
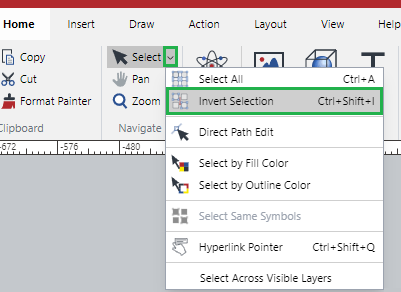
To invert selected objects:
Select the objects you do not want to select.
Go to the Navigate panel of the Home or Navigate ribbon tab.
Click the Select menu button.
Click the Invert Selection option from the Select menu.
Removing selection
To remove the selection from selected objects, either:
Click a blank area outside of the selected objects.
Press the Esc key.
Selection Indicators
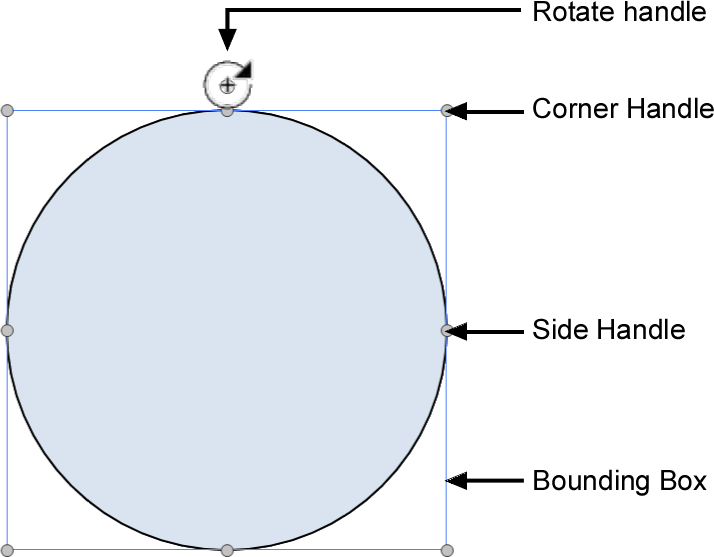
Canvas Envision Web Creator indicates that an object is selected by displaying the object’s bounding box—a rectangle with small gray circles (called handles) in each corner and side midpoint.
Invisible Selection
When an object is selected, its bounding box is visible even if its attributes make it invisible; for example the same color as the background.
Two objects of the same fill color are selected. 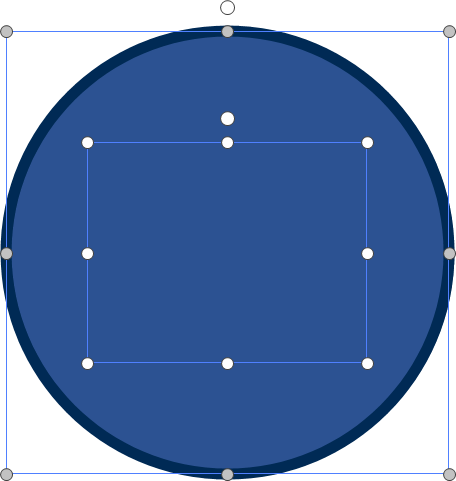 | The color of one of the two objects is changed.  |
|---|
Also, a selected object’s bounding box is visible even if it’s covered by other objects.
A smaller object is also selected behind the larger object. 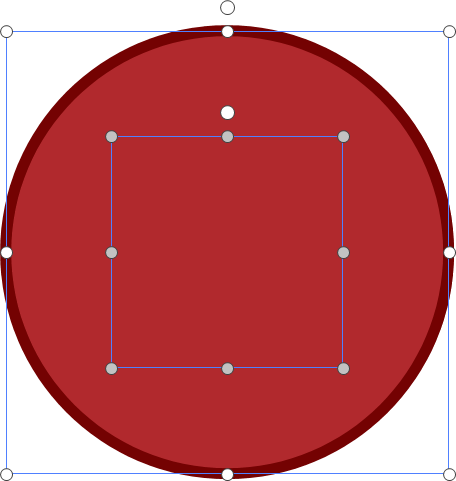 | The smaller object is brought in front of the larger object. 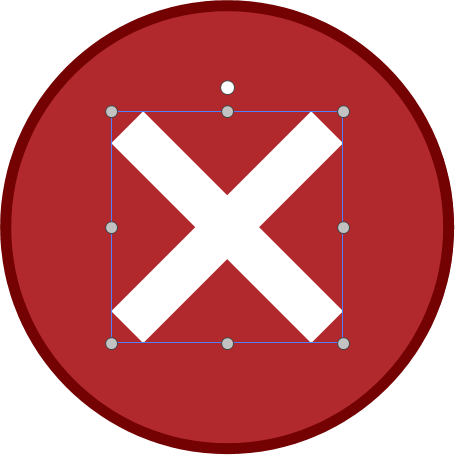 |
|---|
Selection information
When an object is selected, the object type is indicated in the status bar.

When more than one object is selected, the status bar shows the number of the selected objects.

Key object
- Key object
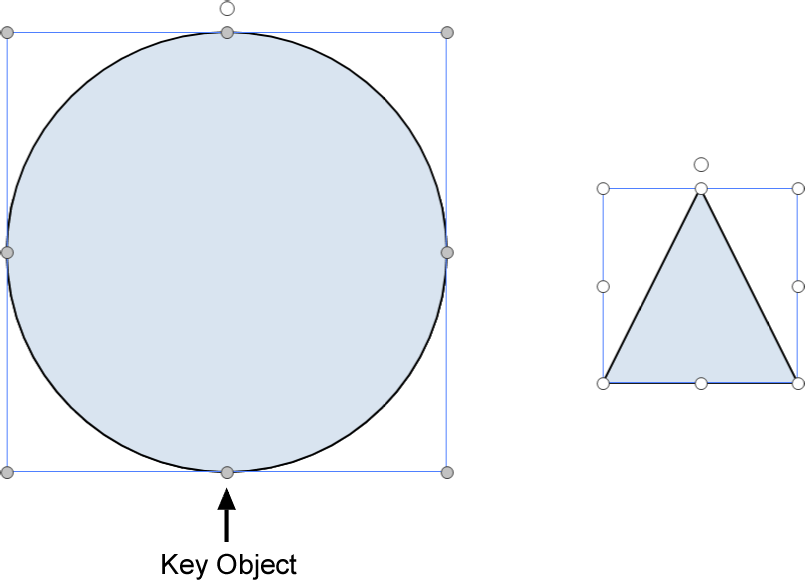
The object that was selected first among multiple selected objects
The key object has a solid blue bounding box with small gray circles. If several objects are selected, the other selected objects have a solid blue bounding box with small white circles. The key object may affect the alignment and distribution of the other objects.
Switching the key object within the multiple selected objects
To switch the key object to another selected object:
Select two or more objects.
Right-click the object you want to be the key object.
Click the Make Key Object option from the context-sensitive menu.
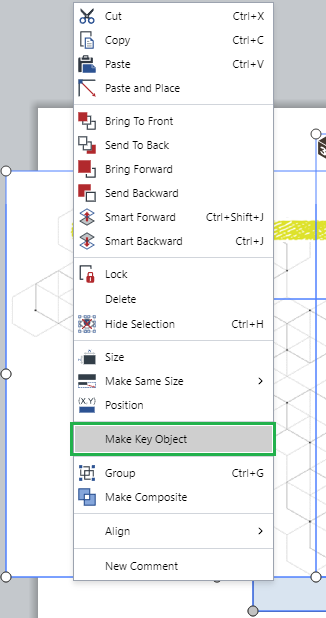
The object becomes the key object in the selection.
Adding a key object to the selected objects
To switch the key object to another selected object:
Select one or more objects.
Press the Shift key and right-click the object you want to add to the selection as the key object.
Click the Make Key Object option from the context-sensitive menu. The object becomes a part of the selection as the key object.