Rotating Camera
While you are manipulating the 3D Model, you may want to rotate the scene of interest by rotating the camera.
Rotating the camera freely
To rotate the camera freely:
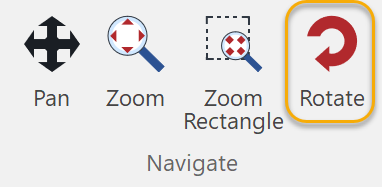
Click the Rotate button in the Navigate panel on the 3D Edit ribbon tab in 3D edit mode.
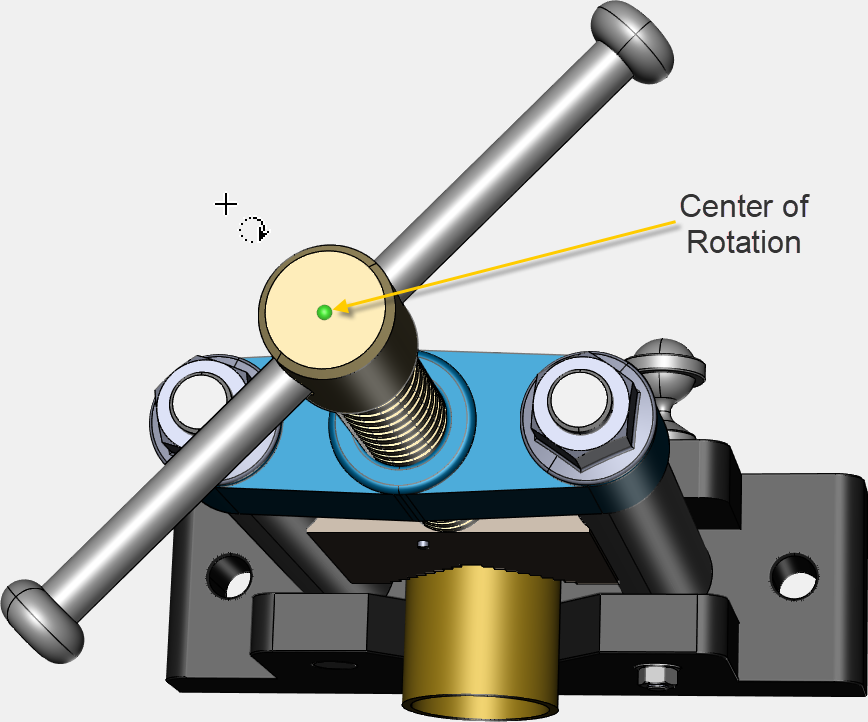
The mouse pointer changes to:

Click at a given center of rotation and drag to rotate. The center of rotation will be represented as the green dot.
Rotating the camera to preset views
To rotate the camera to a preset views:
Click the View menu button in the View panel on the View ribbon tab in 3D edit mode.
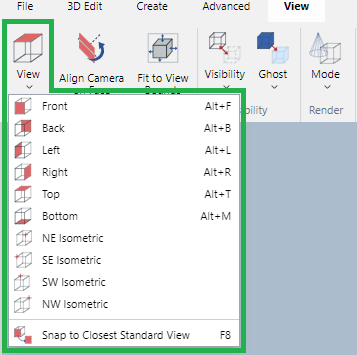
Select the needed preset view command from the View menu.
Rotating a face to normal
To rotate the camera to a face:
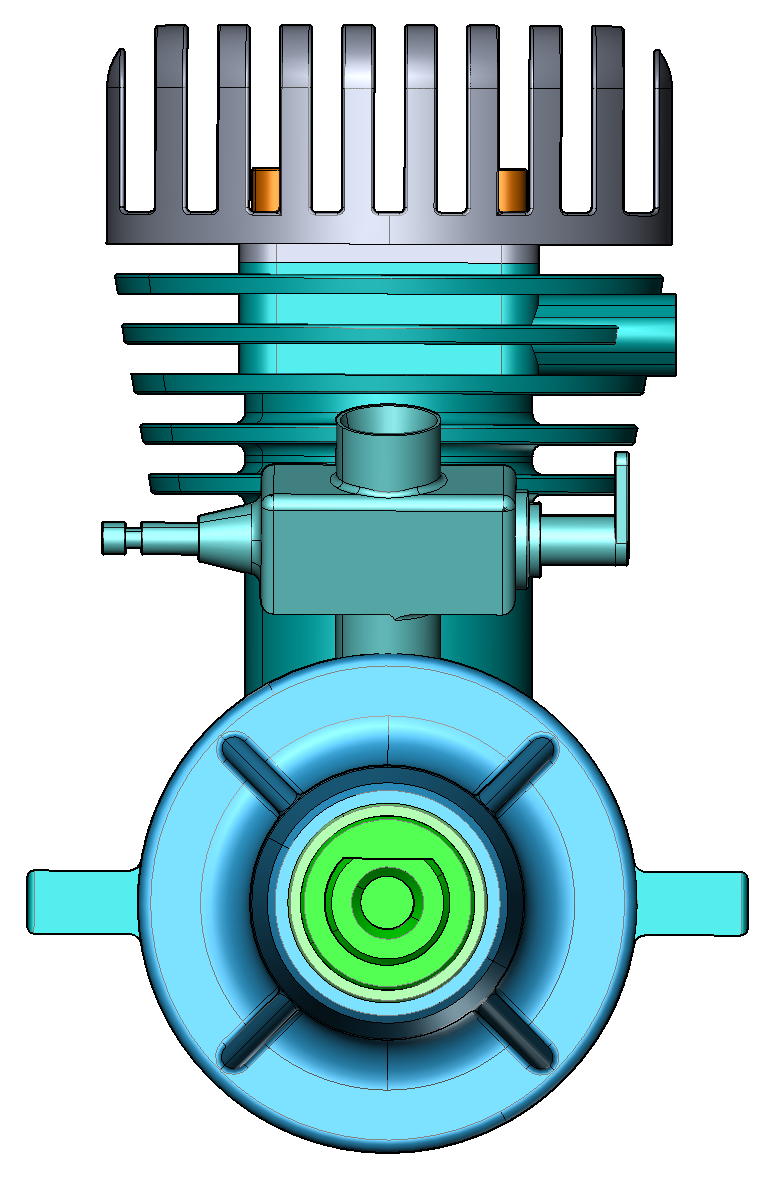
Click the Align Camera on Face button in the View panel on the View ribbon tab in 3D edit mode.
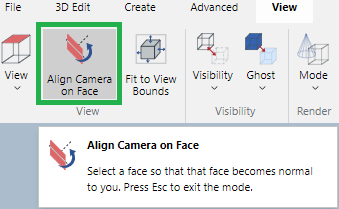
Mouse over a part’s face that you want to rotate the camera normal to you. The mouse pointer changes to the red arrow pointer.

Click on that face.
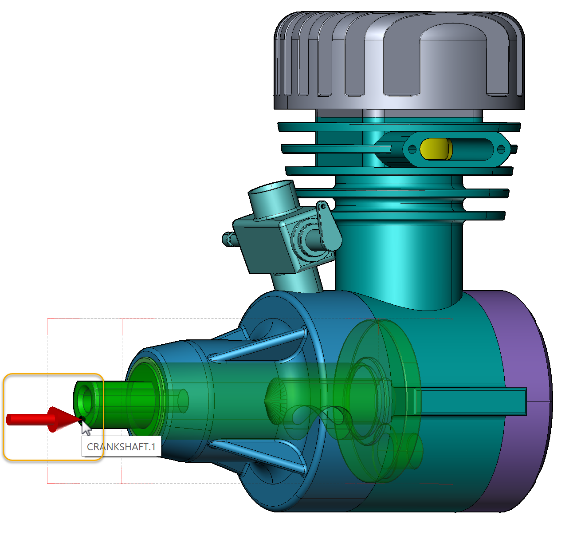
Press Esc to exit the mode.
Rotating the camera with the axis triad
To rotate the camera with the axis triad, either:
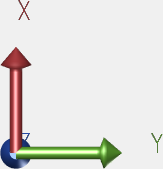
Double-click the X, Y, or Z axis to make that axis either:
Toward you.
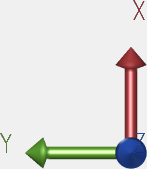
Away from you.
Drag the axis triad to rotate the camera freely.
Rotating the camera with the navigation cube
To rotate the camera with the navigation cube, either:
When you mouse over an area (centers, sides, corners) of the navigation cube, the plane will be highlighted in light blue.
Center

Side

Corners

Click that region to rotate the camera facing that plane to you.
You can click the region repeatedly to rotate by the preset angles using it as the axis of rotation.
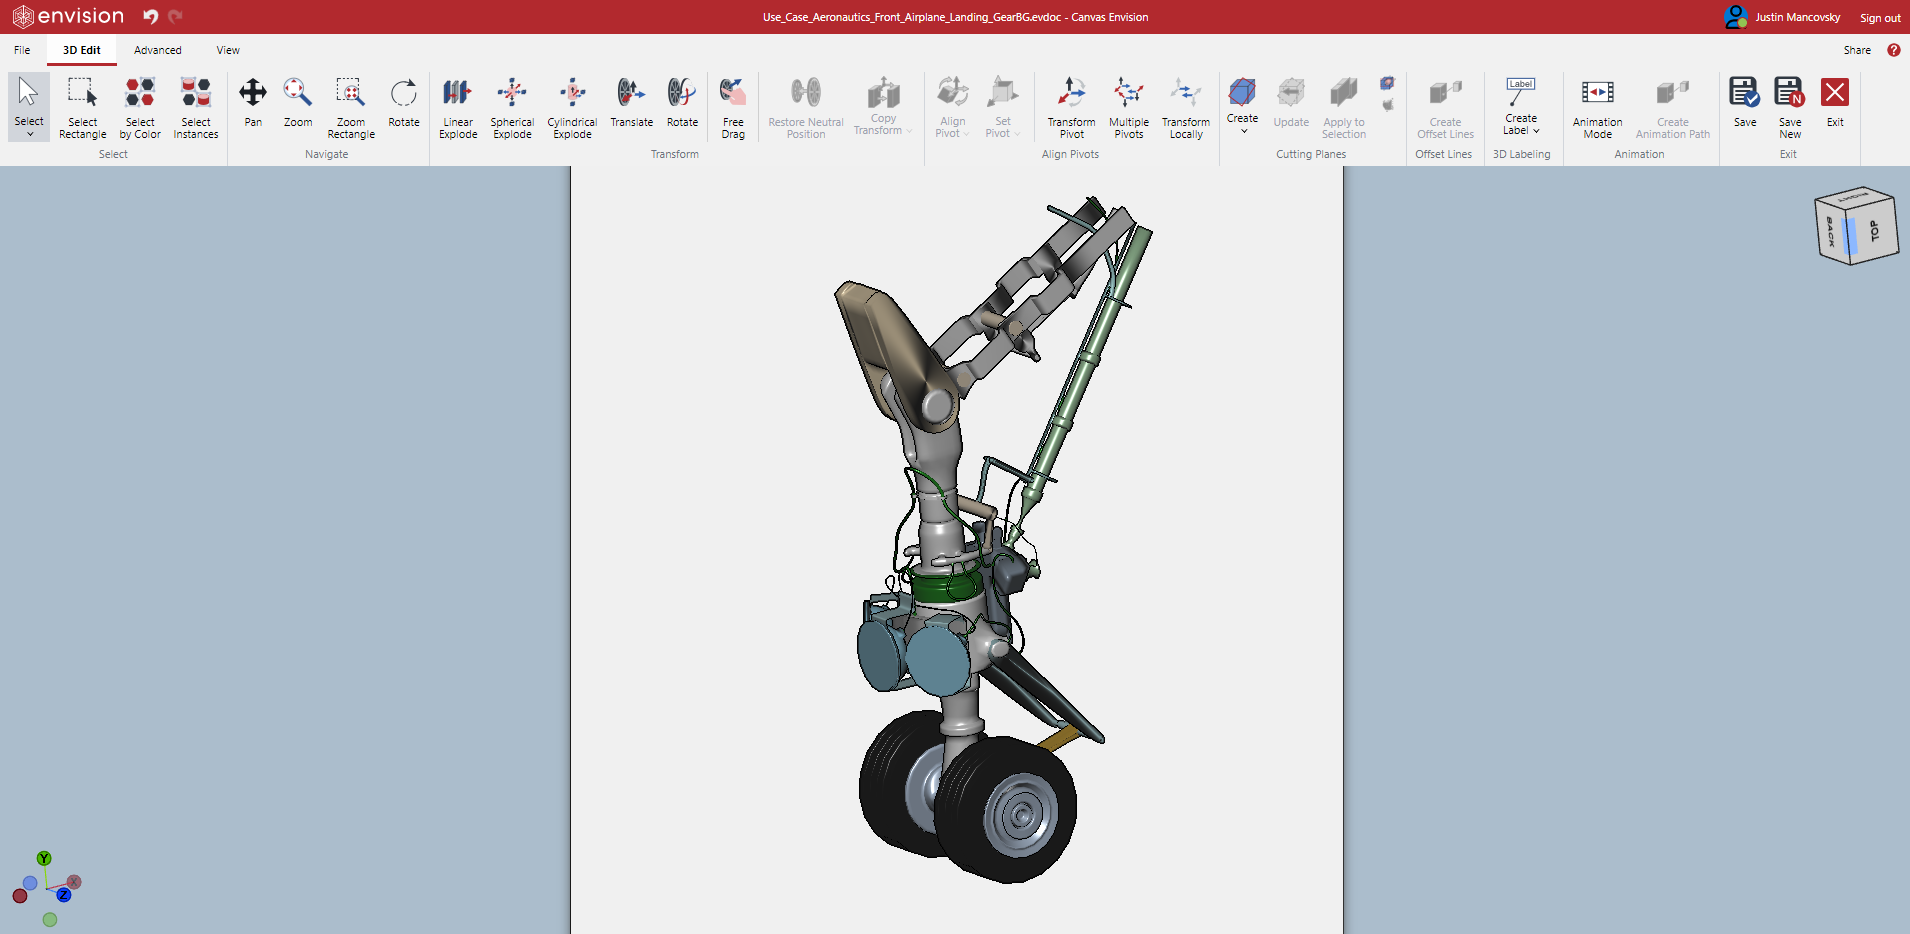
Drag the navigation cube to rotate the camera freely.
Rotating the camera to embedded CAD views
Some 3D model files may contain some CAD view data that will be listed in the Assembly Tree pane. The CAD View data contains the part’s visibility and camera orientation and direction at the time the original author created the CAD view. You can switch between them quickly.
To rotate the camera to a CAD view embedded in a 3D model:
Show the Assembly Tree pane by selecting the Assembly Tree checkbox in the Panes panel in the View tab of the Ribbon.
Expand the CAD Views node in the Assembly Tree pane if needed.
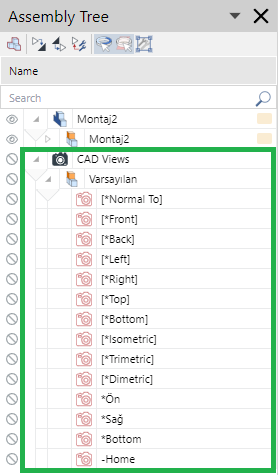
Double-click a CAD view option to rotate the camera to it.
CAD Views are displayed under the part assembly as well as the separate CAD Views node.
When you switch from the current view to one of the CAD views, visibility of some parts may be overridden by the one in the CAD view selected.
Results may be different from the ones that you do from the View menu in the View panel on the View ribbon tab.