Managing Groups of Objects
When you want to keep two or more objects together as one unit, you can make a group of them. You can group individual objects as well as already-grouped objects.
When you do that, for instance, you can easily lay out moving one unit of multiple objects together. Also, you can resize or rotate the group object as a whole.
Grouping multiple objects
Select two or more objects.
Do one of the following:
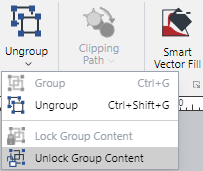
Click the top part of the Group split button from the Transform panel of the Home tab.

Click the top part of the Group split button from the Transform panel of the Draw tab.

Right-click and select Group from the context-sensitive menu.

Press Ctrl+G.
Grouping examples
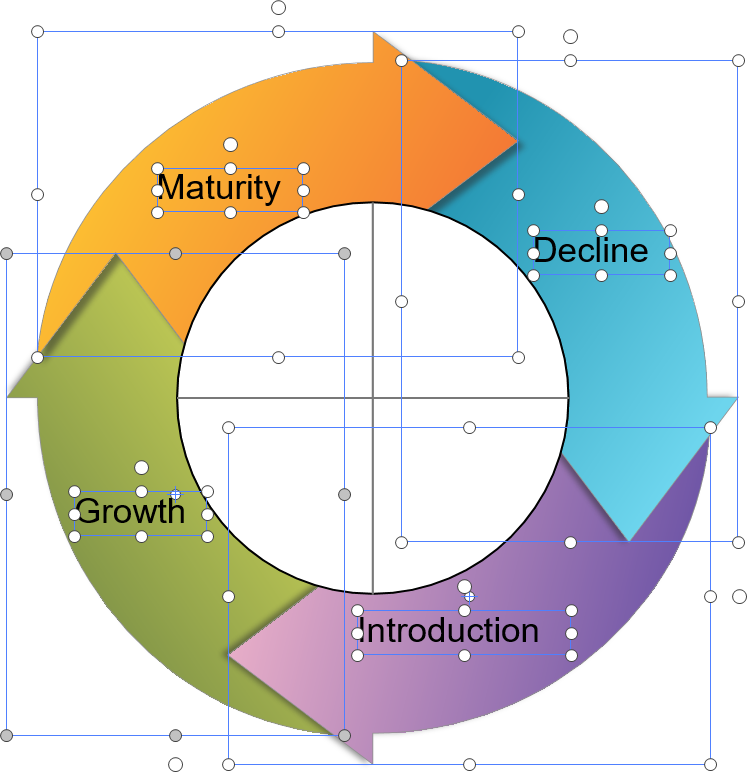
Several objects are selected.
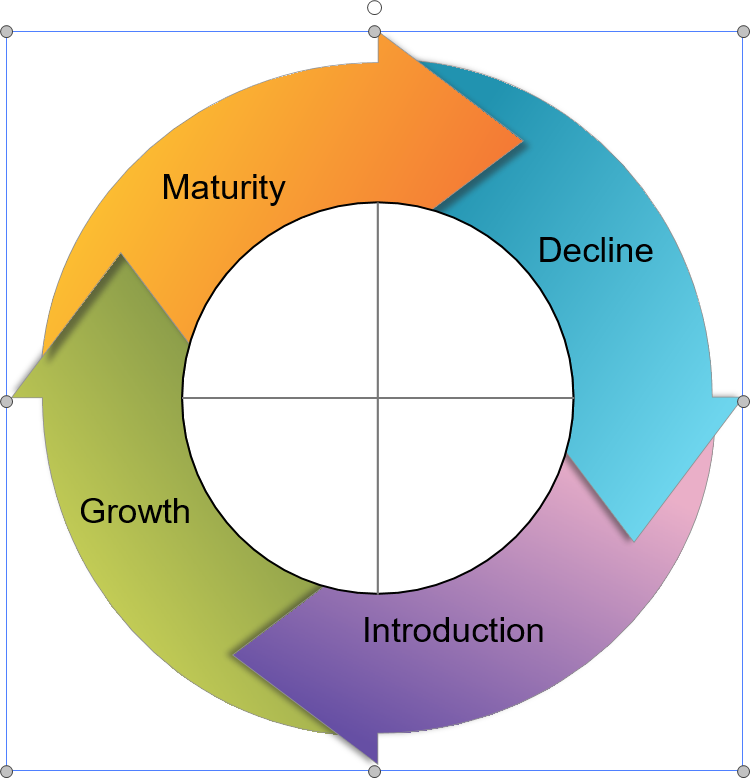
The group is created from the selected objects.
Ungrouping group objects
Select a group object or objects.
Do one of the following:
Click the top part of the Ungroup split button from the Transform panel of the Home tab.

Click the top part of the Ungroup split button from the Transform panel of the Draw tab.

Right-click and select Ungroup from the context menu.

Press Ctrl+Shift+G.
Repeat step 2 when the selected group object has the nested group objects inside as needed.
Selecting an object in a group object
Select a group object.
Click an object in the group object.
Shift-click to continue to select others.
Selecting examples
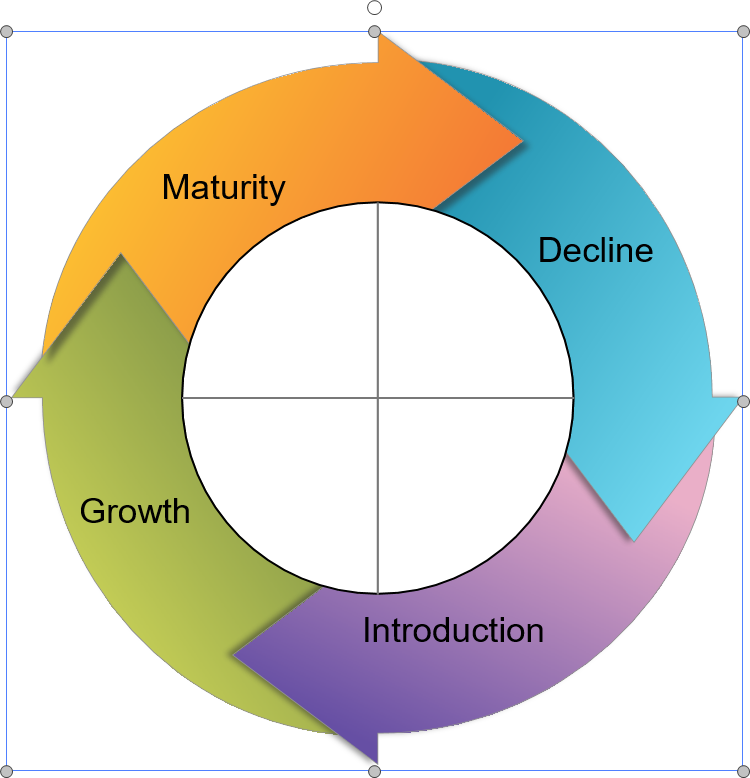
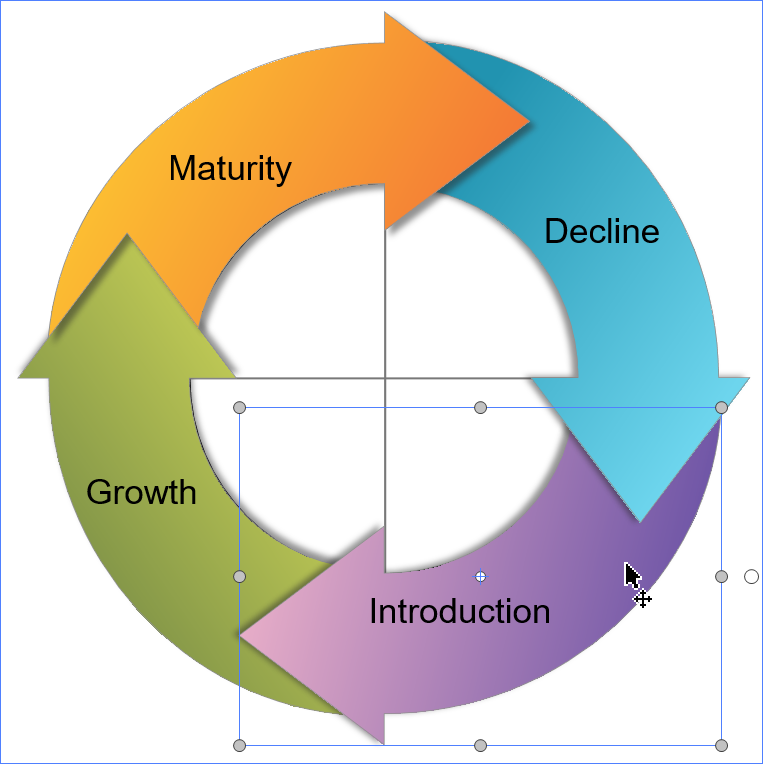
The group itself is selected. The group object bounds are shown with the handles.
One object in the group object is selected. The group object bounds are indicated as the blue rectangle without the handles.
You may want to disable the selection of objects in a group object from time to time
Locking content in a group
Select a group of objects you want to forbid moving them.
Do one of the following:
Click the bottom part of the Ungroup split button from the Transform panel of the Home tab.

Click the bottom part of the Ungroup split button from the Transform panel of the Draw tab.

Select the Lock Group Content option from the Group menu.
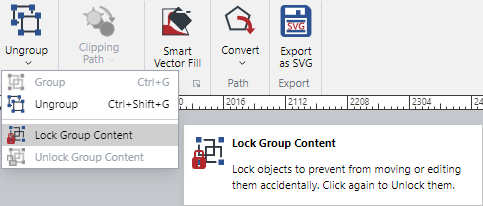
Unlocking content in a group
Select a group object in which you want to unlock objects.
Do one of the following:
Click the bottom part of the Ungroup split button from the Transform panel of the Home tab.

Click the bottom part of the Ungroup split button from the Transform panel of the Draw tab.

Select the Unlock Group Content option from the Group menu.
