Importing 3D Models
You can insert 3D models from your local drive and configure their quality during the import.
Inserting 3D models
To import a 3D model into an Envision document from your local drive:
Either:
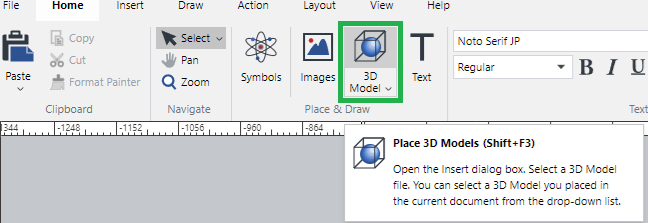
Click the 3D Model button in the Place & Draw panel on the Home ribbon tab.
Click the 3D Model button in the Items panel on the Insert ribbon tab.
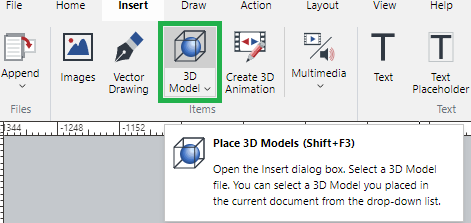
Press the Shift+F3 key combination.
The Insert 3D Model dialog box pops up.
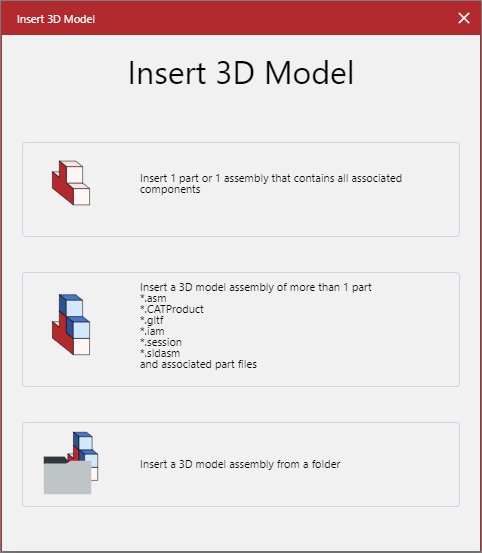
In the Insert 3D Model pop-up dialog box, click the necessary option button, either:
Insert 1 part or 1 assembly that contains all associated components
Insert a 3D model assembly of more than 1 part
Insert a 3D model assembly from a folder
The system opens the browser dialog for uploading files.
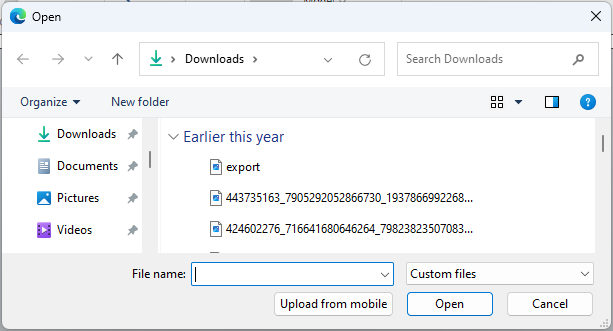
In the browser dialog for uploading files, search for and select the necessary 3D model files and folders and click Open. The Review files dialog box pops up.
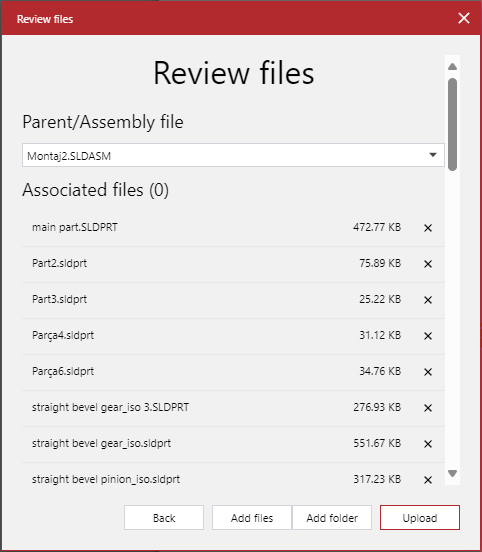
In the Review files pop-up dialog box:
Review the files.
If necessary, add the missing files.
If necessary, remove the extra files.
When you are done, click Upload
The Uploading files dialog box pops up and displays the upload progress for each file.
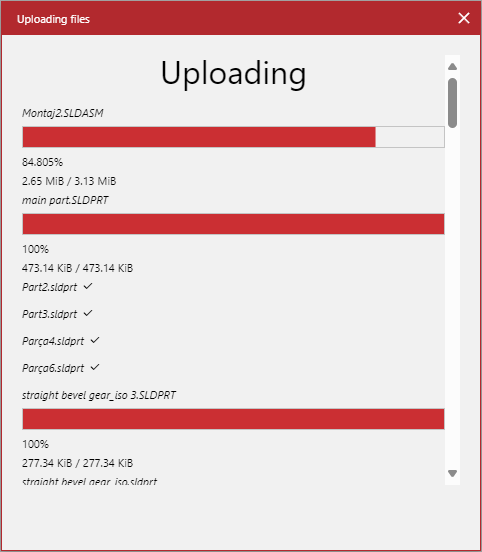
Once file uploading is completed, the Import Options dialog box pops up.
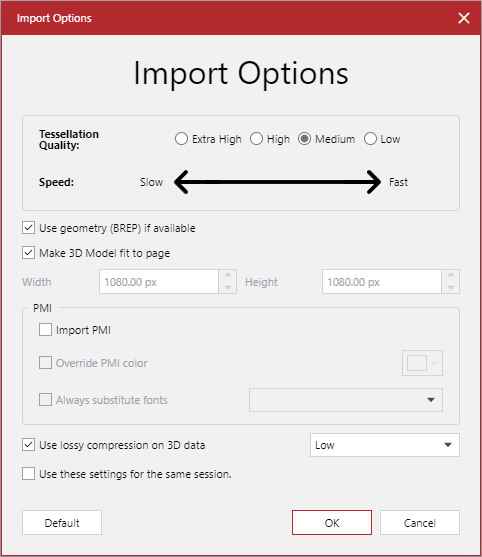
In the Import Options pop-up dialog box, set up the 3D model import properties and click OK. The Processing dialog box pops up and displays the 3D model processing progress.
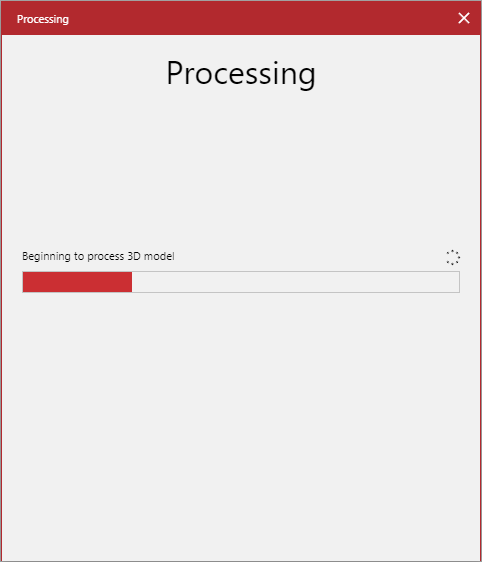
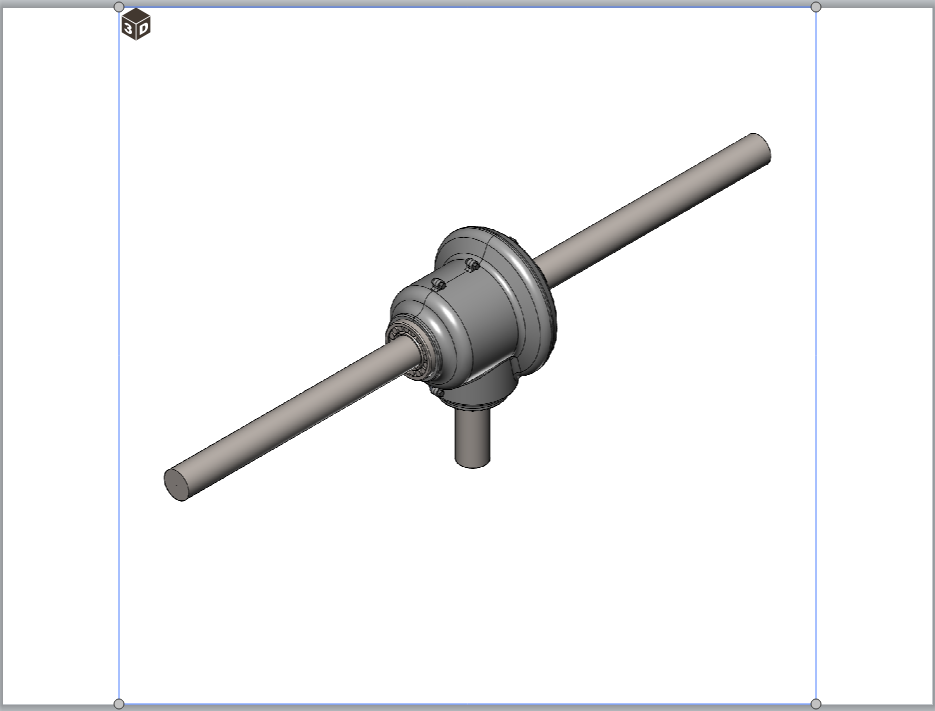
Once the 3D model is processed, the Processing pop-up dialog disappears, and the 3D model is placed in the size set in the Import Options pop-up dialog box on the current layer of the current page.
Import Options pop-up dialog box

The Import Options pop-up dialog box the following configuration options for a 3D model being imported:
Tessellation Quality: the quality of tessellation based on your system configuration. The higher the tessellation quality is, the slower the application performance will be. The overall performance will also depend on the file size and complexity of 3D models.
Use geometry (BREP) if available:
Selected: BREP (boundary representation) will be used if it exists in a given 3D model file; otherwise, tessellation will be used.
Cleared: tessellation will be used regardless of BREP.
Make 3D Model fit to page:
Selected: a given 3D model will be scaled to the page bounds.
Cleared: you can specify the width and height of the 3D model object.