Creating Tables
You can create tables from scratch or from the BOMs of 3D models.
Inserting tables
To insert a table into a document:
Click the Table menu button in the Tables panel on the Insert ribbon tab.
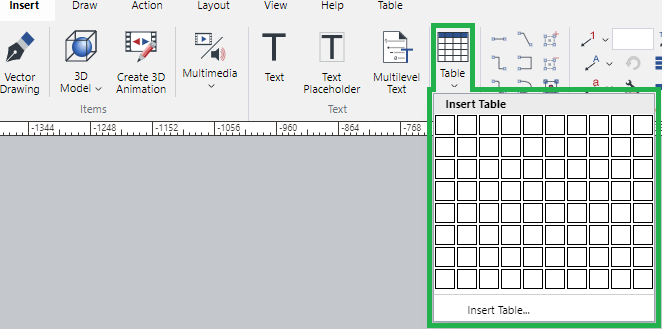
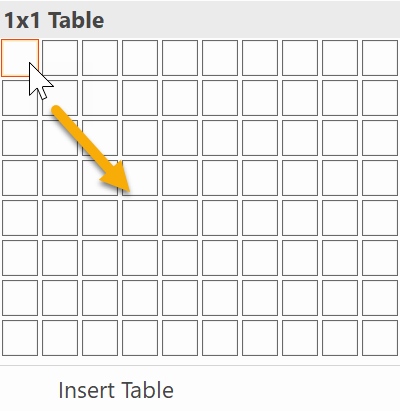
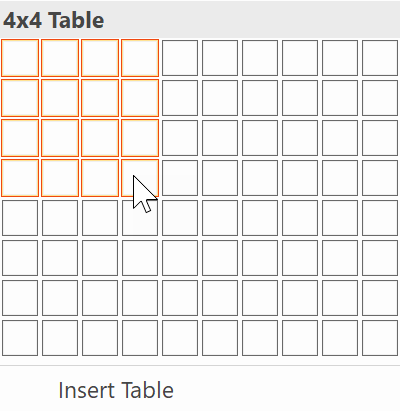
Click the first cell and drag to define a new table in the Insert Table drop-down menu matrix.
The defined table will be created in the default size at the top area on the current page.

Creating large tables
To create a table larger than 10x8:
Click the Table menu button in the Tables panel on the Insert ribbon tab.

Click the Insert Table button at the bottom of the Insert Table drop-down menu matrix.
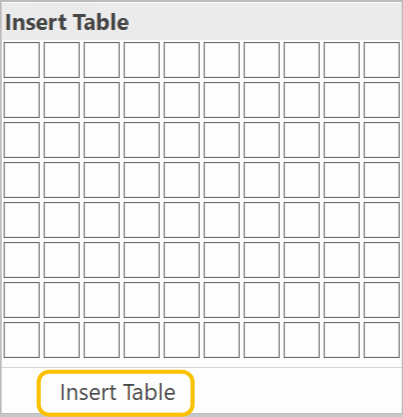
The Insert Table dialog pops up.
In the Insert Table dialog, specify the number of columns and rows.
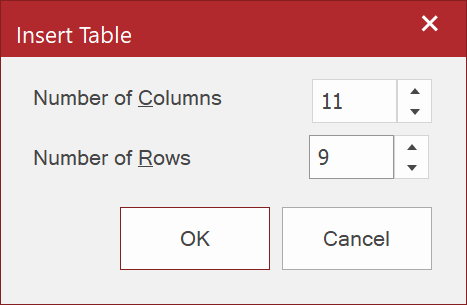
Click the OK button.
Creating tables from 3D models
To create a table with the BOM data exported directly from a 3D model:
Select the 3D model from whose BOM you want to create a table.
Click the Table menu button in the Tables panel on the 3D Model ribbon tab.
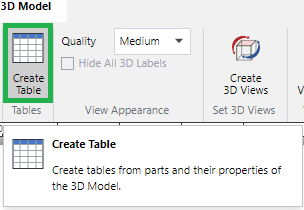
The Create Table dialog pops up.
In the Create Table dialog, set the properties of the table.
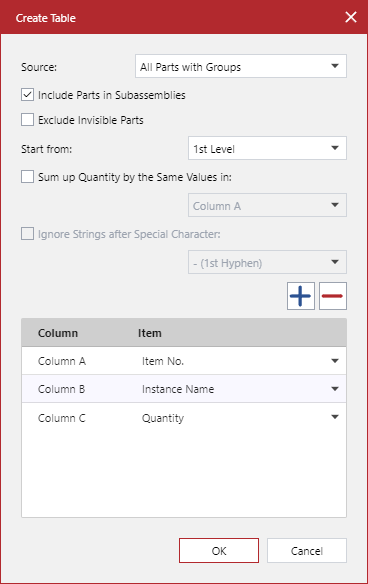
Click the OK button.
