Inserting Tables
You can use the Insert Table feature to quickly create tables.
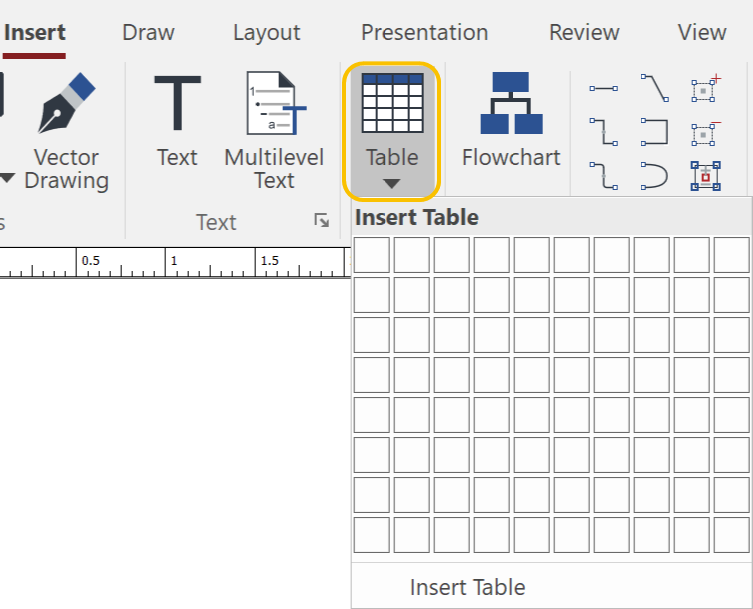
To Insert a Table
-
Click the Table drop-down list from the Table panel in the Insert tab of the Ribbon.
-
Click the first cell and drag to define a matrix in the pop-up Insert Table.
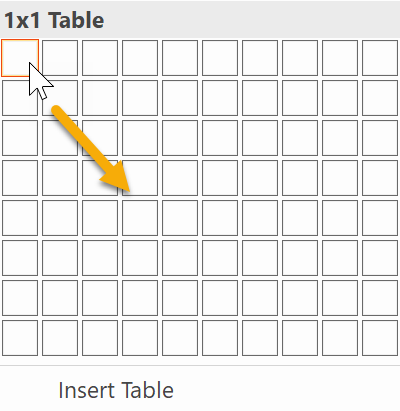
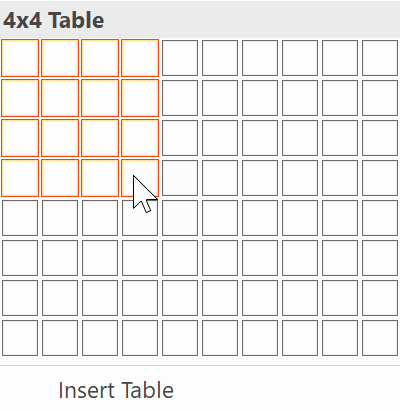
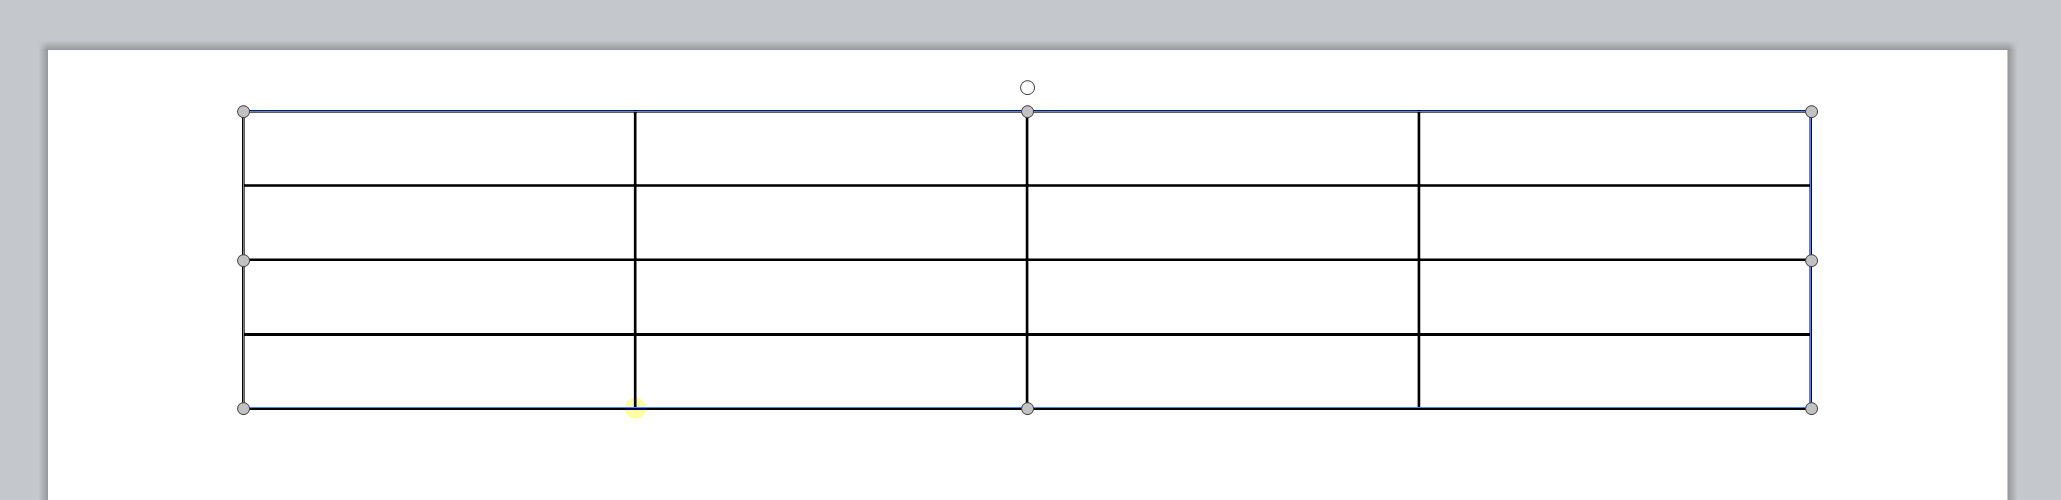
The defined table will be created in the default size at the top area on the current page.
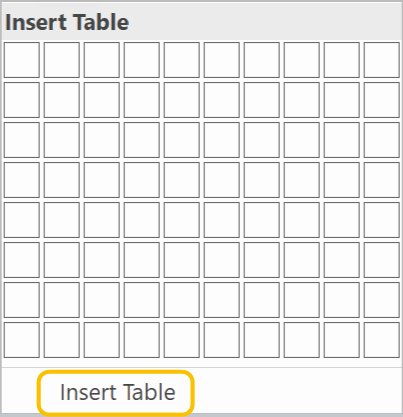
To Create a Table Larger than 10x8
-
Click the Table drop-down list from the Table panel in the Insert tab of the Ribbon.
-
Select Insert Table at the bottom of the pop-up Insert Table.
-
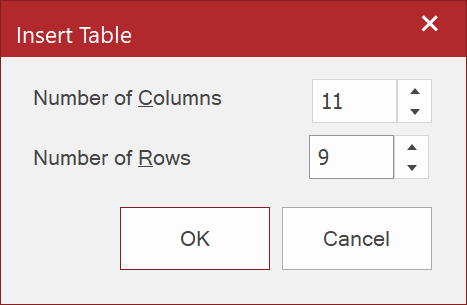
Set the options.
-
Click OK.
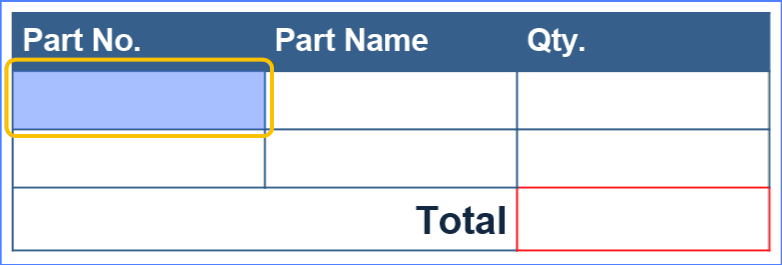
To Add Text to a Table
-
Click a Table that you want to add text to.
-
Click a cell that you want to add text to.
-
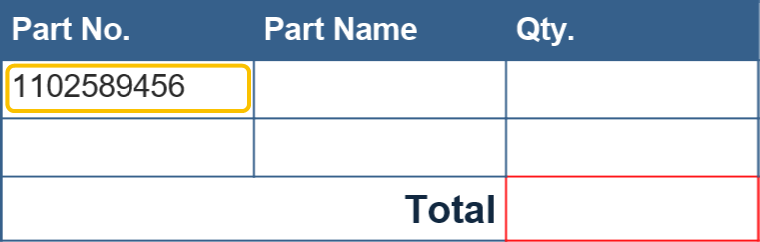
Start typing.
-
Do one of the following:
-
Click another cell.
-
Press the Tab key to move to next cell to the right.
-
Press one of the Arrow keys to move up, down, left or right.
-
-
Repeat step 3 and 4 as needed.
|
|
You can apply Font, Font Style, Font Size, Character Spacing, Text Color, Text Effects, and Text Alignment in cells from the Table contextual tab as you can do to regular text objects. Please refer to: Adding Texts. |

To Add a Row or Column
-
Select a cell that you want to edit based on.
-
Click the Table contextual tab.
-
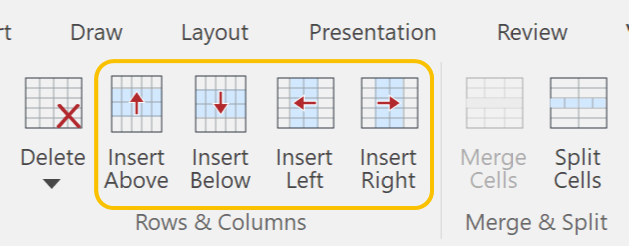
Click one of the following from the Rows & Columns panel:
|
Insert Above |
Adds a row above the current cursor position or the selection. |
|
Insert Below |
Adds a row below the current cursor position or the selection. |
|
Insert Left |
Adds a column to the left of the current cursor position or the selection. |
|
Insert Right |
Adds a column to the right of the current cursor position or the selection. |
|
|
When you click on texts in a cell, the cell becomes the Text edit mode instead of selecting the cell. In order to select the cell, try to click empty space in the cell. |

To Select Table Items from the Ribbon
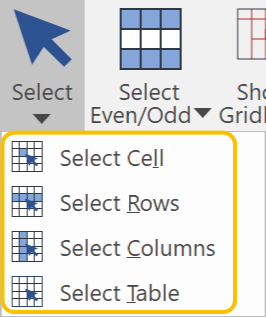
Select one from the Select drop-down list in the Table panel.
|
|
Command |
Description |
|
Select Cell |
When a cell is in the Text edit mode, click this to select the cell. |
|
|
Select Rows |
|
|
|
Select Columns |
|
|
|
Select Table |
Select this to select the table itself. |
To Select Specific Areas of a Table
-
Select a table or select a cell in the table.
-
Select one from the Select Even/Odd drop-down list in the Table panel.
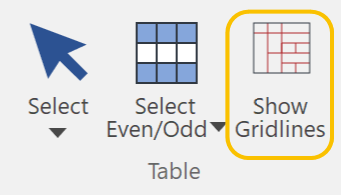
To Show Gridlines for No Borders
-
Select a table with no borders.
-
Click Show Gridlines in the Table panel.
|
|
|
|
Table with no borders |
Show Gridlines is ON. |
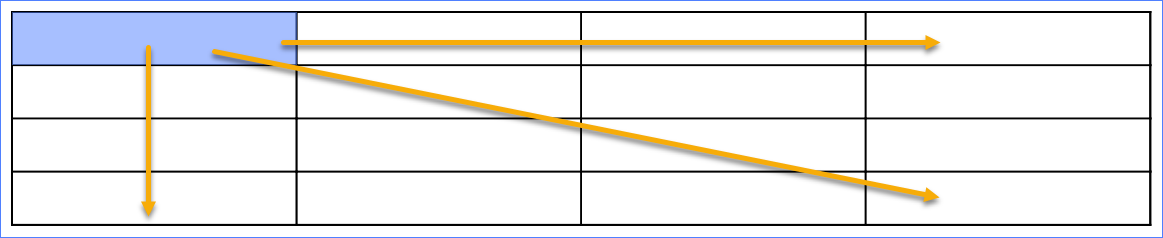
To Select Multiple Cells
Do one of the following:
-
Click the 1st cell and drag it horizontally, vertically, or diagonally.
-
Click the 1st cell and the last cell in the selection you want to make.
To Delete Rows, Columns or a Table
-
Select a cell or cells that you want to edit based on.
-
Click the Table contextual tab.
-
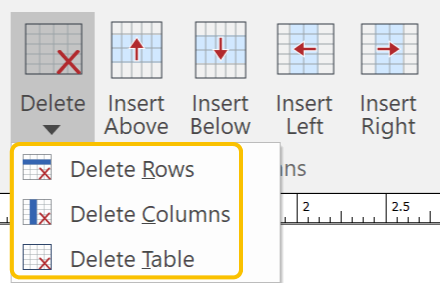
Click the Delete drop-down list from the Rows & Columns panel.
-
Click one of the following:
|
Delete Rows |
Deletes a row at the current cursor position or rows of the vertical selection. |
|
Delete Columns |
Deletes a column at the current cursor position or columns of the horizontal selection. |
|
Delete Table |
Deletes the current table. |
To Merge Cells
-
Select the cells you want to merge.
-
Click the Table contextual tab.
-
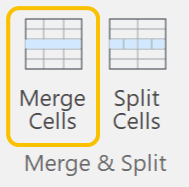
Click Merge Cells from the Merge & Split panel.
To Split Cells
-
Select the cells you want to merge.
-
Click the Table contextual tab.
-
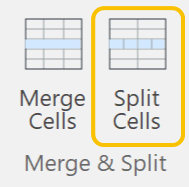
Click Split Cells from the Merge & Split panel.
To Set Cell Width and Cell Height Numerically
-
Select a cell, cells, or a table that you want to adjust their cell width and/or cell height.
-
Click the Table contextual tab.
-
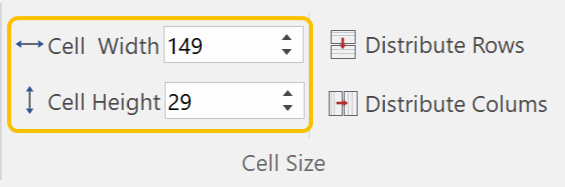
Type a value in the Cell Width and Cell Height edit boxes in the Cell Size panel.
-
Press the Enter key.
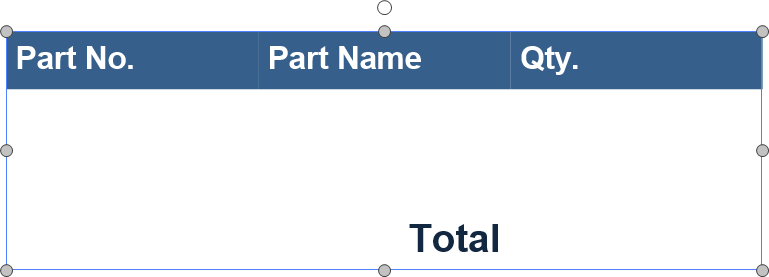
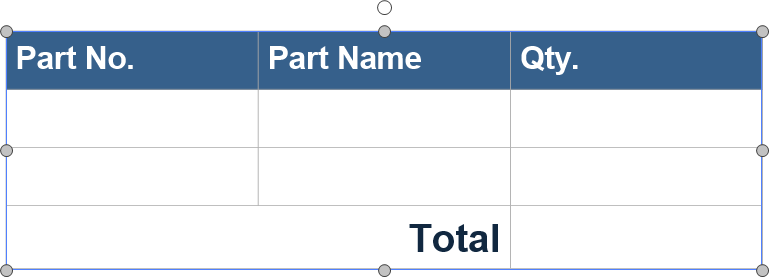
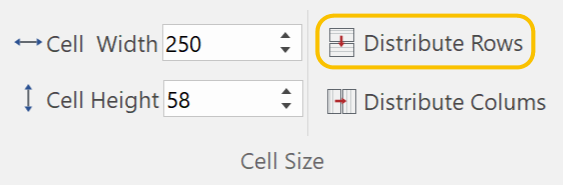
To Distribute Rows
-
Select a table or cells vertically that you want to distribute rows.
-
Click the Table contextual tab.
-
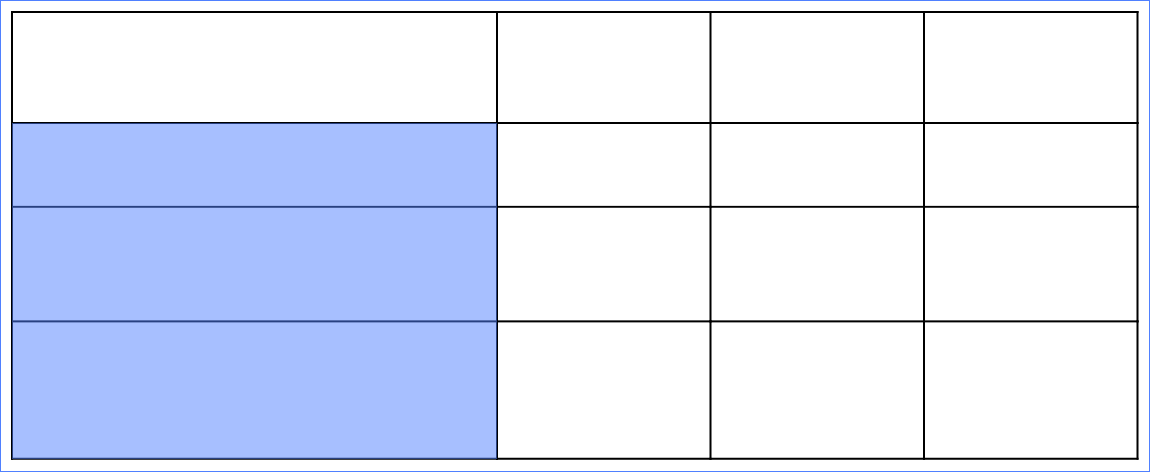
Click Distribute Rows in the Cell Size panel.
|
Before |
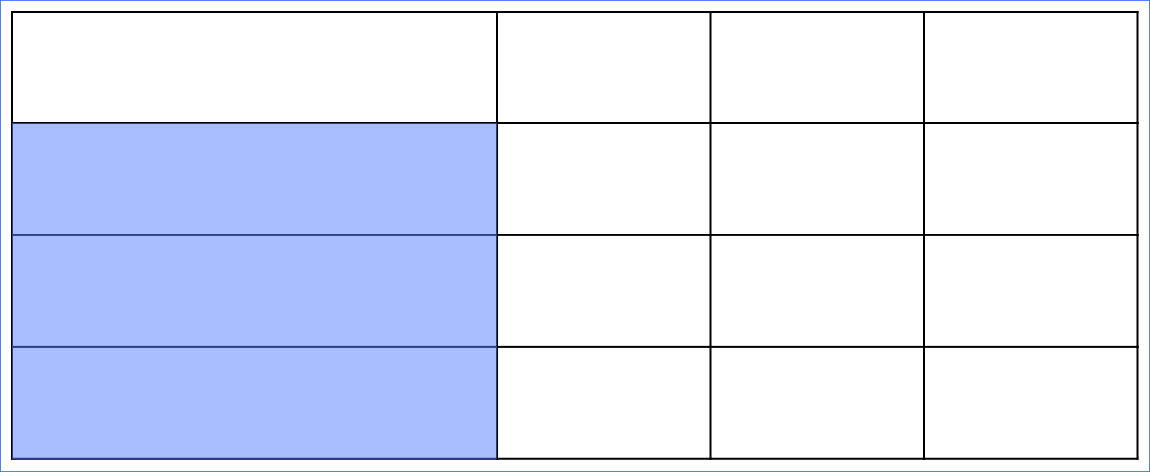
After |
|
|
|
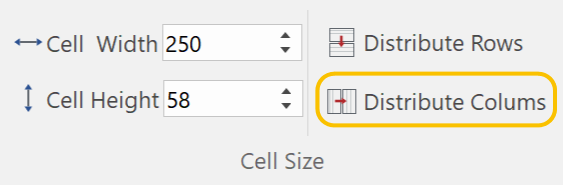
To Distribute Columns
-
Select a table or cells horizontally that you want to distribute rows.
-
Click the Table contextual tab.
-
Click Distribute Columns in the Cell Size panel.
|
Before |
After |
|
|
|

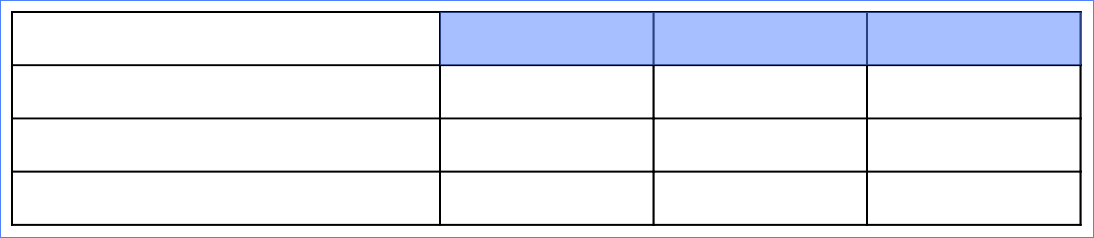
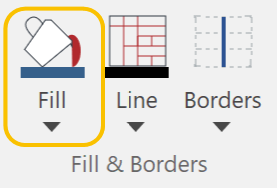
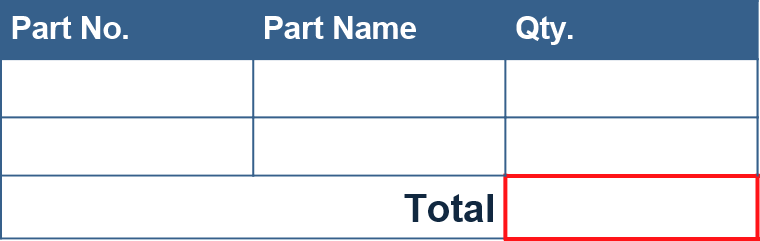
To Apply a Fill Color to Cells
-
Select a cell, cells, or a table to which you want to apply a fill color.
-
Click the Table contextual tab.
-
Click the Fill drop-down list from the Fill & Borders panel.
-
Select an ink.
|
|
|
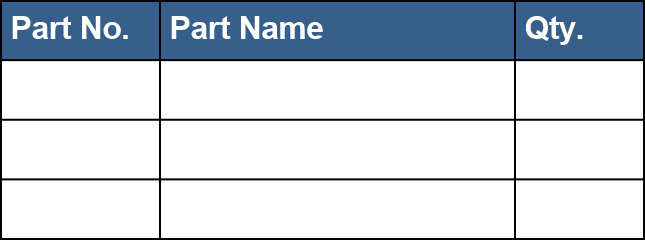
To Edit Cell Borders
-
Select a cell, cells, or a table of which you want to edit the cell borders.
-
Click the Table contextual tab.
-
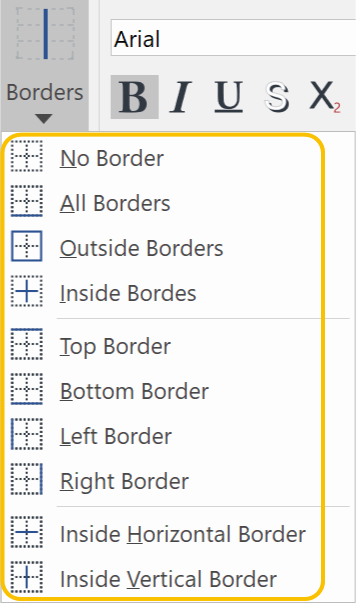
Click the Borders drop-down list from the Fill & Borders panel.
-
Select a preset.
-
Select a line color from the pop-up color palette in the Line drop-down list.
-
Select a line weight from the Line drop-down list.
|
|
|
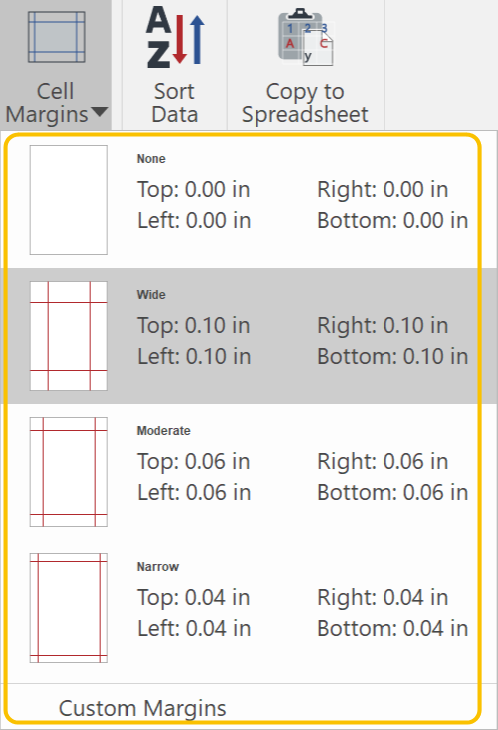
To Change Cell Margins
-
Select a cell, cells, or a table of which you want to edit the cell margins.
-
Click the Table contextual tab.
-
Click the Cell Margins drop-down list from the Alignment panel.
-
Select a preset or Custom Margins.
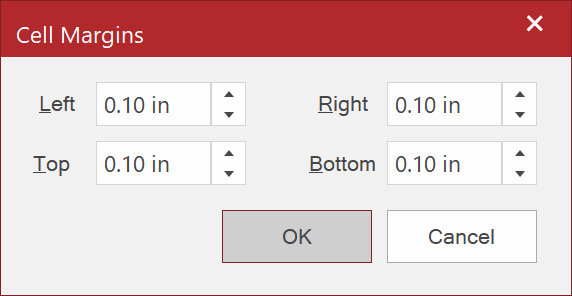
-
When Custom Margins is selected, set the values for the 4 margins and click OK.
|
|
You cannot make rows narrower than the text font size plus the margins. |
|
|
|
|
0 margins for all sides of the cells |
0.06 in margins for all sides of the cells |

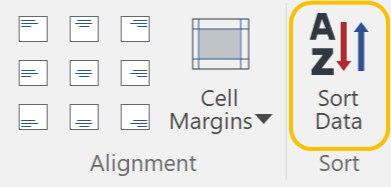
To Sort Data
-
Select the area where you want to sort data.
-
Click the Table contextual tab.
-
Click Sort Data from the Sort panel.
-
Set the options in the Sort Cells dialog box.
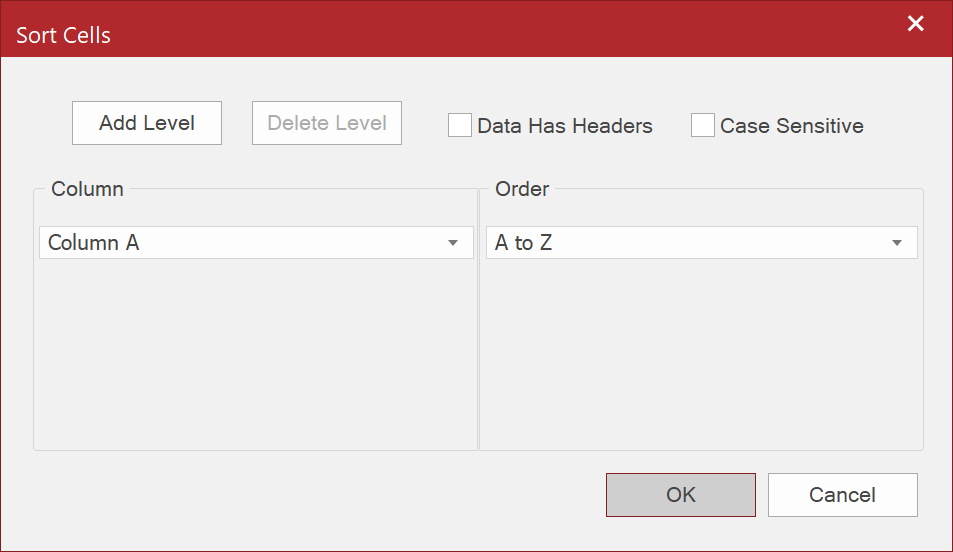
-
Click OK.
Sort Cells Options
|
Option |
Description |
|
Add Level |
Click this button in order to sort additional columns. |
|
Delete Level |
Click this button to remove the last column level. |
|
Column |
When Levels are added, they will be listed here. Select a column from the drop-down list of the available columns. Sorting will be performed from the top. |
|
Order |
Select a sorting method for each column. For texts: A to Z or Z to A For numerical values only: Smallest to Largest or Largest to Smallest |
|
Data Has Headers |
Select this checkbox in order to exclude the header row from sorting data. |
|
Case Sensitive |
In order to have text case respected by sorting, select this checkbox. Lower case letters will be listed before capitalized values. |
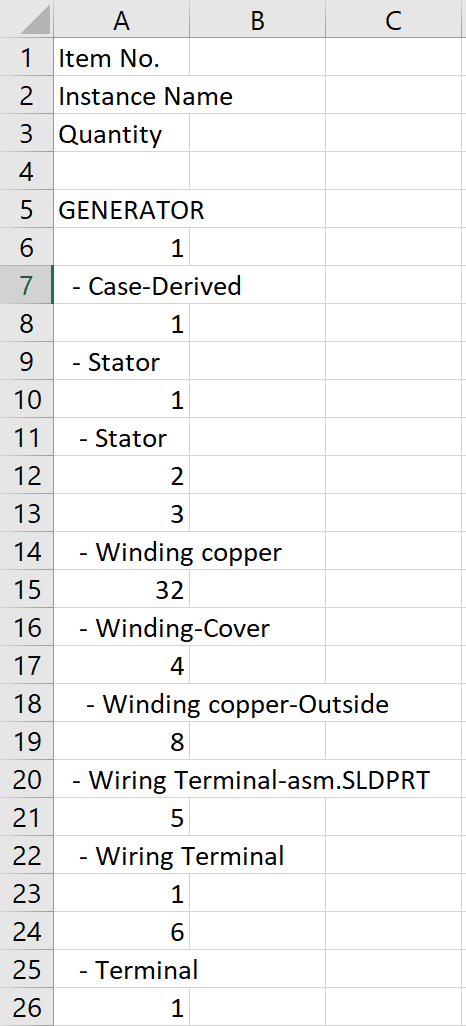
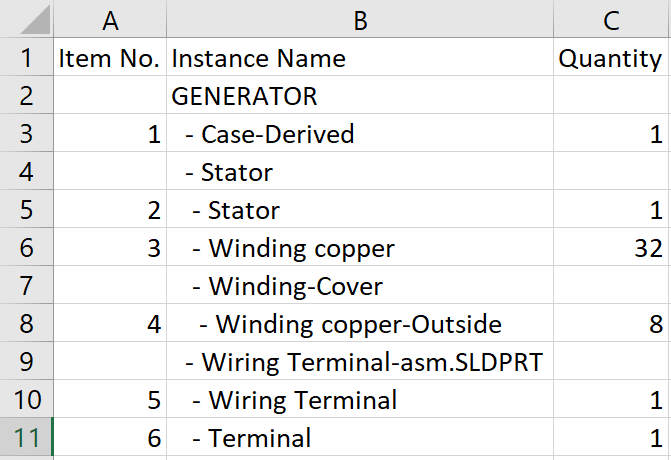
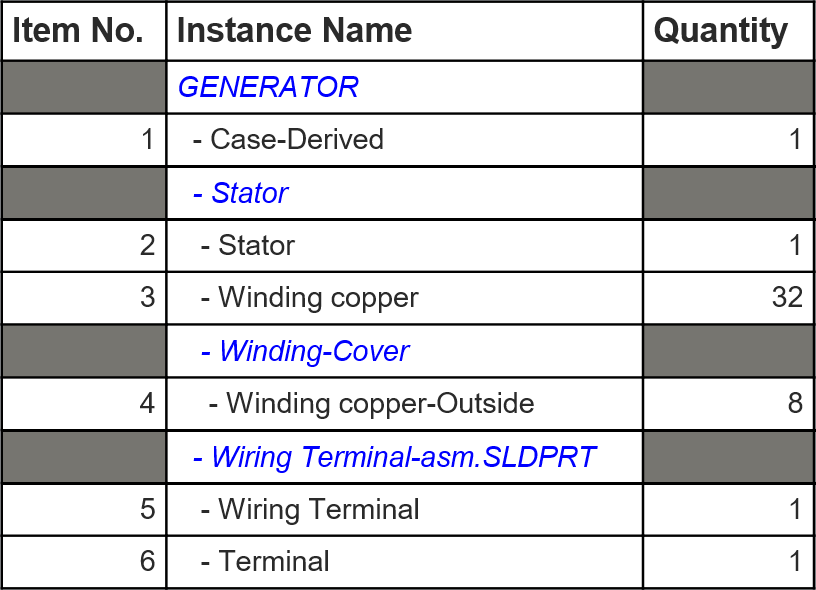
Sometimes you may want to copy data in a table you created and to past them to an external spreadsheet. When you do the regular copy and paste, the matrix of the data will be lost. In such a case you can use Copy Data to Spreadsheet instead.
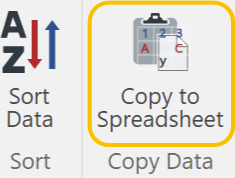
To Copy Data to Spreadsheet
-
Select the cells from which you want to copy data.
-
Click the Table contextual tab.
-
Click Copy to Spreadsheet in the Copy Data panel.
-
Open the target application.
-
Select a cell that you want to paste the data.
-
Execute the paste.
|
|
|
|
Regular Copy and Paste |
Copy to Spreadsheet and Paste |