Setting the 3D Model Object Properties
In the 3D Model edit mode, the 3D Model does not have the unit, but the ratio between the width and height will be relevant in relative to the 3D Model scene that you are creating in the view bounds.
In contrast, the 3D Model object that will be placed in the document will be created in the document unit. When you change the document unit, the dimensions of the 3D Model object will be recalculated automatically.
To Change the Dimensions of 3D Model Object in 3D Edit Mode
-
Deselect all parts by clicking blank area.
-
Show the 3D Properties pane, if necessary, by selecting the 3D Properties checkbox from the Panes panel in the View tab of the Ribbon.
-
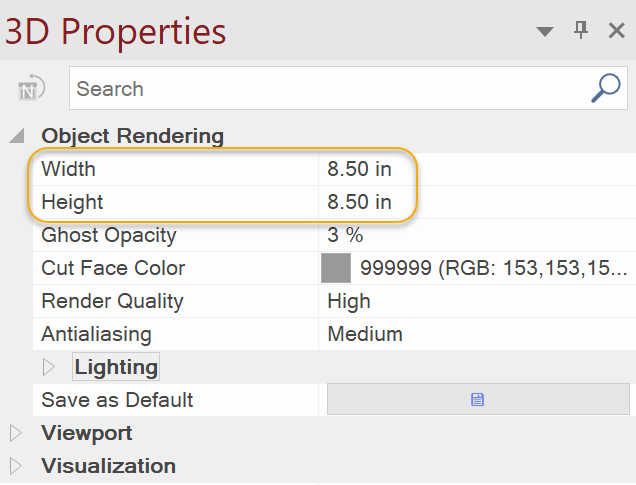
Type a value in the Width or Height field under the Object Rendering in the 3D Properties pane.
|
|
Click the Save as Default button when you want to use the new settings for next time. When you open a new Envision instance subsequently, the new settings will be used for 3D Model import. |

To Set the Default Properties of 3D Model Object
-
Deselect all parts by clicking blank area.
-
Show the 3D Properties pane, if necessary, by selecting the 3D Properties checkbox from the Panes panel in the 3D Edit tab of the Ribbon.
-
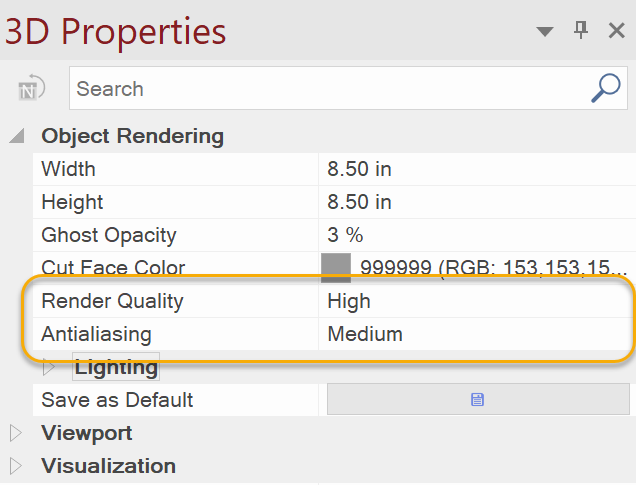
Type a value in the Render Quality under the Object Rendering in the 3D Properties pane.
-
Select a setting from the Antialiasing.
-
Click the Save as Default button when you want to use the new settings for next time.
|
|
The Antialiasing setting can make the edges of the 3D Model smoother. You can choose it from the 4 levels: Off, Low, Medium, and High. |
|
|
|
|
Off |
High |