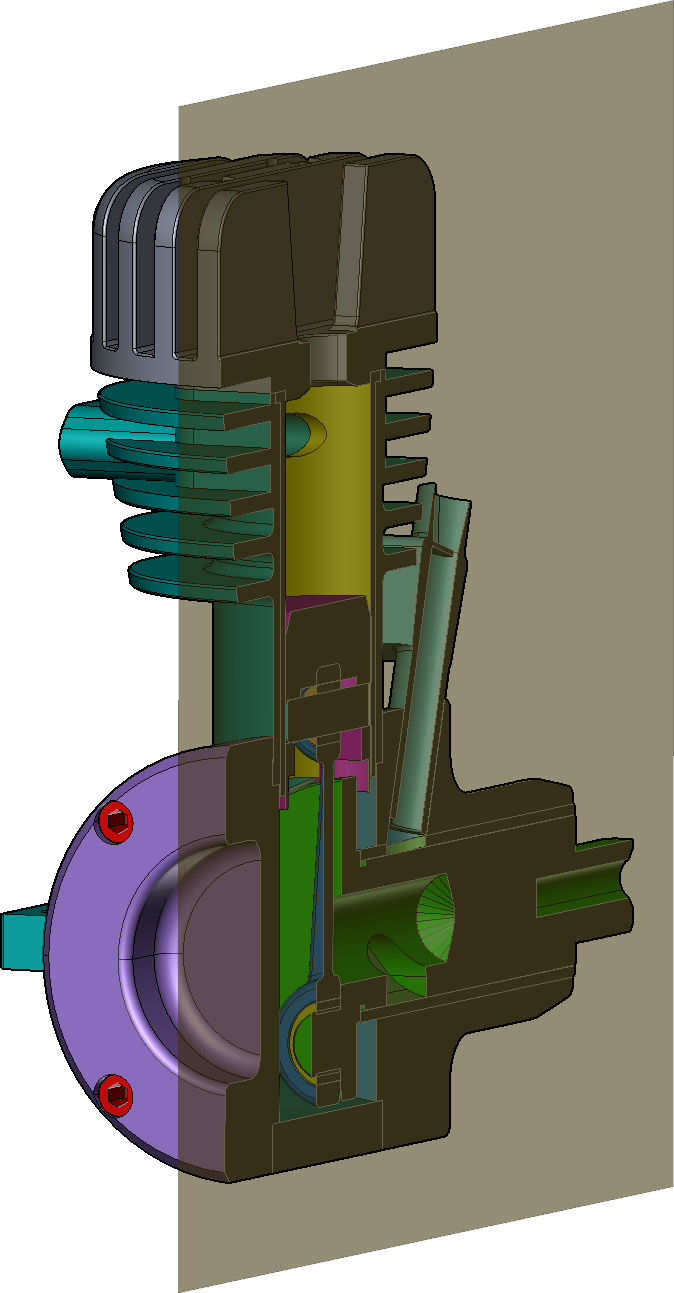
Creating Cutting Planes
You can create cross-section views of 3D models by creating cutting planes.
|
|
Cutting planes are always invisible in the 2D pages. |

To Create a Cutting Plane
-
Click Create from the Cutting Planes panel in the 3D Edit tab of the Ribbon.
-
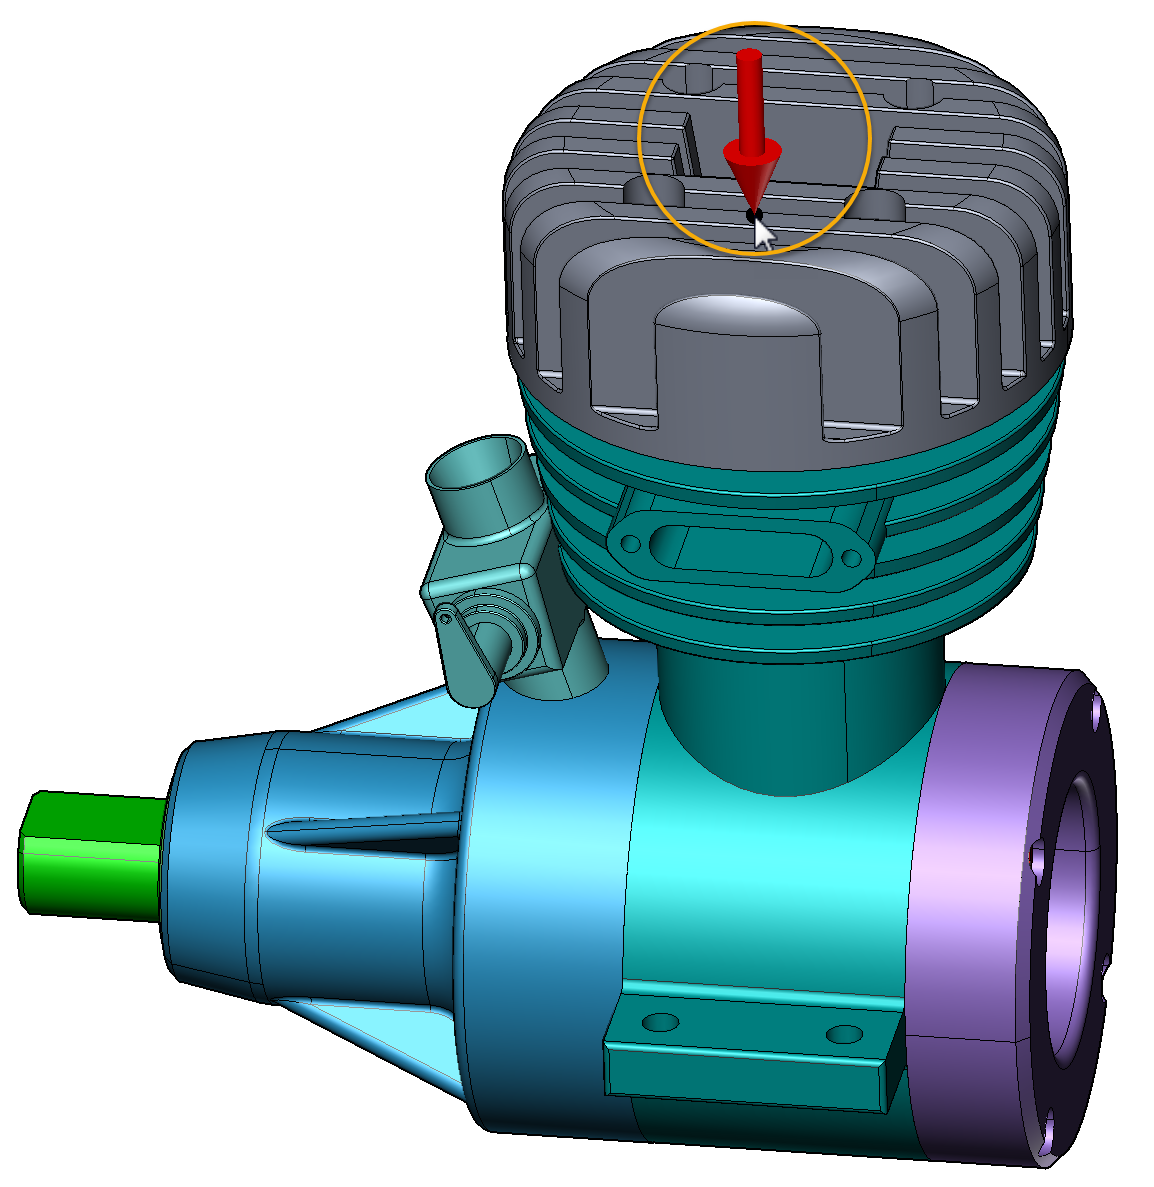
Mouse over a part’s face that you want to create a cutting pane. The mouse pointer changes to the red arrow pointer
 .
.
-
Click if you are ready to create.
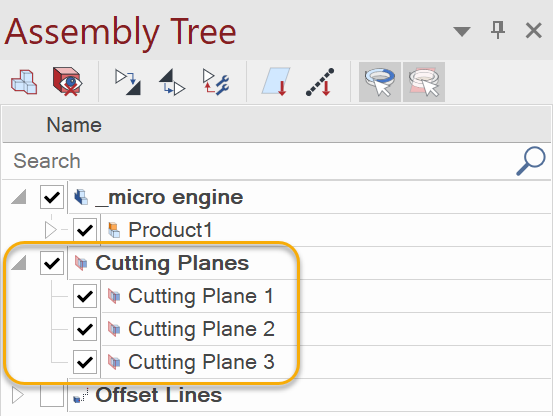
When Cutting Planes are created, they will be also listed in the Assembly Tree panes.
To Select Cutting Planes in the Viewport
-
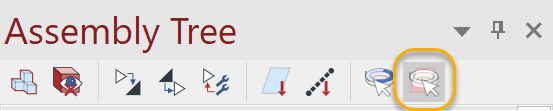
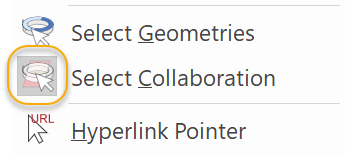
Make sure the Select Collaboration is on either from the Assembly Tree pane or the Select drop-down list. When it is on, the icon is highlighted in gray.
-
Select a cutting plane in the Viewport.
|
|
You can always select cutting planes in the Assembly Tree pane regardless Select Collaboration is on or off. |

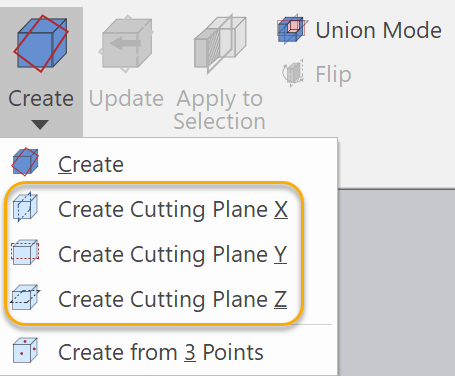
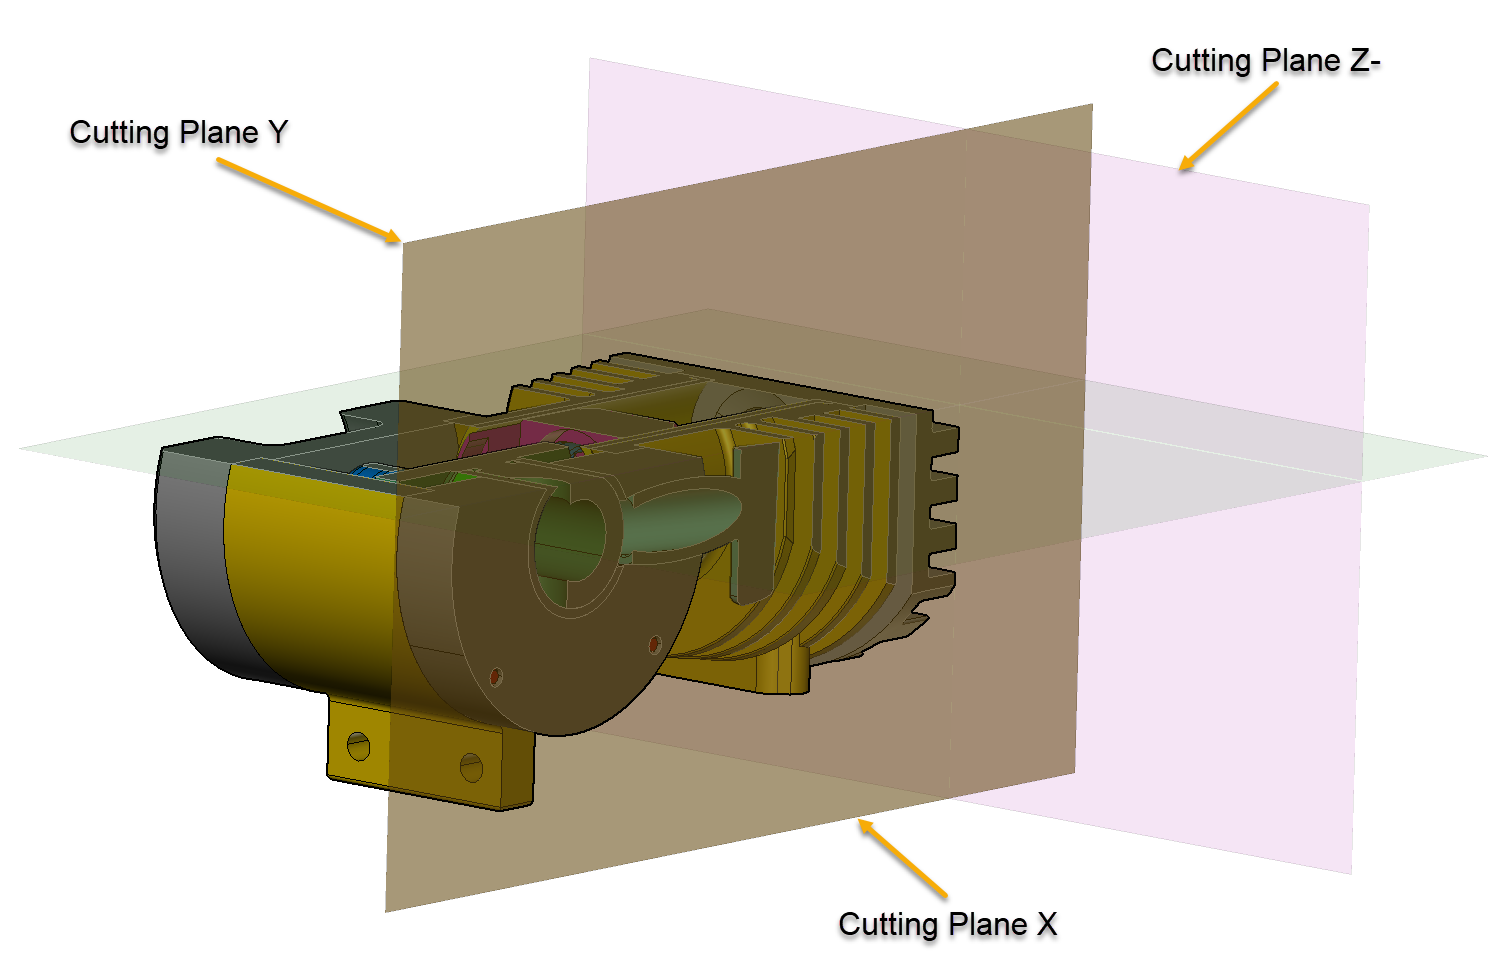
To Create a Cutting Plane on X, Y, or Z plane
-
Click Create from the Cutting Planes panel in the 3D Edit tab of the Ribbon.
-
Select Create Cutting Plane X, Y, or Z from the drop-down list.
-
Mouse over a part’s face that you want to create a cutting pane. The mouse pointer changes to the red arrow pointer
. -
Click if you are ready to create.
To Create a Cutting Plane from 3 Points
-
Select the Create from 3 Points from the Create drop-down list.
-
Mouse over a part’s face that you want to create a cutting pane. The mouse pointer changes to the red arrow pointer
. -
Click at 3 different points to define a plane.
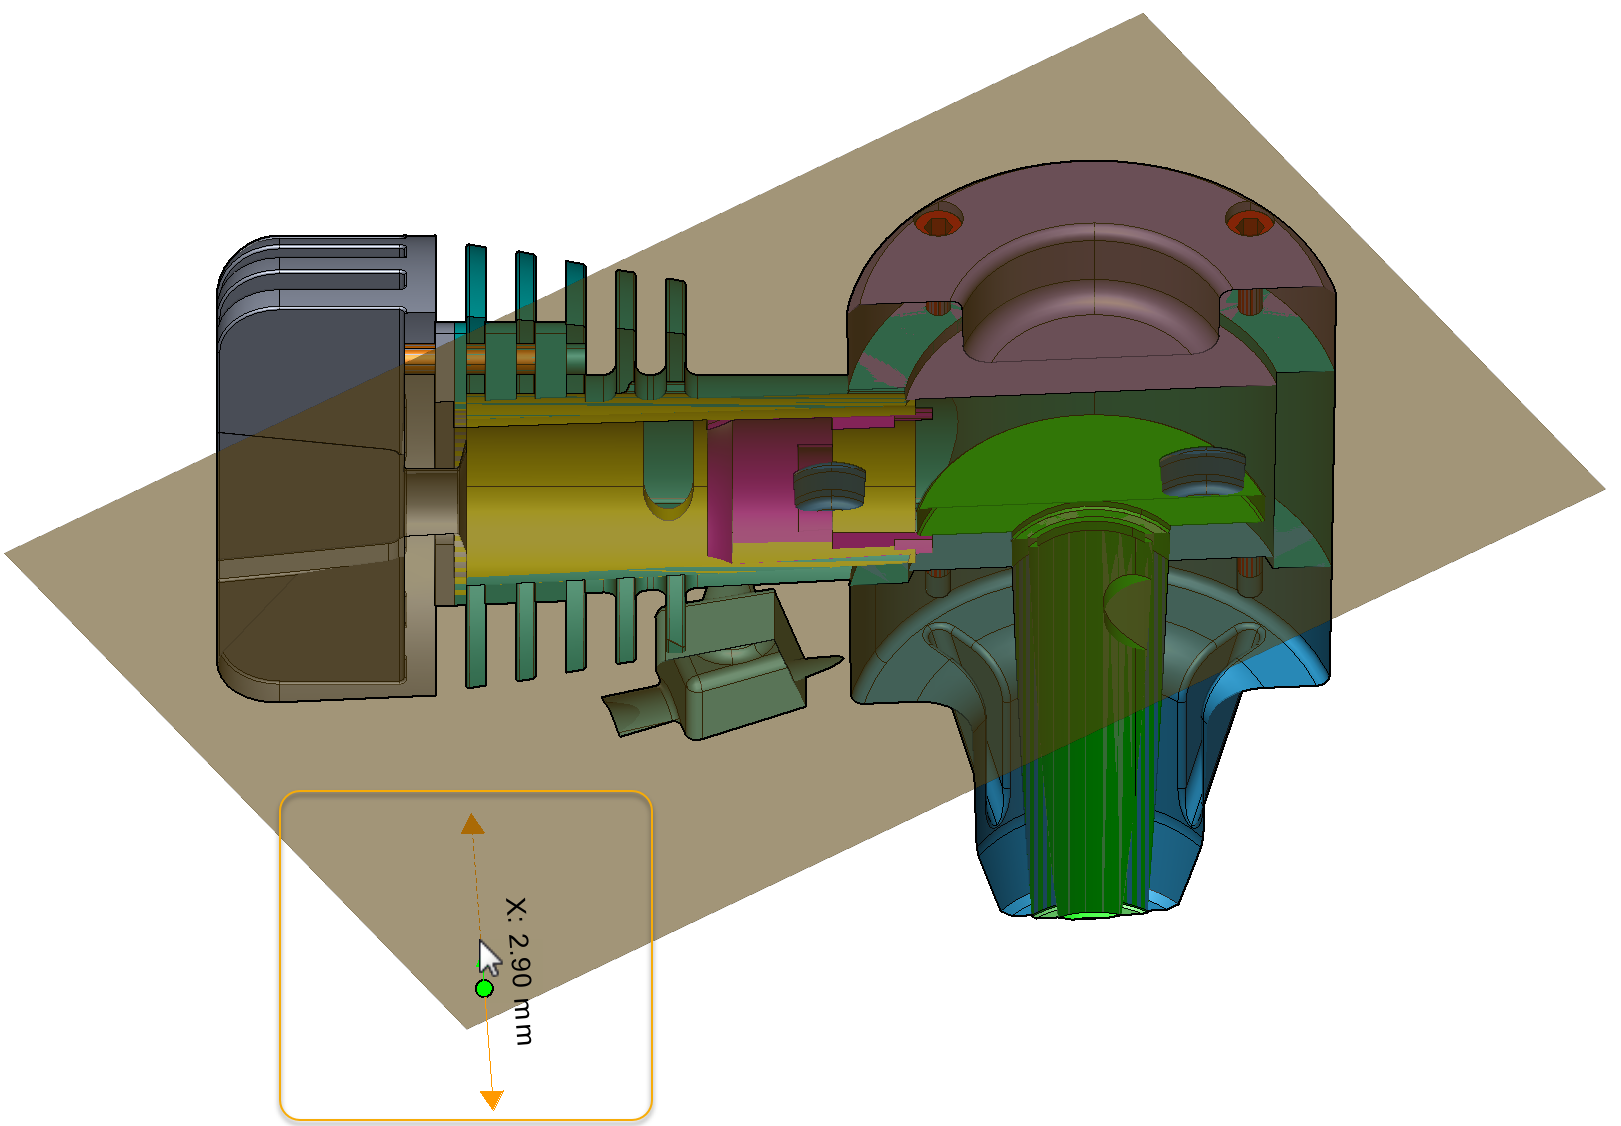
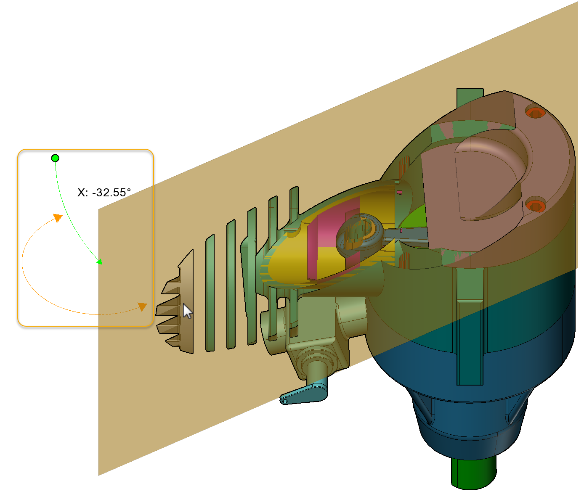
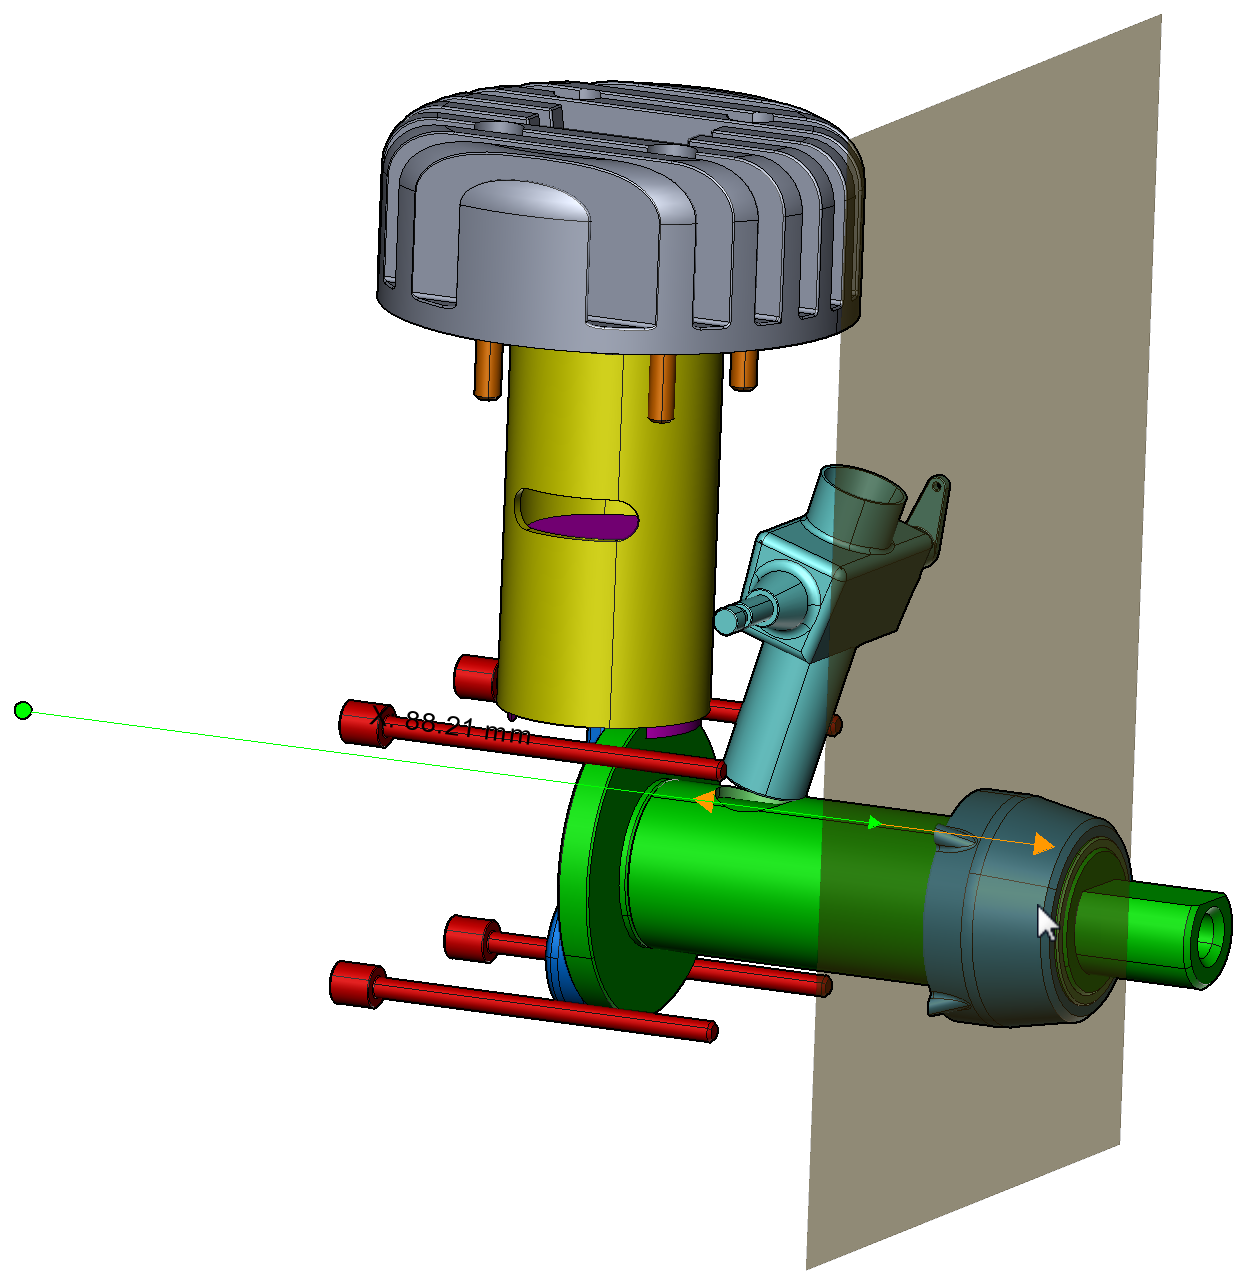
To Shift a Cutting Plane
-
Mouse over inside a cutting plane that you want to shift.
-
When you see the Shift control, drag to the direction of shift.
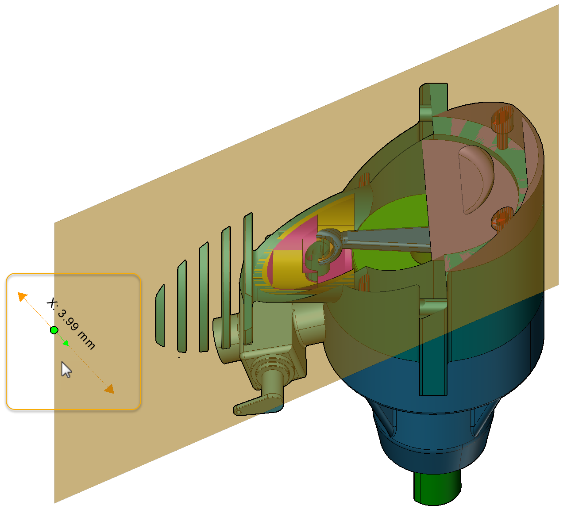
To Rotate a Cutting Plane
-
Mouse over one of the 4 sides of cutting plane.
-
When you see the Rotate control, drag to the direction of rotation.
To Update an Existing Cutting Plane
-
Select a cutting plane that you want to update.
-
Click Update from the Cutting Planes panel in the 3D Edit tab of the Ribbon.
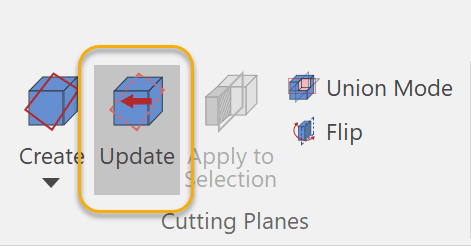
-
Mouse over a part’s face that you want to create a cutting pane. The mouse pointer changes to the red arrow pointer
. -
Click if you are ready to create.
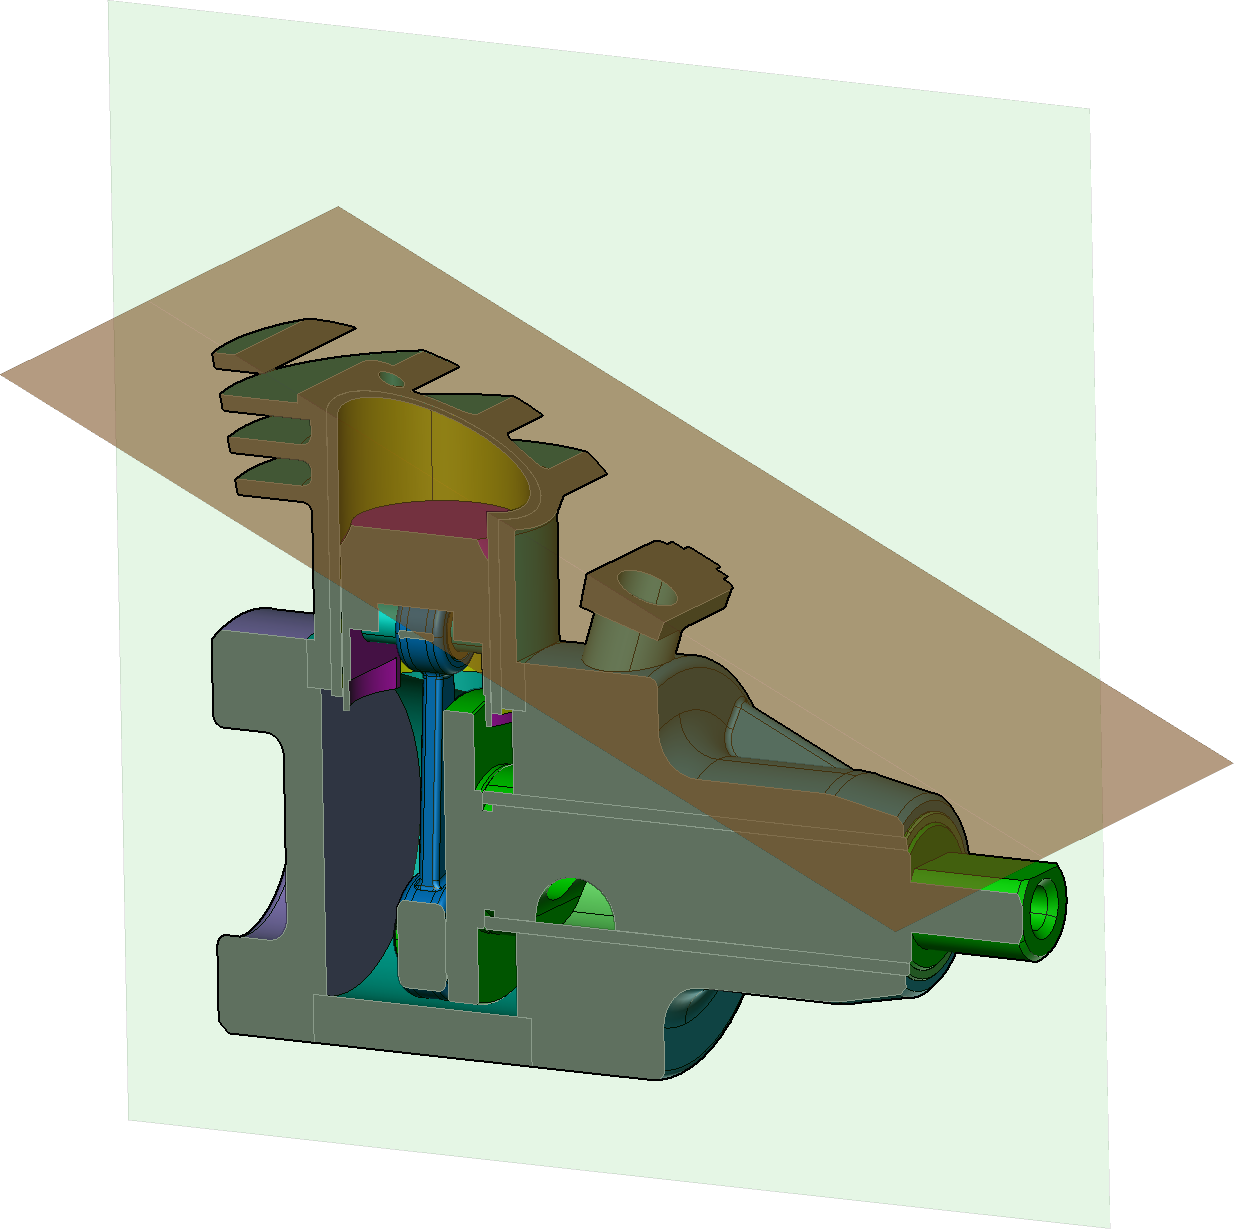
To Apply Cut to Selection Only
-
Select a cutting plane.
-
Shift-click parts that you want to make the cut effective.

The brown parts and gray cutting plane are selected in this case.
-
Click Apply to Selection from the Cutting Planes panel.
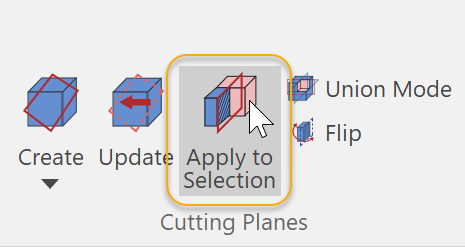
-
Drag the cutting plane to cut.
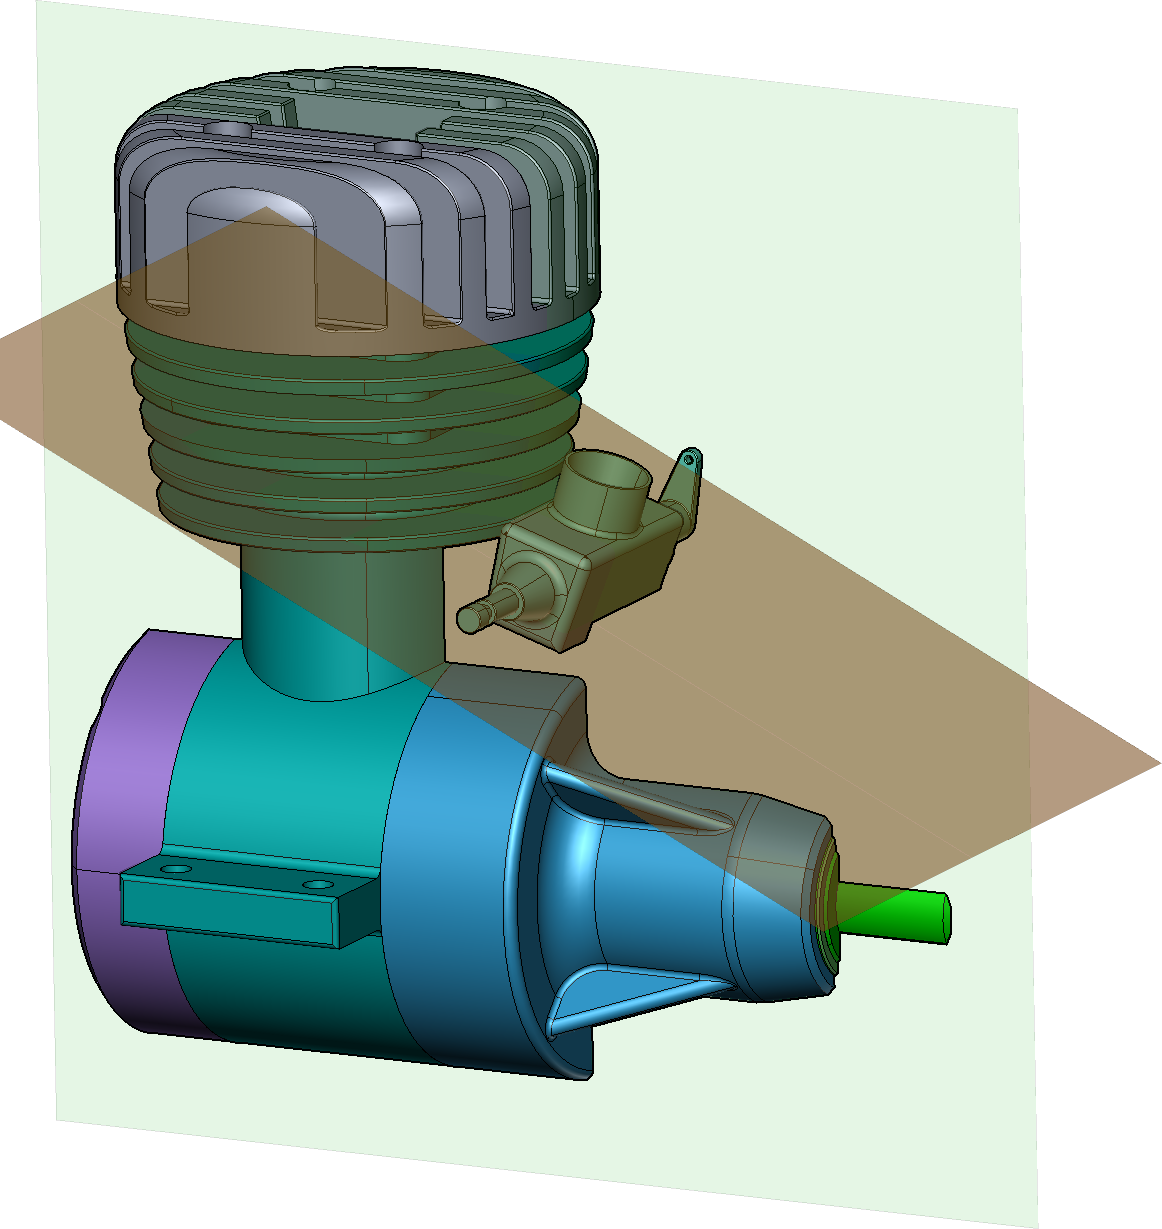
To Enable Union Mode
-
Create 2 or more cutting planes.
-
Drag them to make cuts.
-
Click Union Mode from the Cutting Planes panel.
-
Click Union Mode again to restore the previous cuts.

To Flip Cuts
-
Select a cutting plane or planes.
-
Click Flip from the Cutting Planes panel.
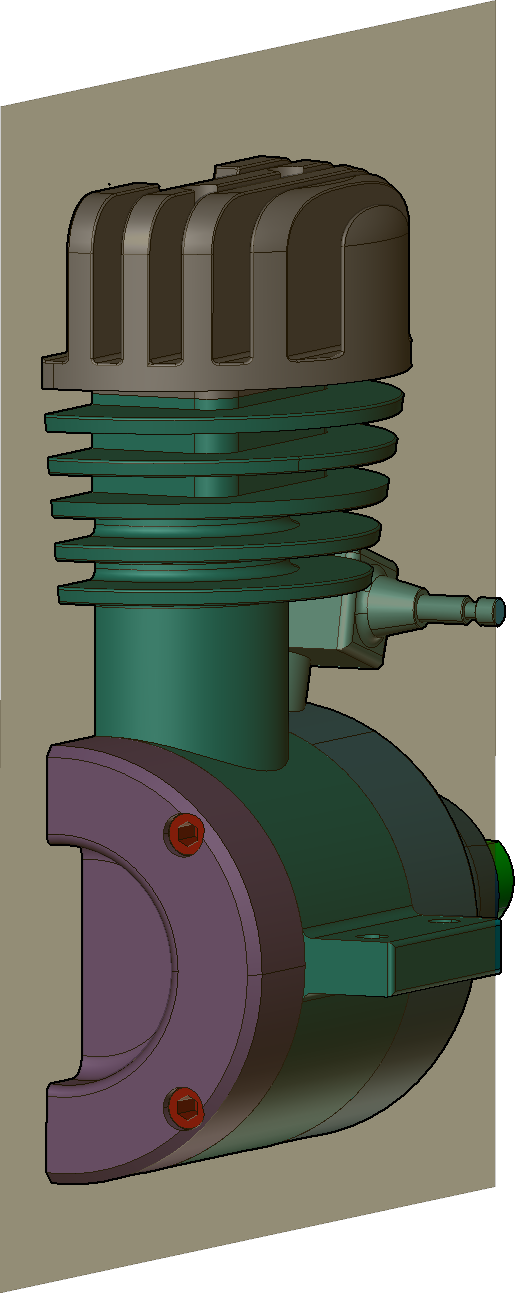
To Hide Cutting Planes and Disable Cuts
-
Select a cutting plane or planes that you want to hide.
-
Do one of the following:
-
Deselect the checkbox of the selected cutting plane items in the Assembly Tree pane.
-
Right-click in the Viewport and select Hide Selection.
-
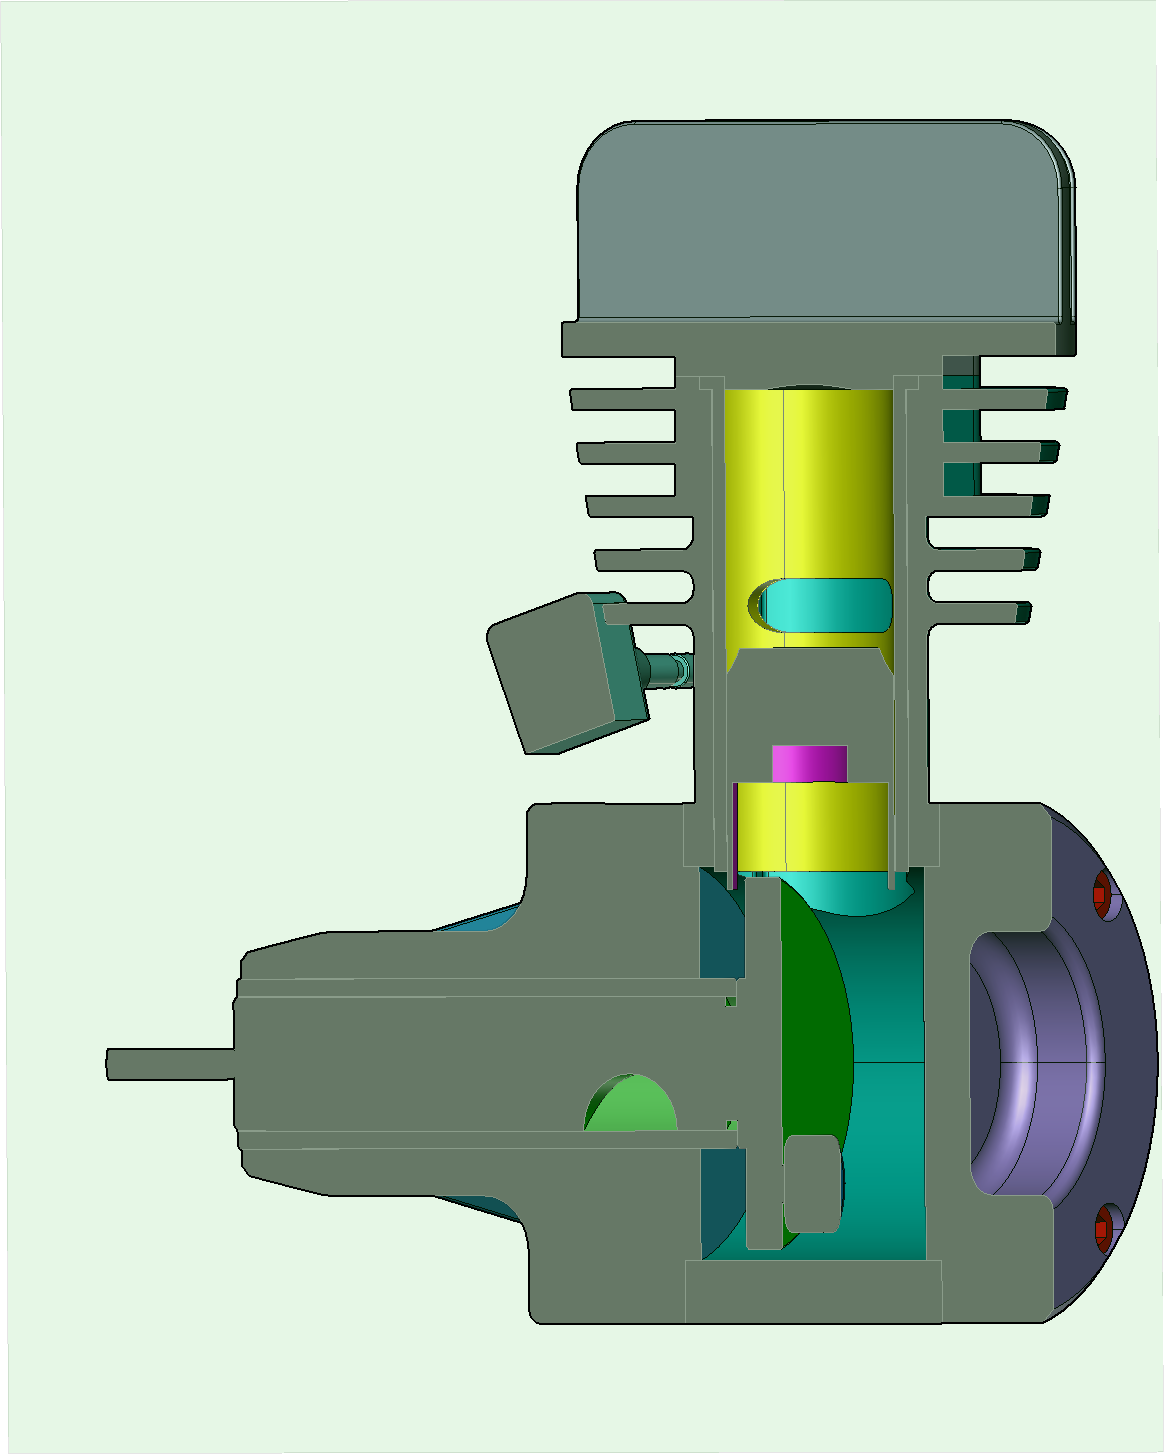
To Hide Cutting Planes Only
-
Select a cutting plane or planes that you want to hide.
-
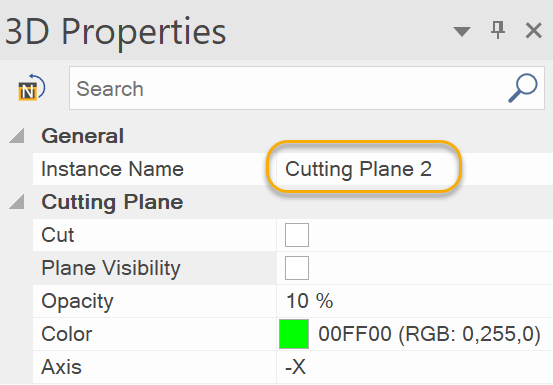
Deselect the Plane Visibility checkbox in the 3D Properties pane.
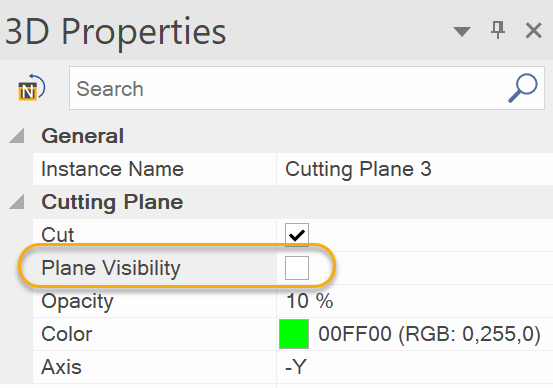
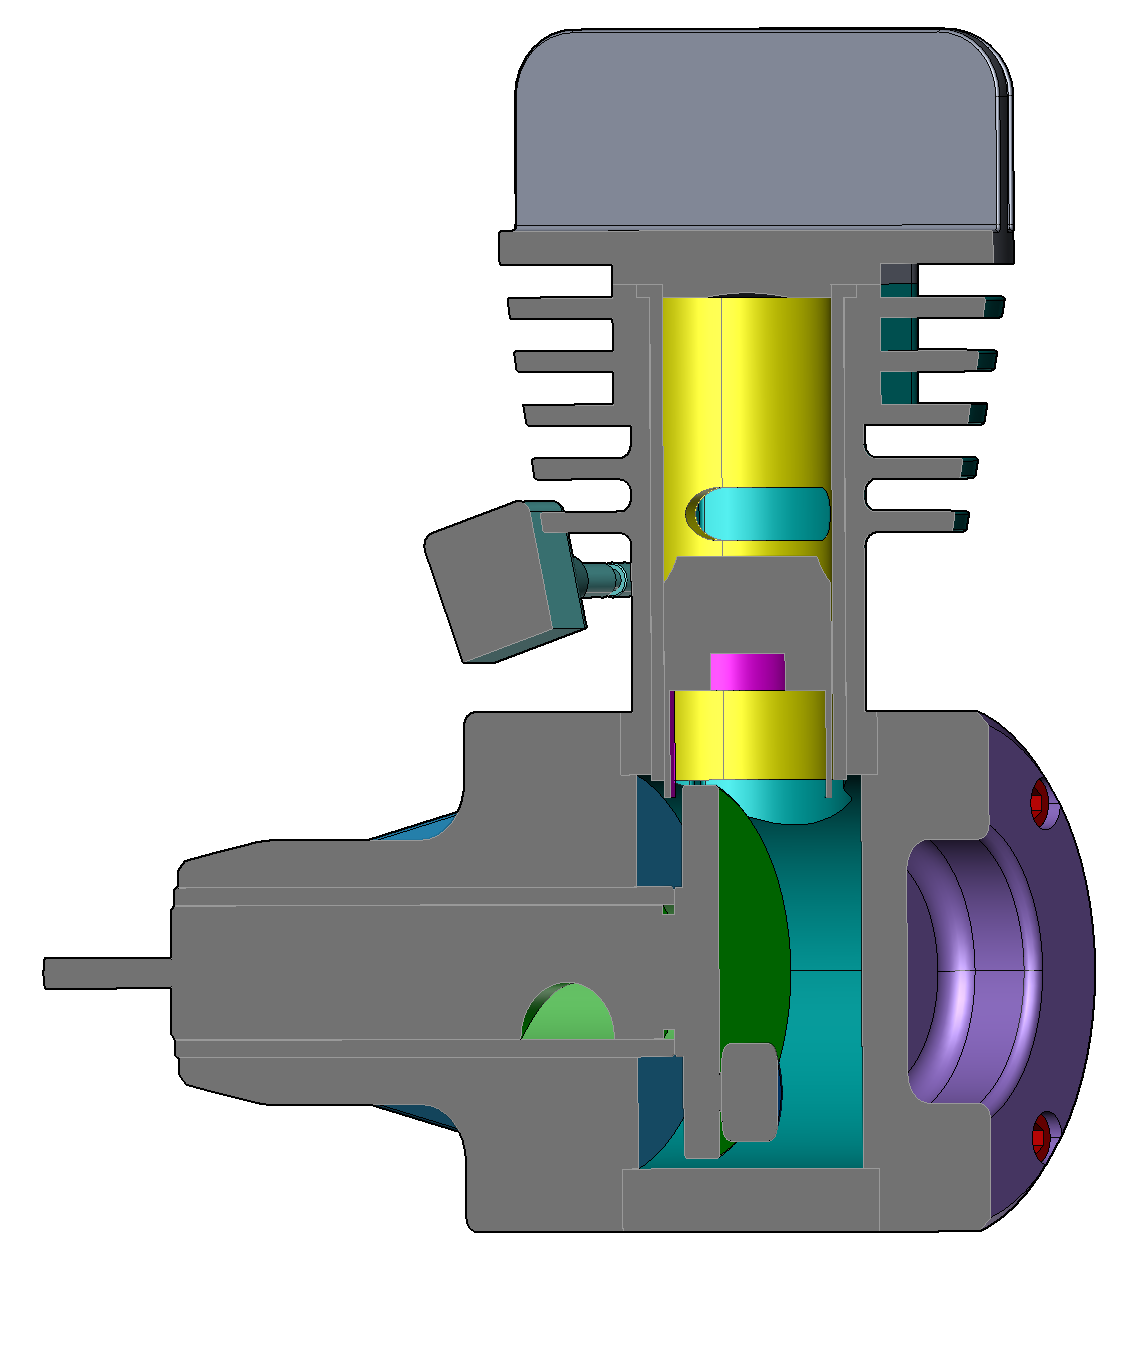
|
|
You can disable the cut by deselecting Cut checkbox in the 3D Properties pane. |
To Show Hidden Cutting Planes
-
Select a cutting plane or planes that you want to show in the Assembly Tree pane.
-
Do one of the following:
-
Select the checkboxes of the selected cutting plane items in the Assembly Tree pane.
-
Select the Plane Visibility checkbox in the Cutting Plane section.
-
To Delete Cutting Planes
-
Select a cutting plane or planes that you want to delete.
-
Do one of the following:
-
Right-click in the Assembly Tree pane and select Delete.
-
Right-click in the Viewport and select Delete.
-
To Change the Name of Cutting Plane
-
Select a cutting plane that you want to rename.
-
Show the 3D Properties pane, if necessary, by selecting the 3D Properties checkbox from the Panes panel in the View tab of the Ribbon.
-
Type a new name in the Instance Name field in the General section.
To Change the Attributes of Cutting Planes
-
Select a part or parts that have cutting planes.
-
Show the 3D Properties pane, if necessary, by selecting the 3D Properties checkbox from the Panes panel in the View tab of the Ribbon.
-
Set the attributes of cutting planes. For details, please refer to: Cutting Plane.