Using Smart Snaps
Smart Snaps can help aligning, centering, and sizing objects relative to each other or to their place on the page. They can be turned on or off per Envision instance.
Enabling Smart Snaps
To turn Smart Snaps on, either:
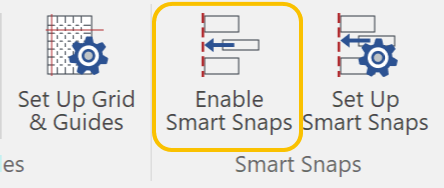
Click Enable Smart Snaps from the Smart Snaps panel in the Layout tab of the Ribbon.
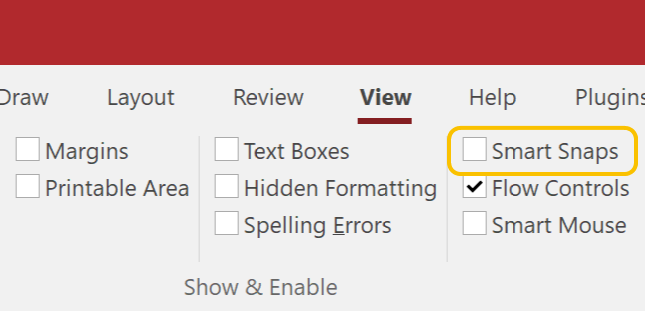
Select the Smart Snaps checkbox from the Show & Enable panel in the View tab of the Ribbon.
Press F4.
Using Smart Snaps
Ensure Smart Snaps are enabled.
Drag an object or objects toward the target to which you want to align them.
Release the mouse button when Smart Snaps shows the magenta guide that you want to snap the object to.
Disabling Smart Snaps
To turn Smart Snaps off, either:
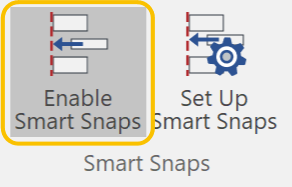
Click Enable Smart Snaps highlighted in gray from the Smart Snaps panel in the Layout tab of the Ribbon.
Clear the Smart Snaps checkbox from the Show & Enable panel in the View tab of the Ribbon.
Press F4.
Examples of Smart Snaps
Alignment on the page
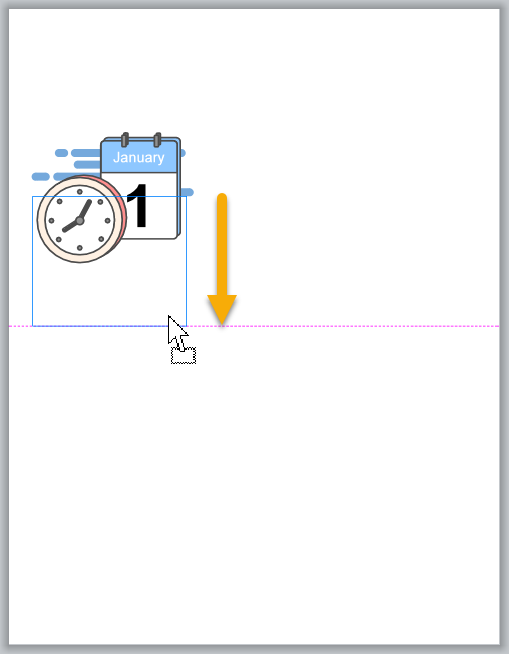
Snap to Top or Bottom
Snap to Left or Right
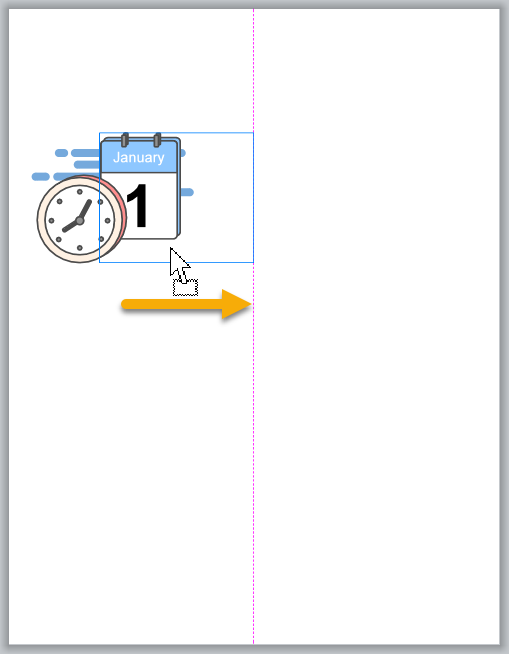
Snap to Center
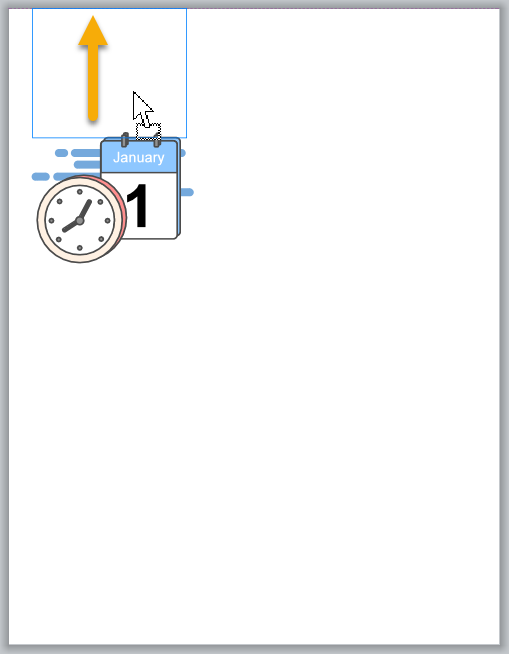
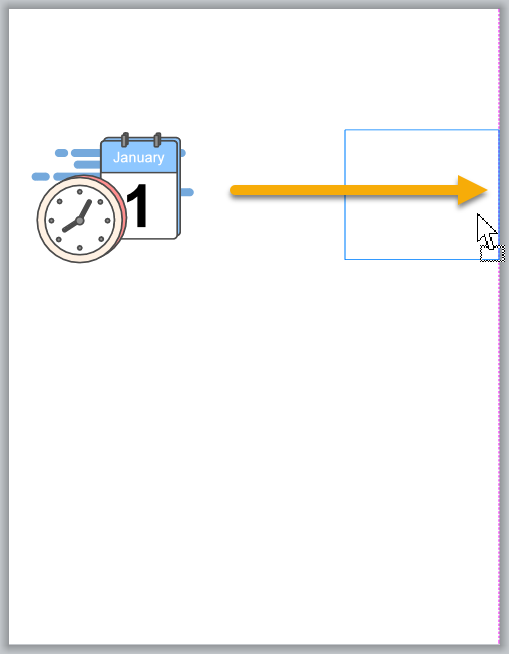
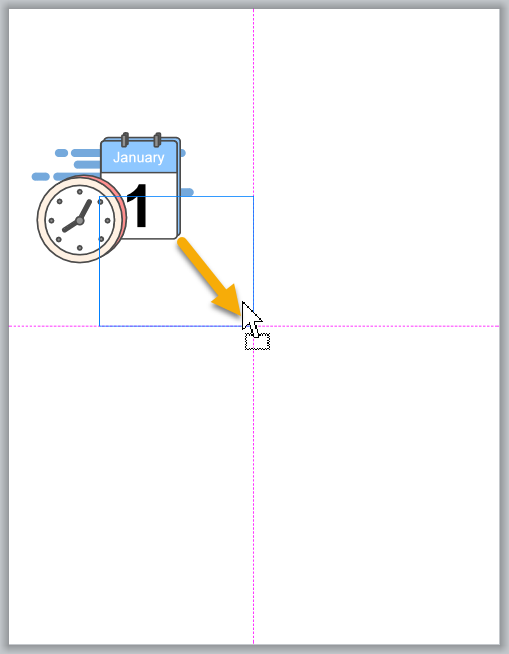
Snap to Center Vertical
Snap to Center Horizontal
Alignment relative to other objects
Top of watch aligns to Top of checklist
Center of watch aligns to Center of checklist
Bottom of watch aligns to Bottom of checklist
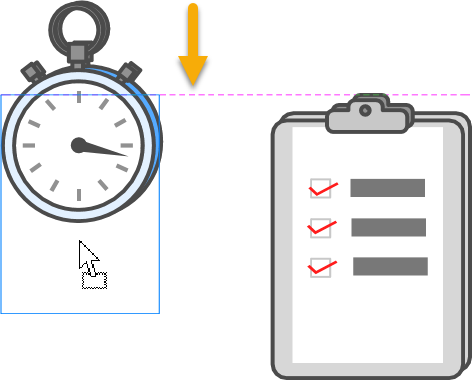
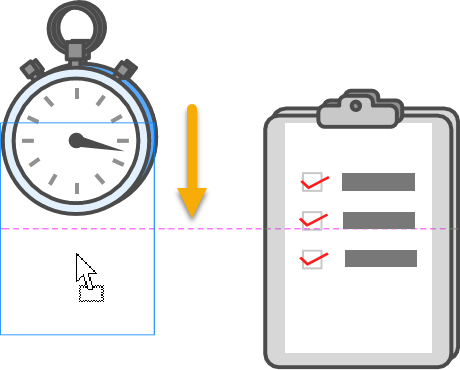
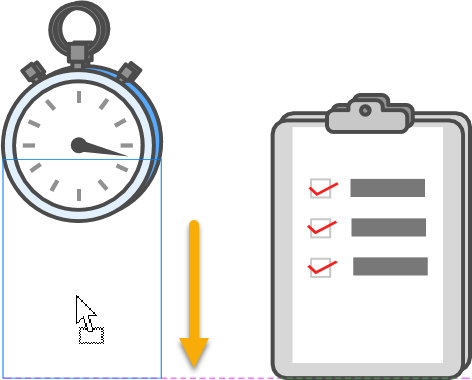
Right of checklist aligns to Left of watch
Center of checklist align to Center of watch
Left of checklist aligns to Right of watch
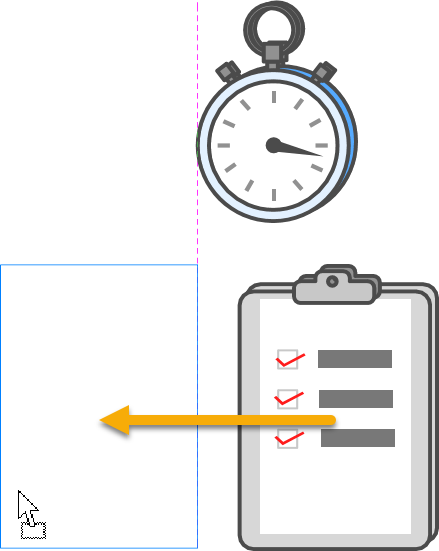
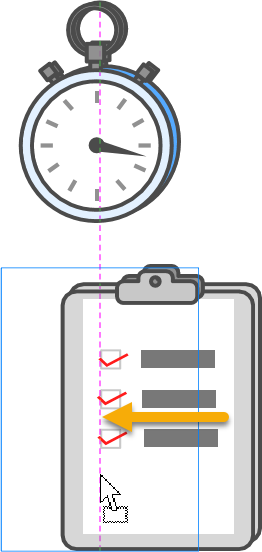
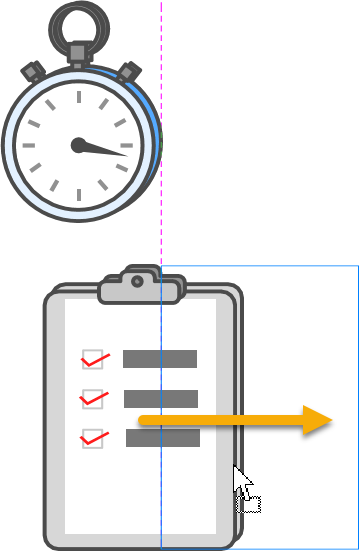
Distributing relative to other objects
Horizontal Equidistance indicators are displayed between the objects.
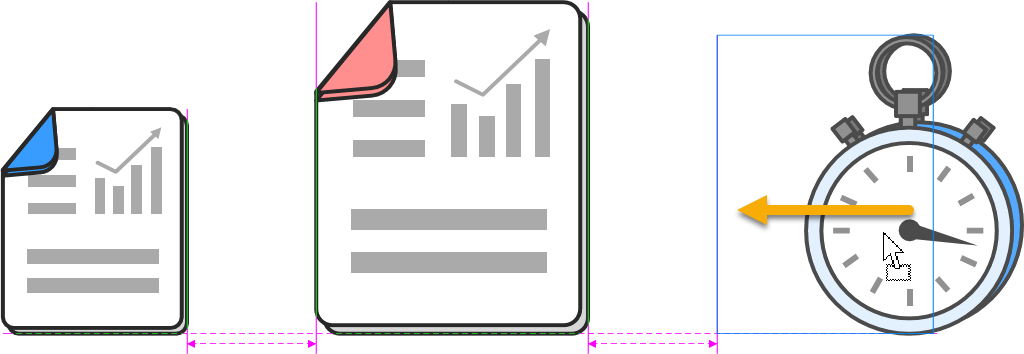
Vertical Equidistance indicators are displayed between the objects.

Resizing Relative to Other Objects
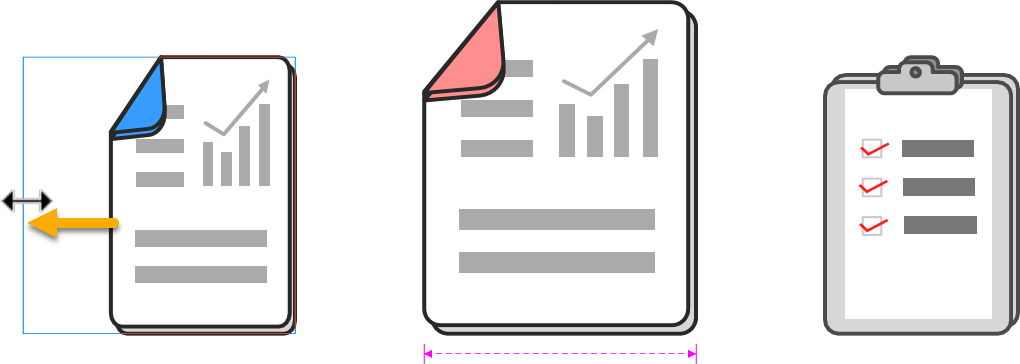
Resizing the object (most left) shows the same height indicator on the object (most right) which has the same height as the mouse pointer position at that time.
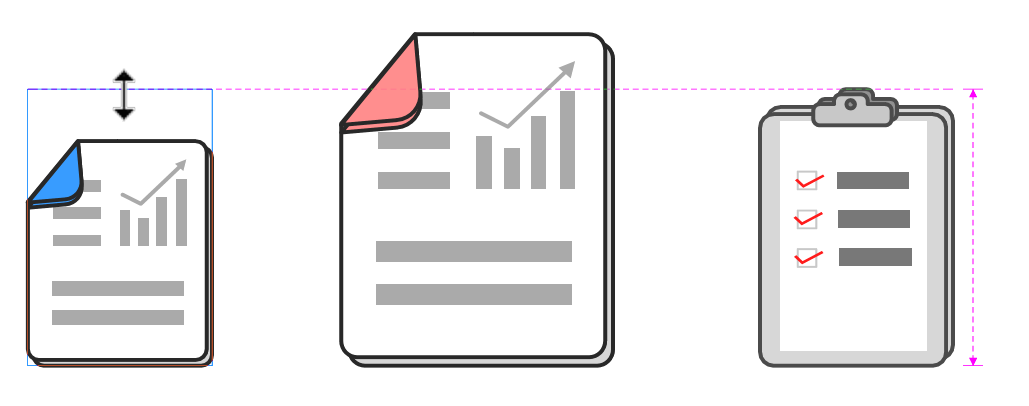
Resizing the object (most left) shows the same width indicator on the object (center) which has the same width as the mouse pointer position at that time.
Short video tutorial
Configuring Smart Snaps
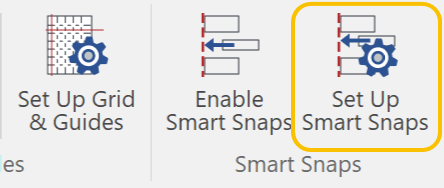
Click Set Up Smart Snaps from the Smart Snaps panel in the Layout tab of the Ribbon.
Set the Guideline Color from the pop-up color palette.
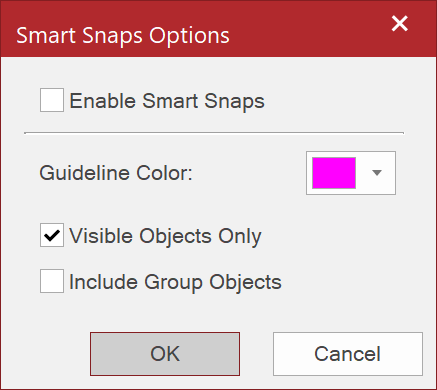
Deselect the Visible Object Only checkbox when you want hidden objects to trigger Smart Snaps to appear.
Select the Include Group Object checkbox when you want grouped objects to trigger Smart Snaps to appear.
Click OK.